Adding New Licenses in Salesforce
Creating new flair licenses offers flexibility in managing the growing number of employees in your organization. This feature empowers you to seamlessly respond to increasing employee numbers and grant access to new team members whenever needed. Let’s take a look at the steps to activating new licenses.
Activating the flair API Function
To add new flair licenses, users must first log into the flair HR app and follow the following steps.
ℹ️ Please note: You may have to complete these steps to enable Remote Site Settings and ensure that flair Recruiting and the Employee Hub work properly.
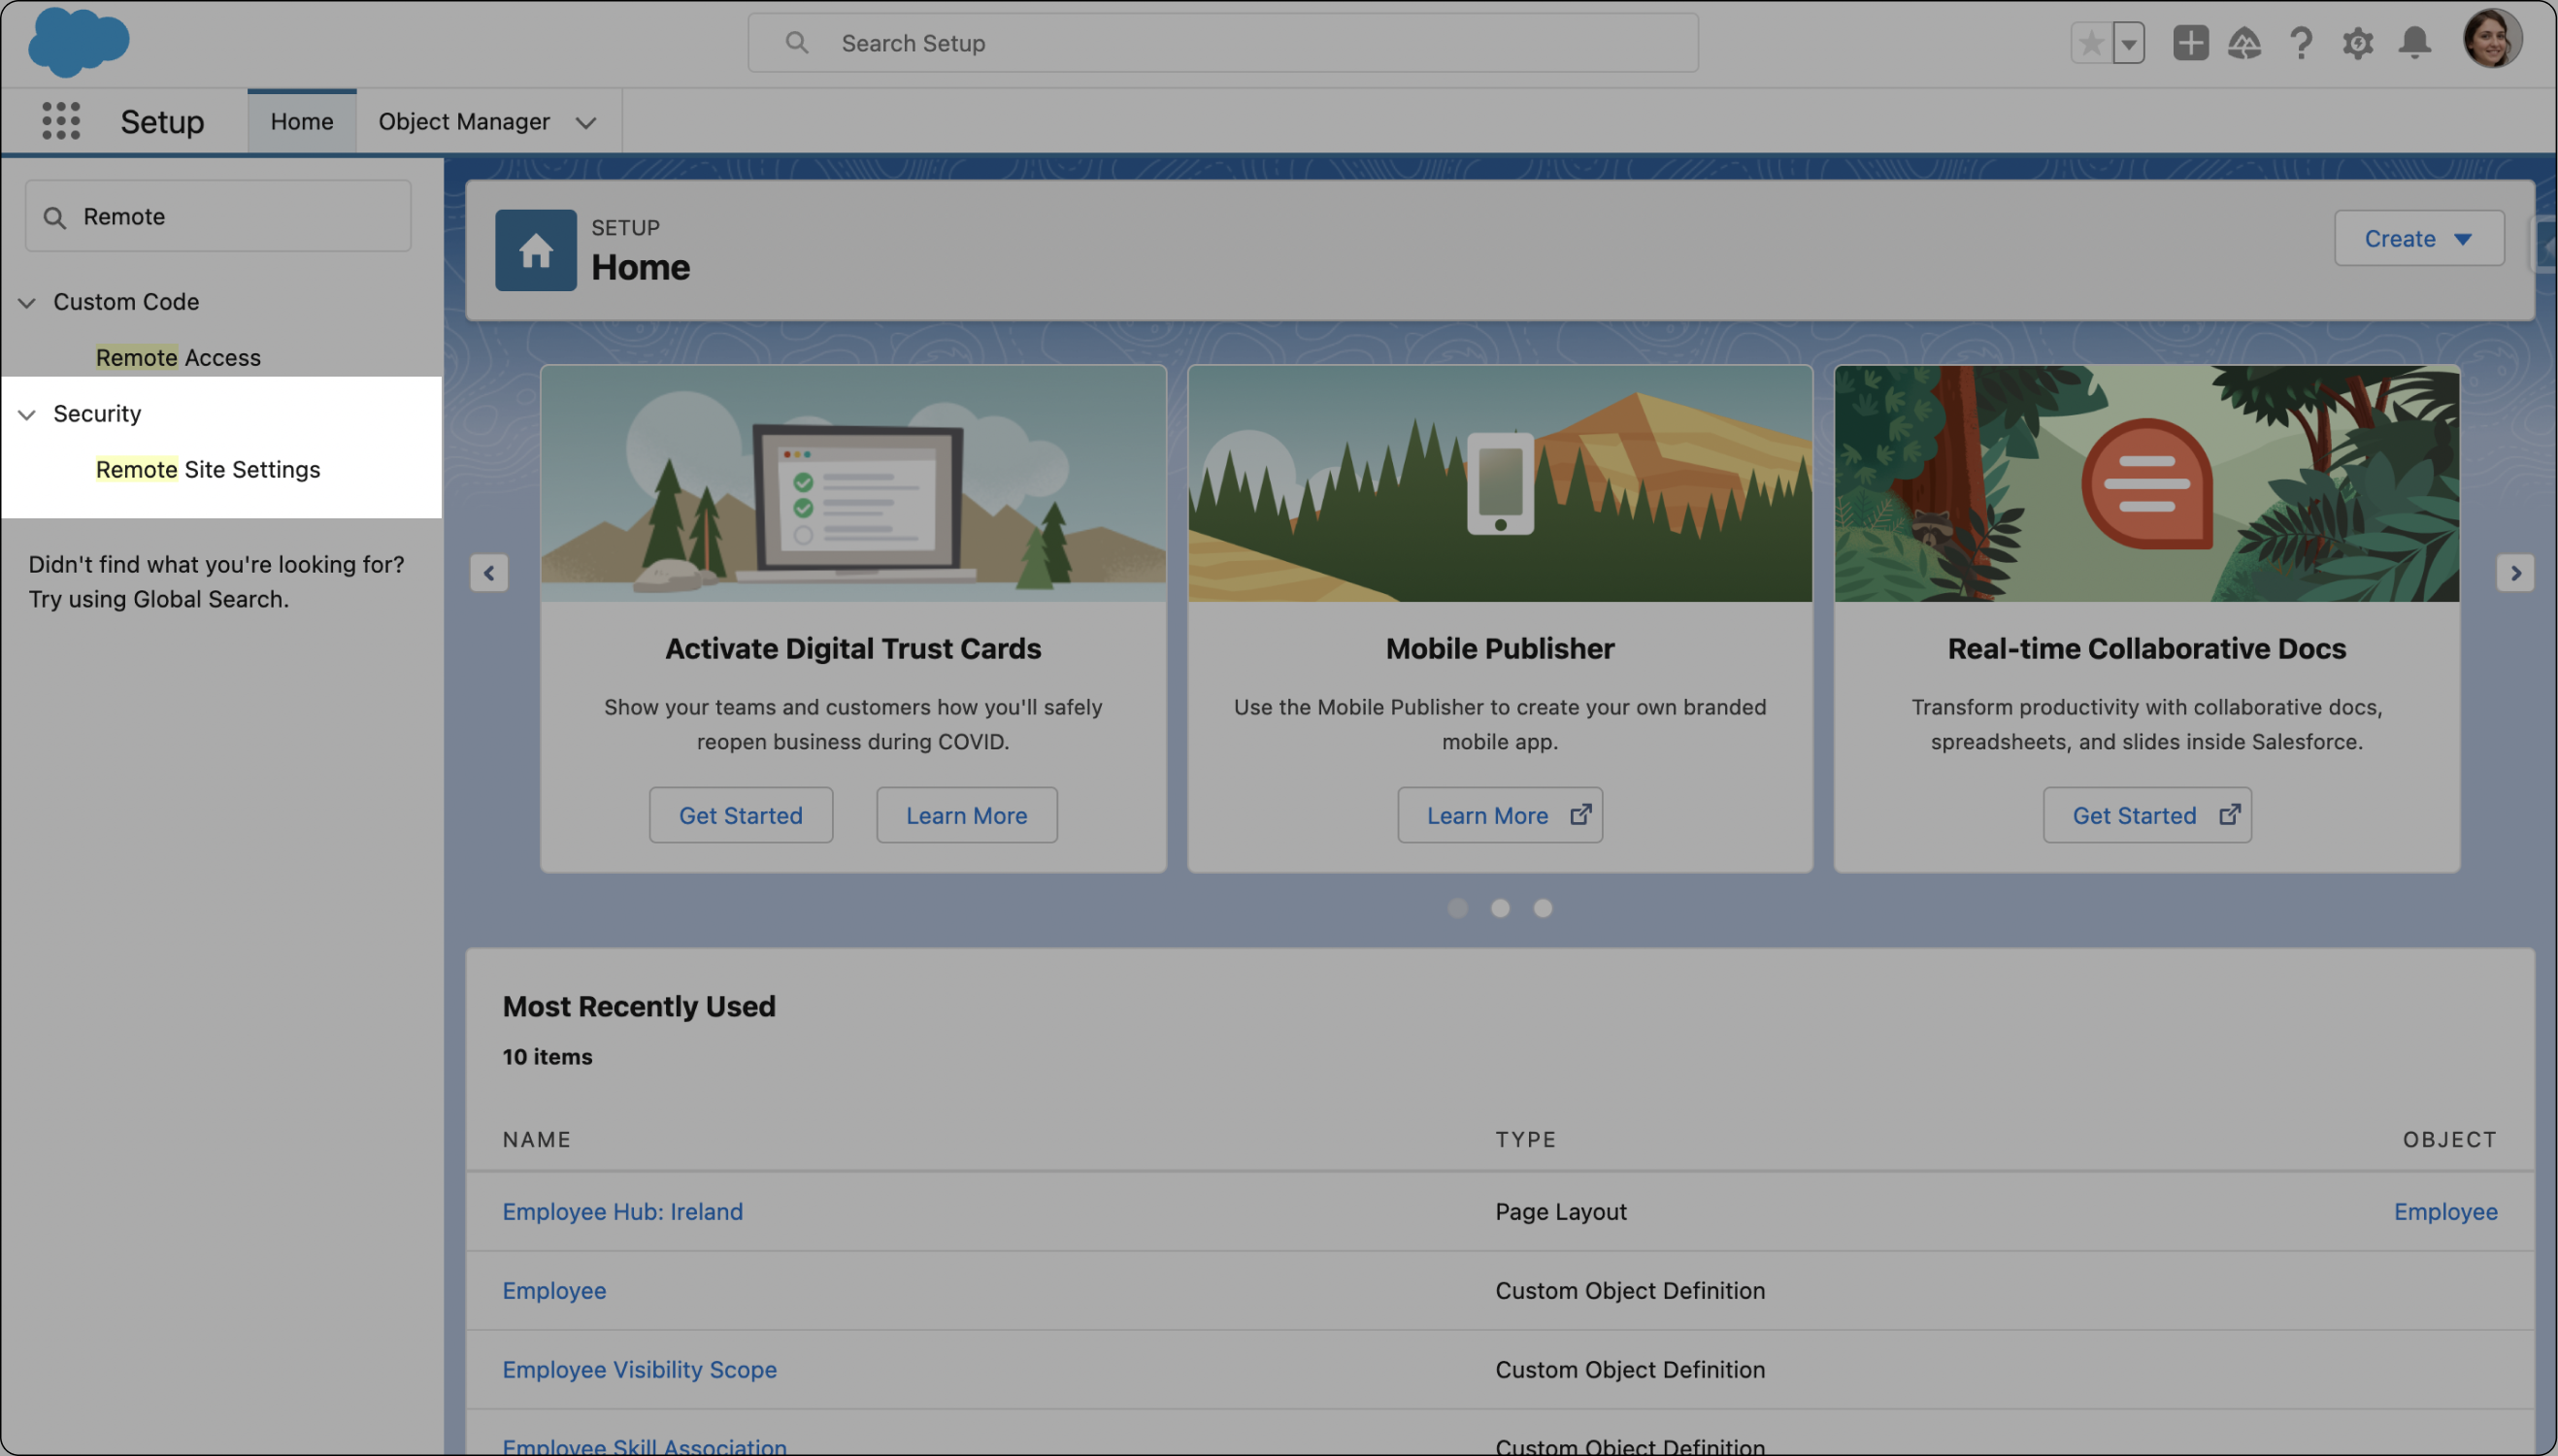
- Click on the Setup gear icon located in the upper right corner of the screen
- In the Quick Find bar on the left side of the Setup page, type "Remote" and click on Remote Site Settings in the search results
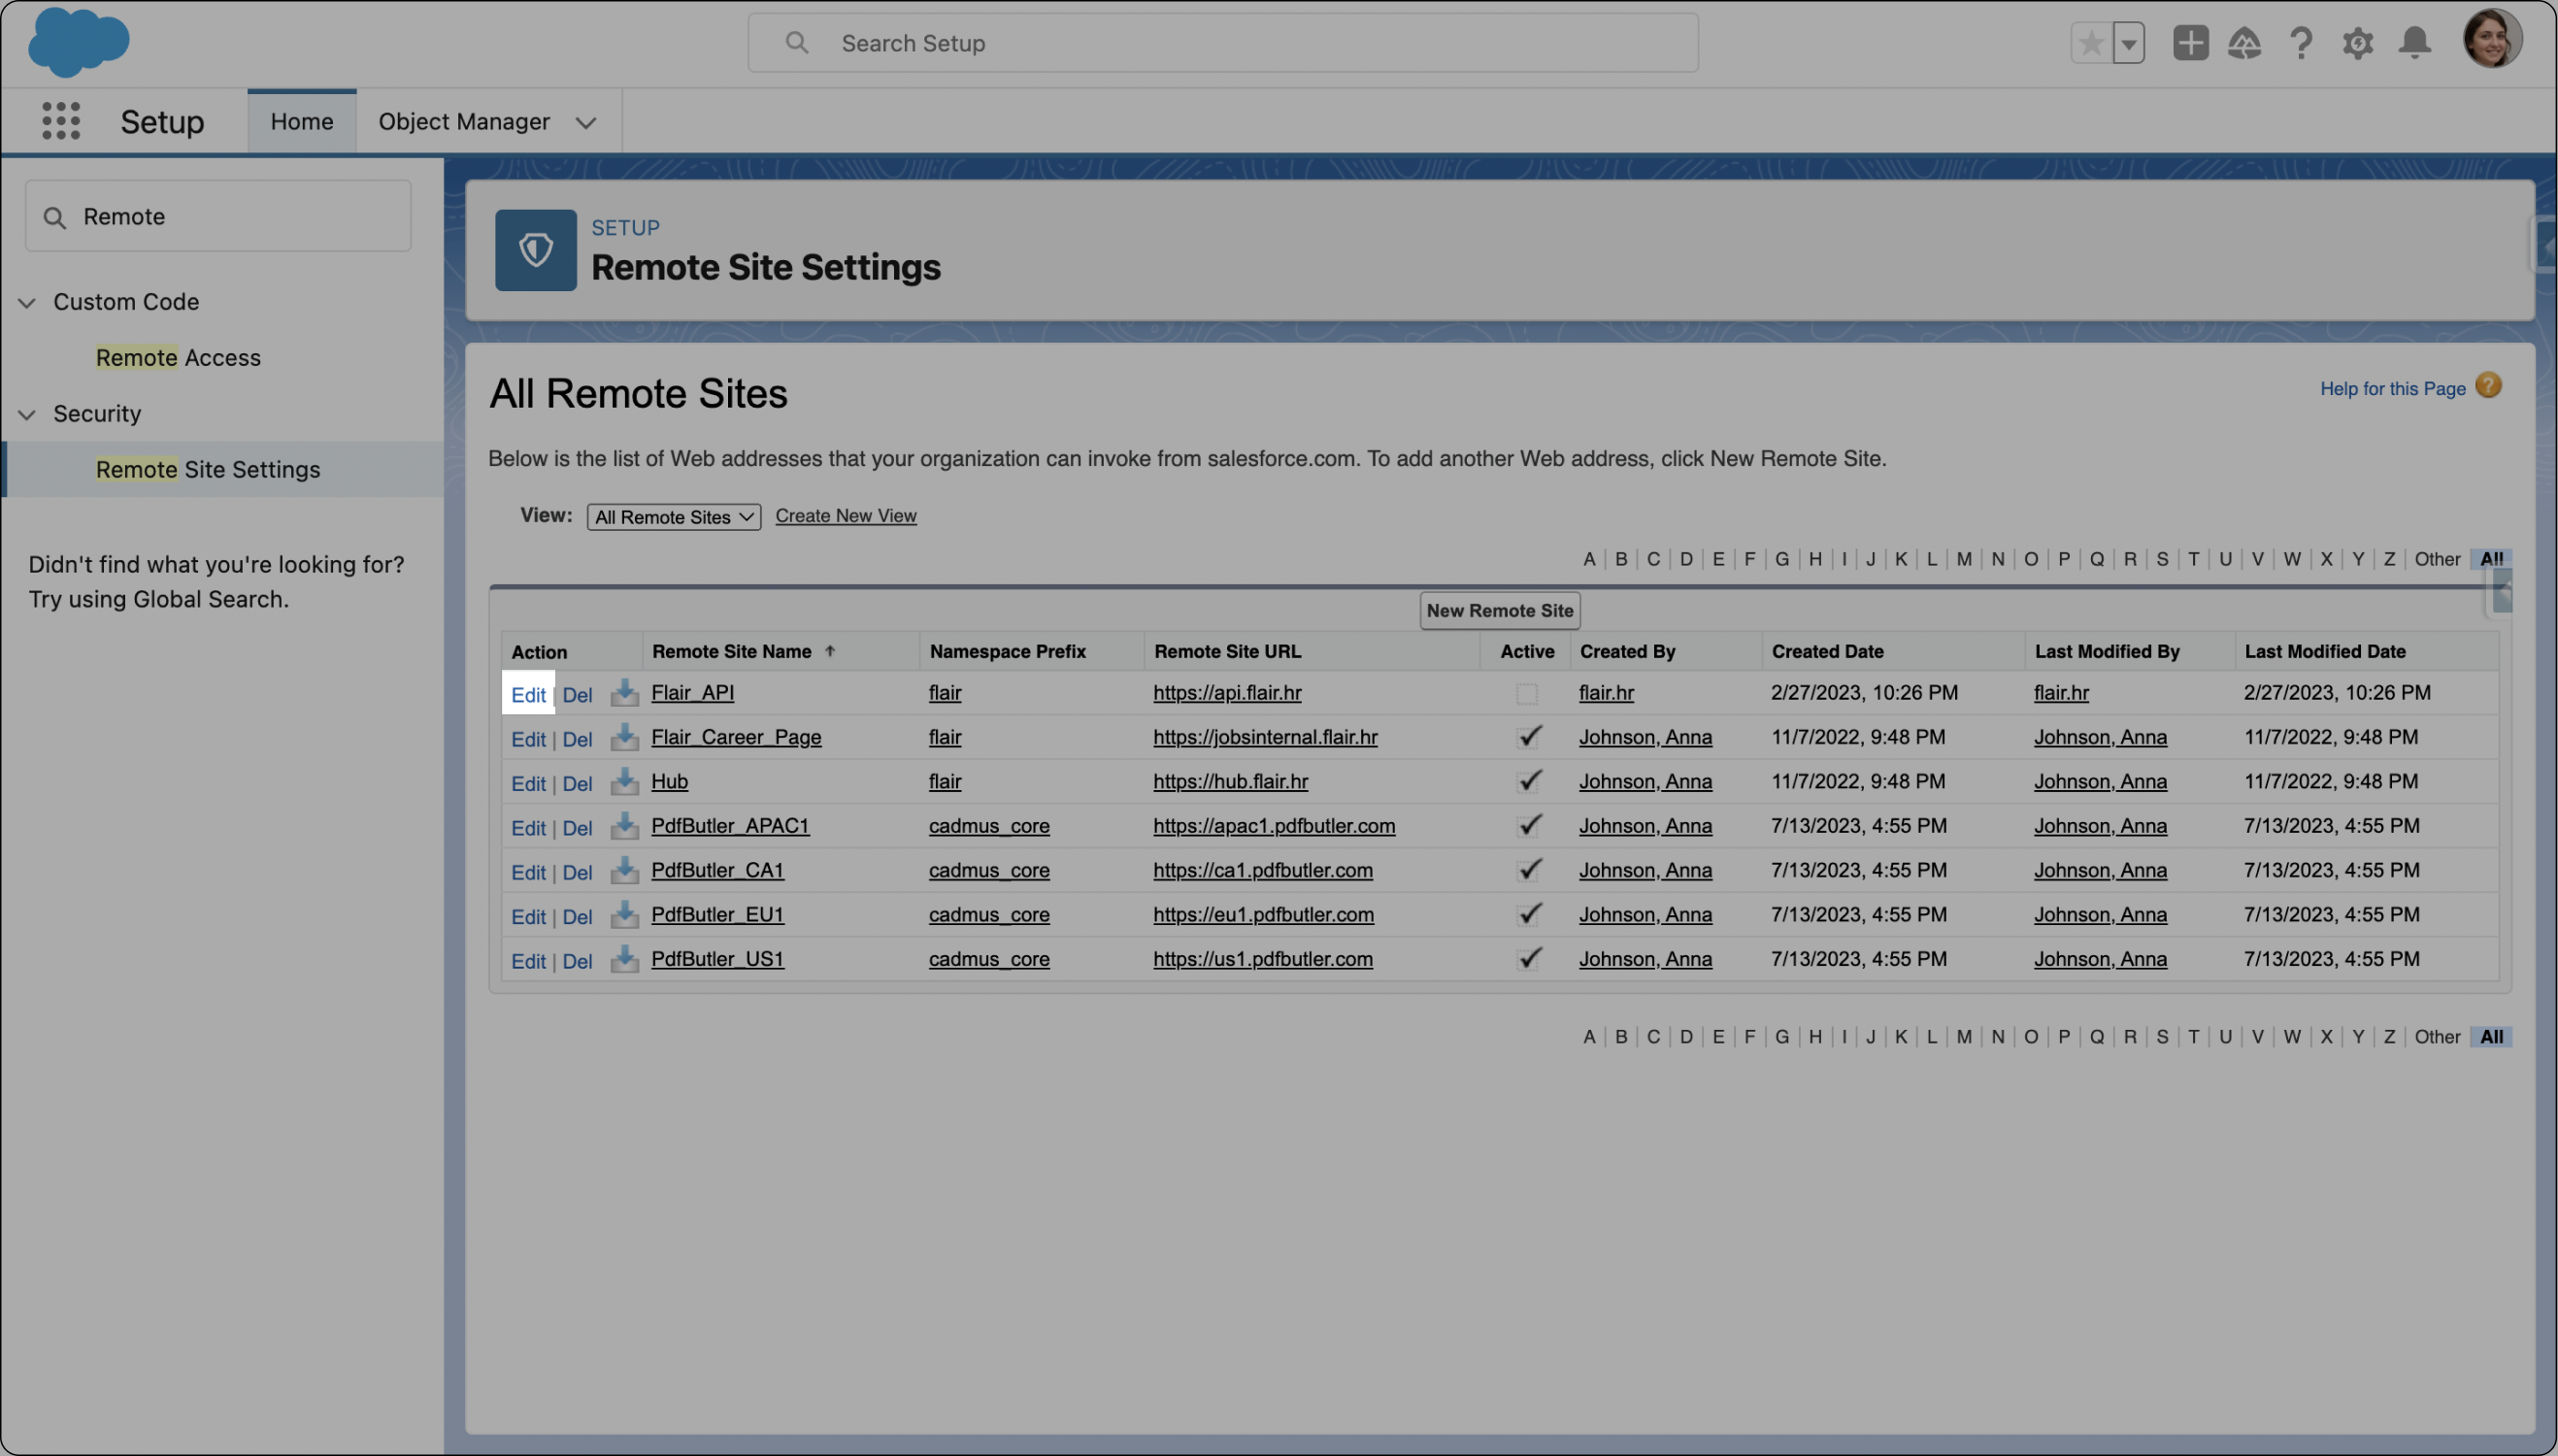
- On the Remote Site Settings page, locate the Remote Site Name related to the Flair API
- Click on the Edit button next to the Flair_API entry
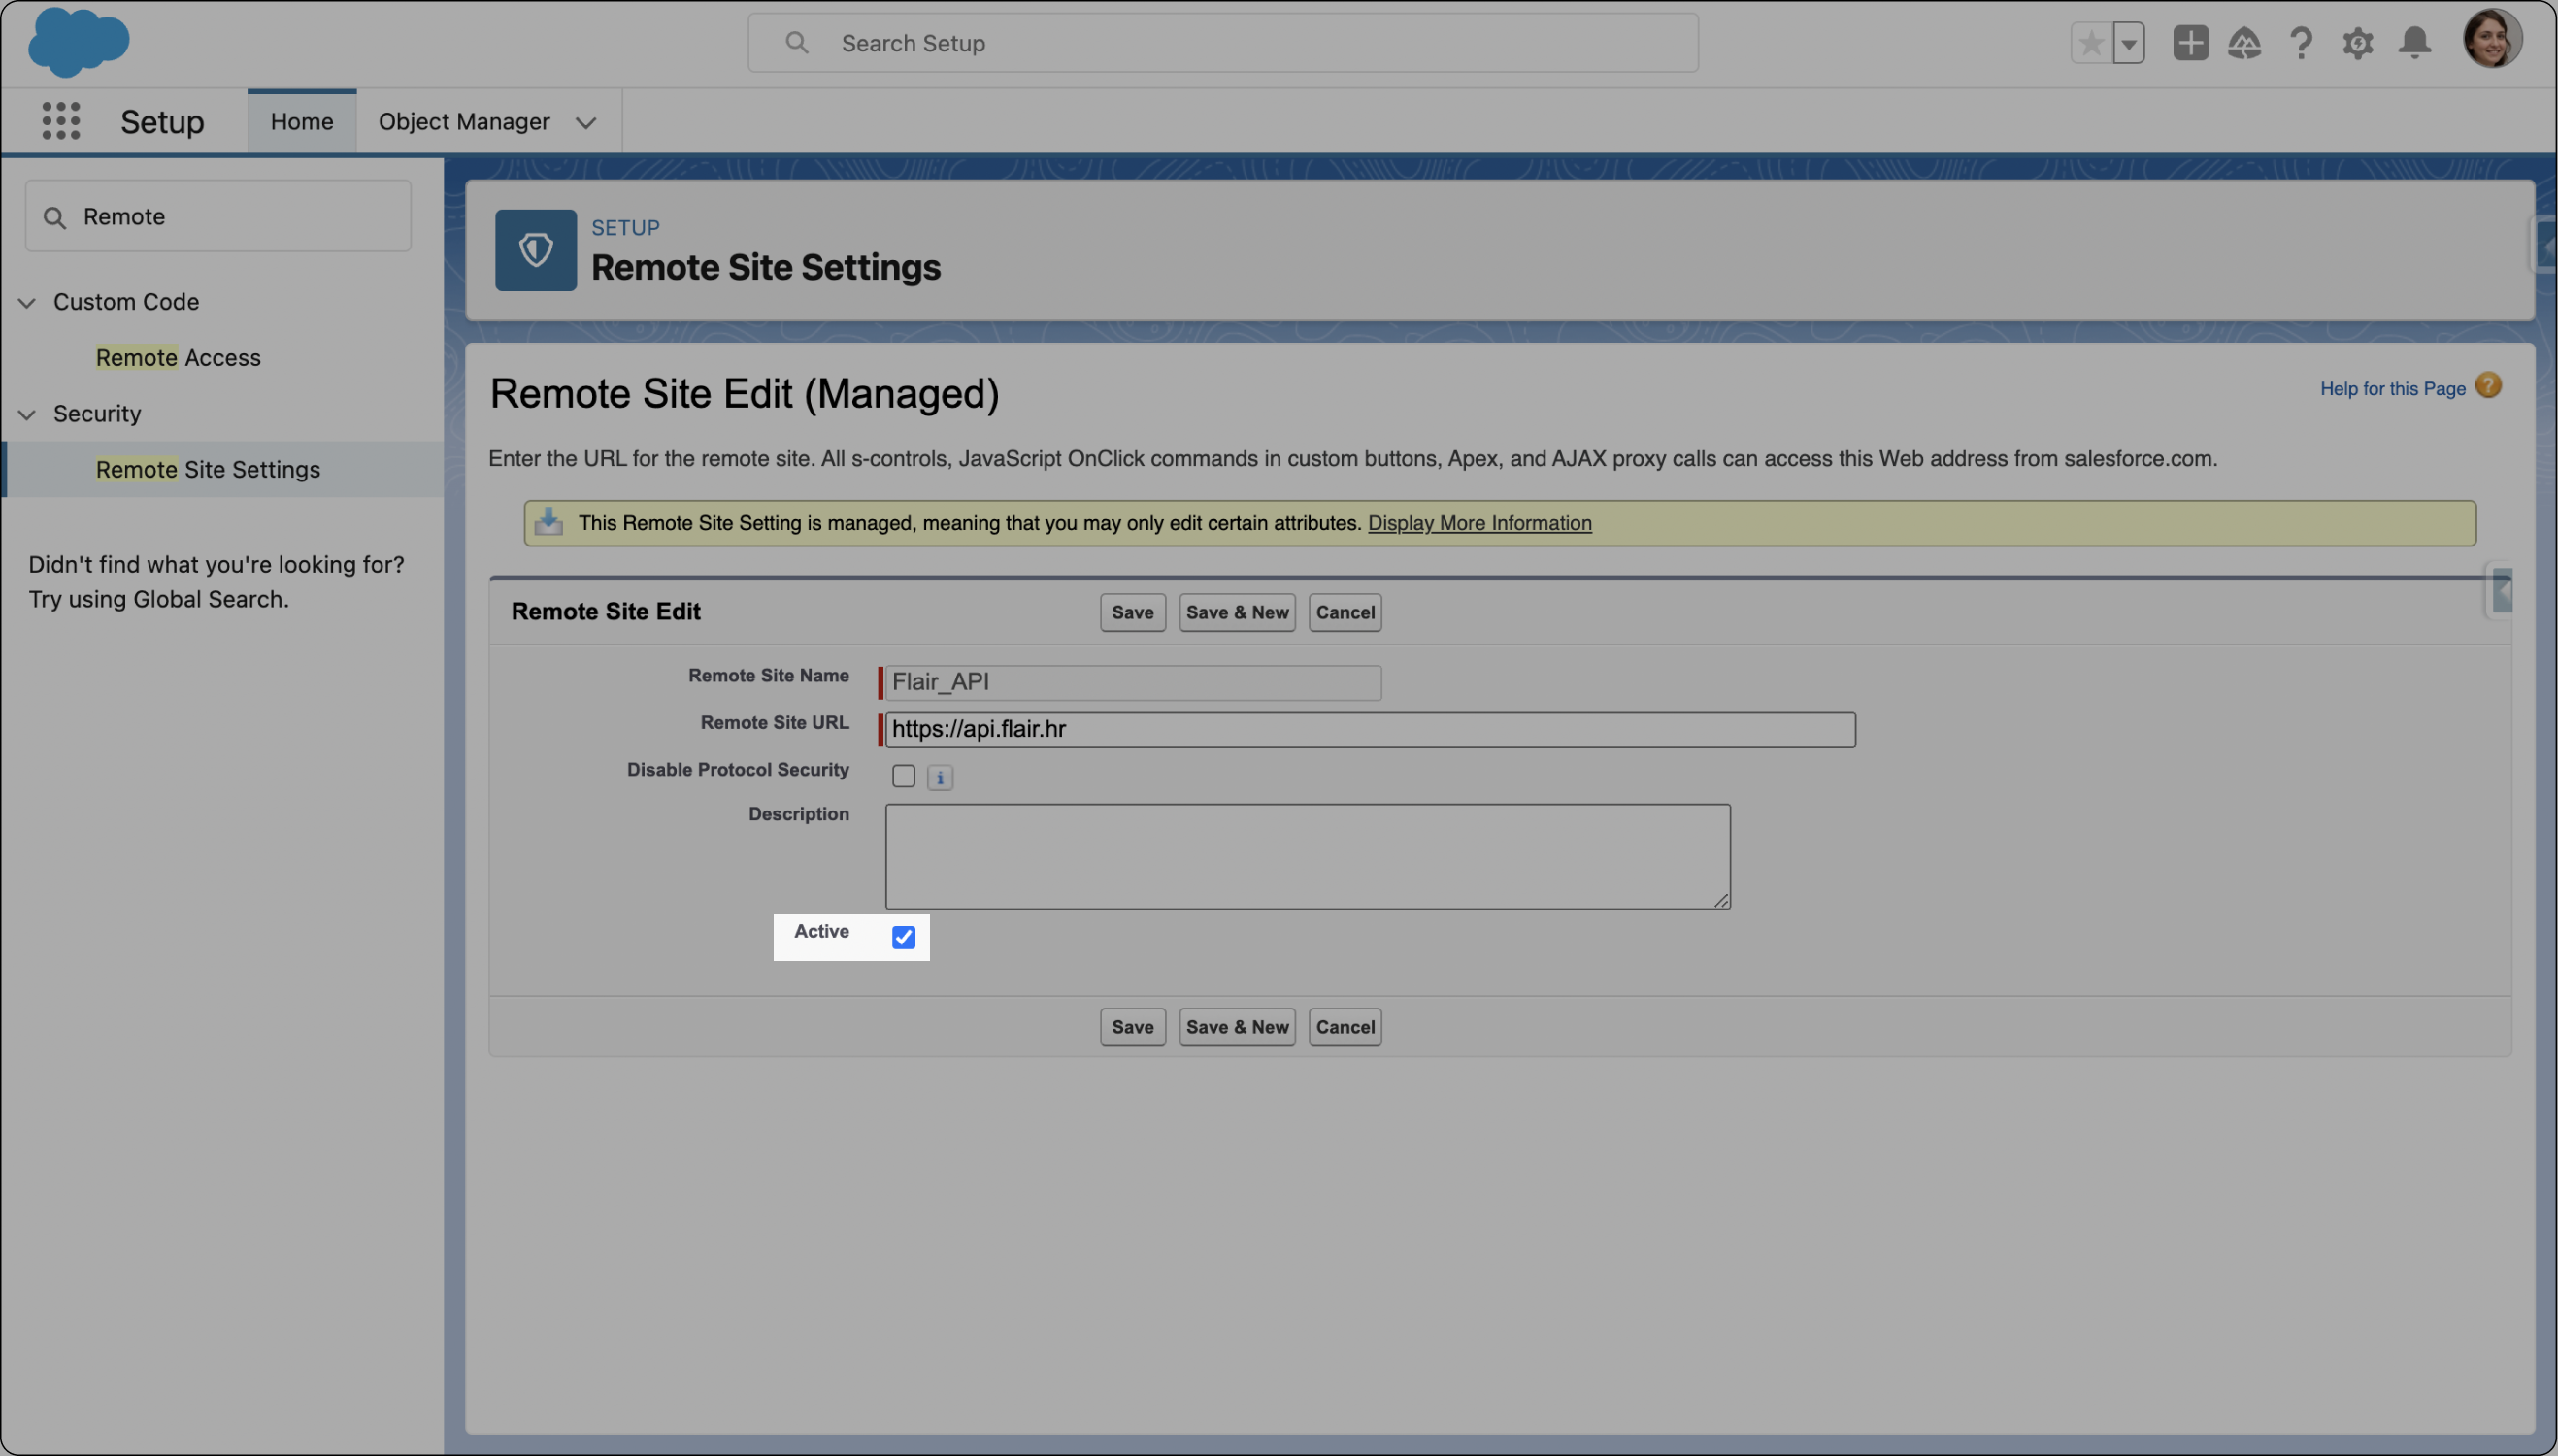
- Check the Active box to enable the Flair API and click Save to save the changes
Adding New Licenses
Once the Flair API function is activated, you can proceed to add new licenses using the HR app. Here's how:
- Log into the flair HR app on Salesforce
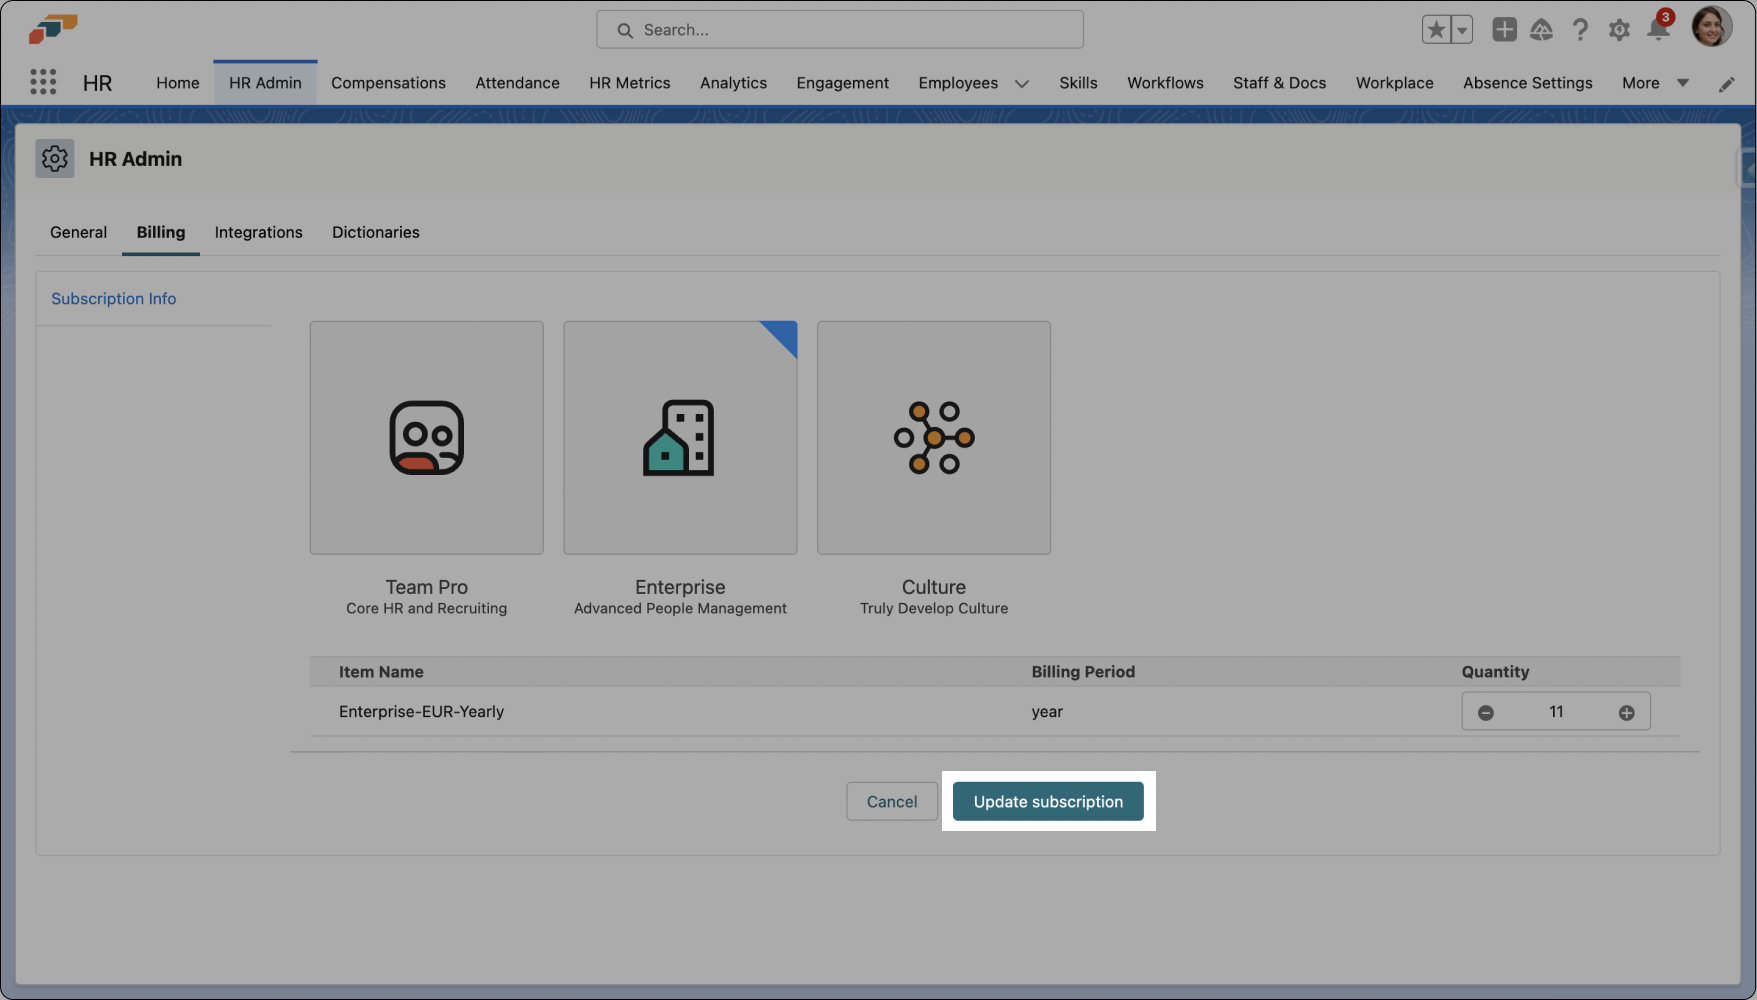
- Click on HR Admin in the Nav Bar and then open the Billing tab
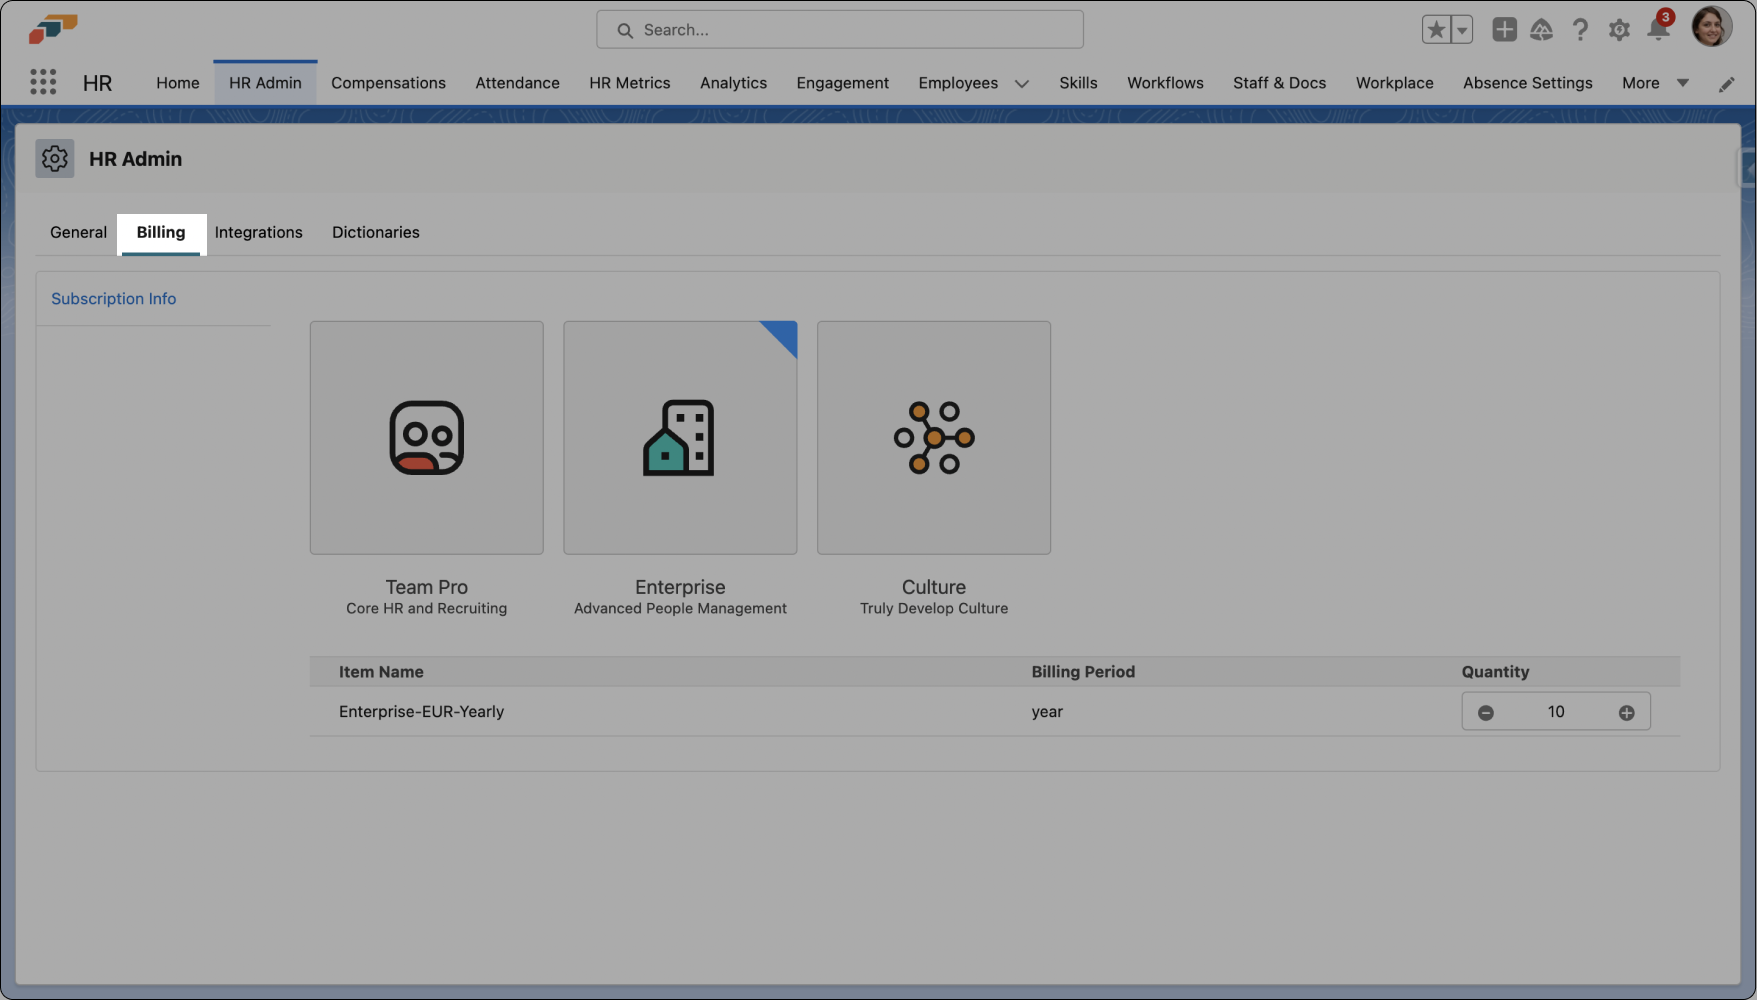
- On the Billing tab, you will see your active licenses. The plan you have purchased will be indicated by a blue corner.
- Click on the "+" symbol in the Quantity section to add a new license
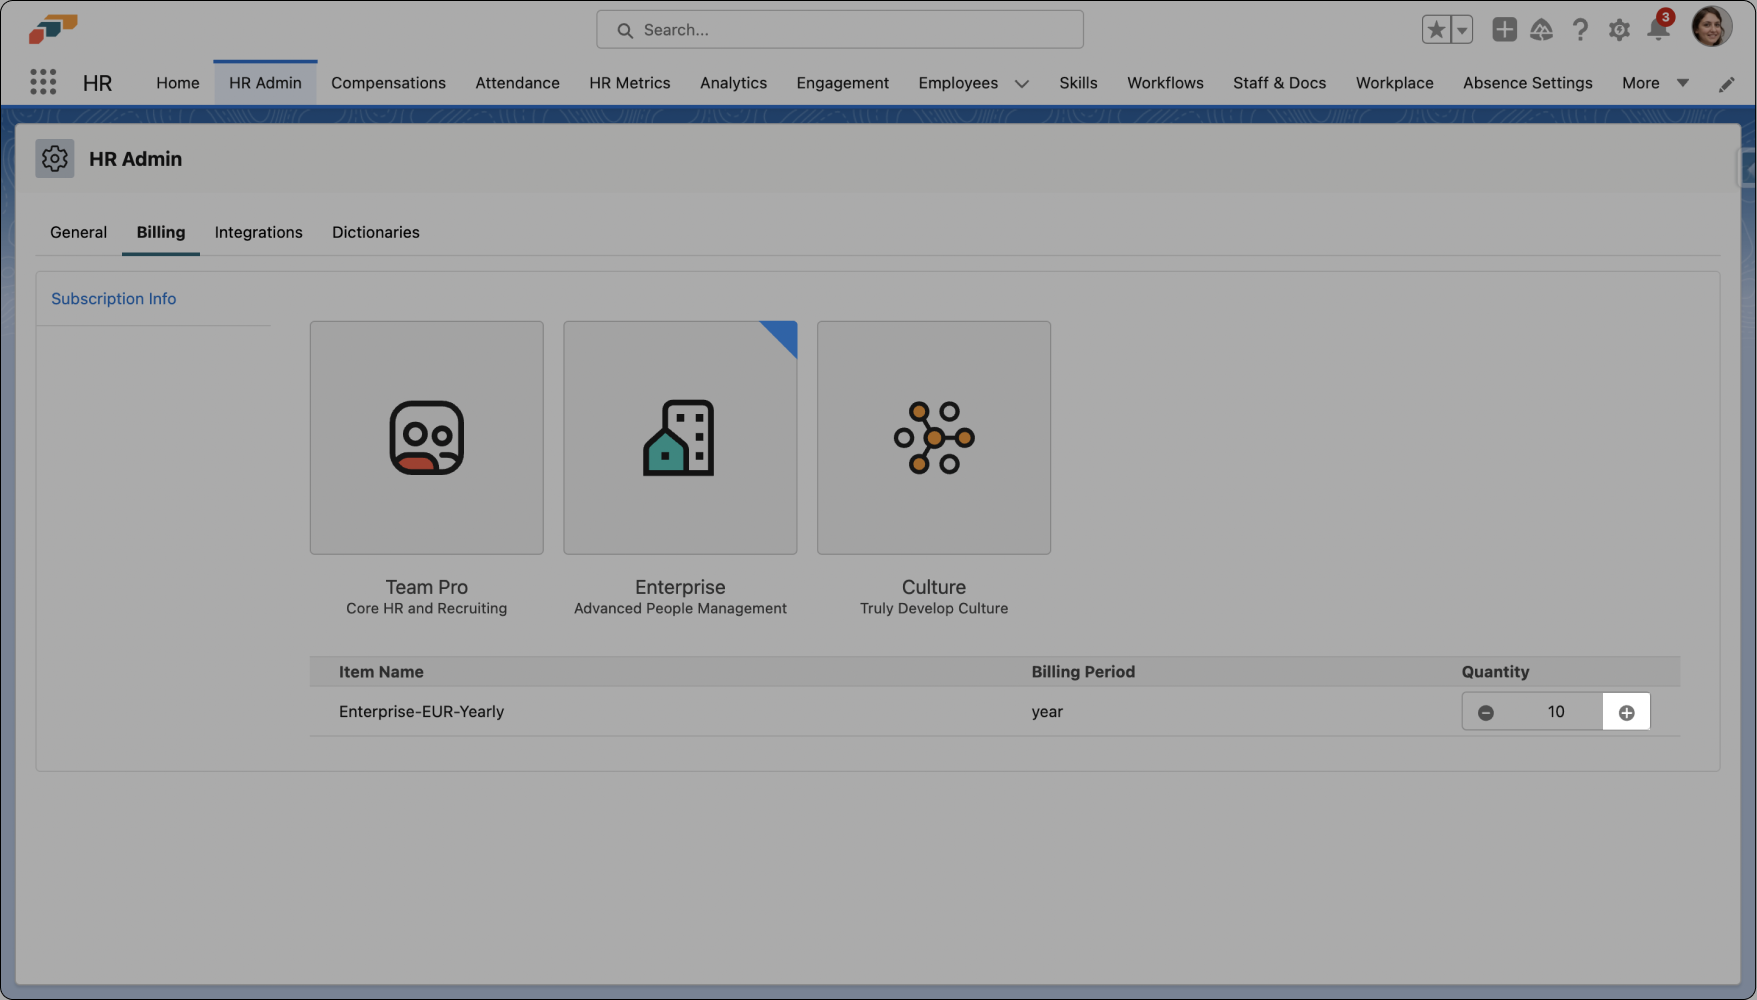
- Next, click Update Subscription to add the new license.
By following these steps, you can activate the Flair API function and add new flair licenses conveniently.