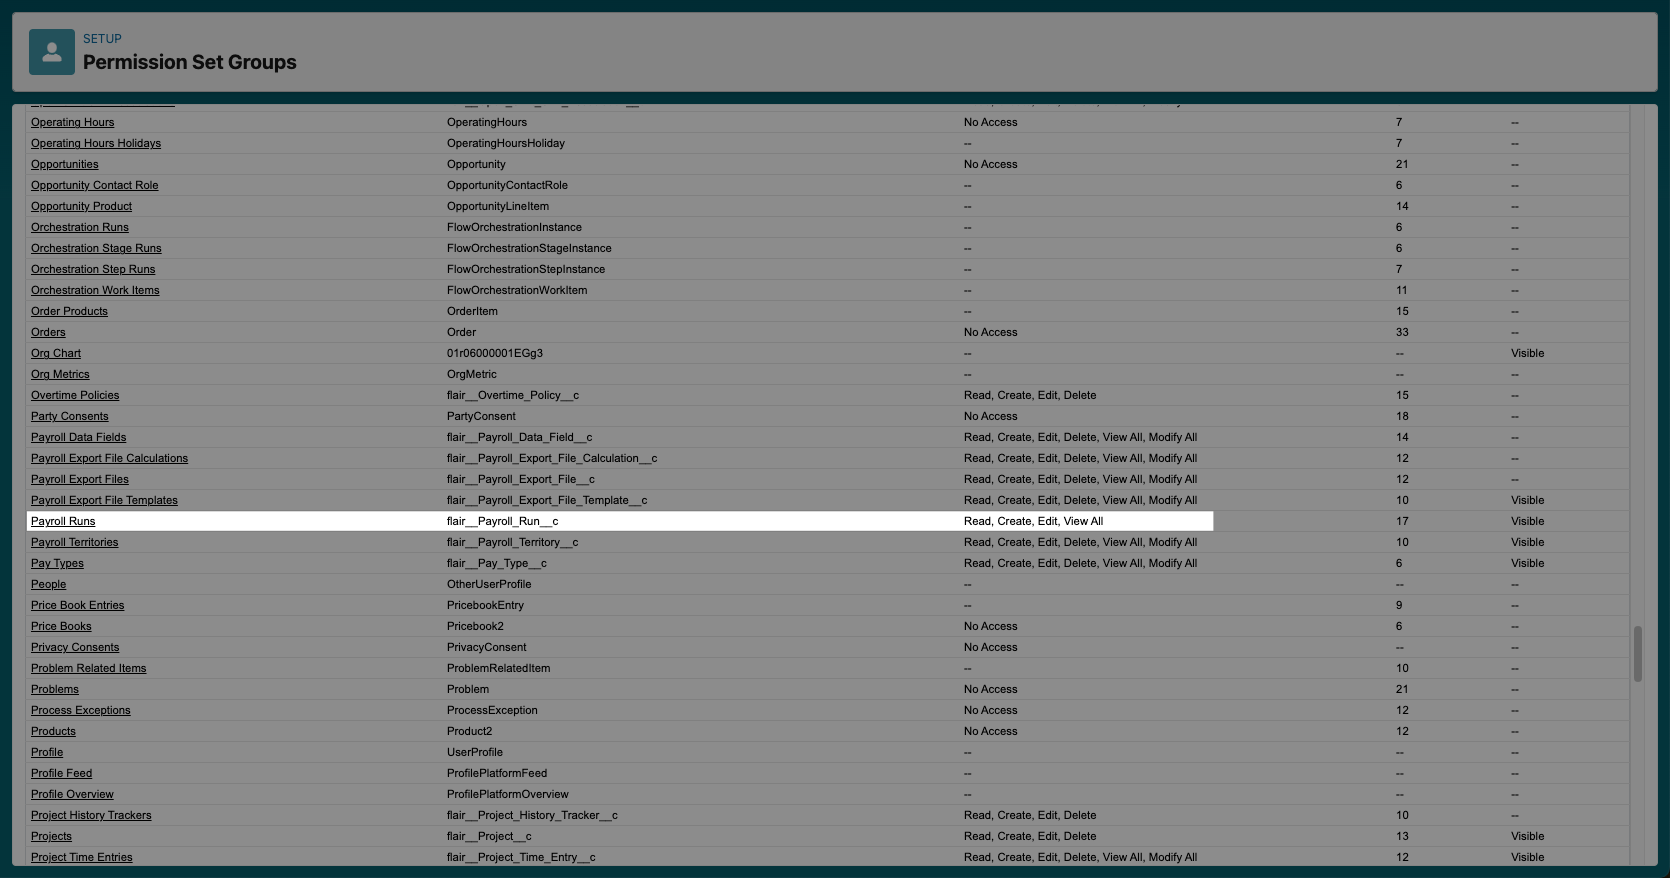
Permission Set Groups
In Salesforce, you can combine multiple permission sets to make a permission set group. This approach can save you time when assigning and managing permissions.
When To Use a Permission Set Group?
While flair offers a wide range of ready-made permission sets, some users and roles may require access to multiple permission sets. In this case, the best approach is to create a permission set group. Users will then receive all the permissions from the permission sets included in the group.
For example, if your HR managers also handle payroll, you could create a permission set combining Flair Manager and Flair Payroll Manager.
The advantage of this approach is that any updates we make to the permission sets in a group are automatically applied.
⚠️ We advise against duplicating an existing permission set and modifying it. Doing so can lead to your newly created permission set becoming outdated as we apply updates to our permission sets.
For more information on permission set groups, visit Salesforce Help or watch the video below.
Creating a Permission Set Group in flair
To create a permission set group, click the gear icon ⚙ to go to Salesforce Setup.
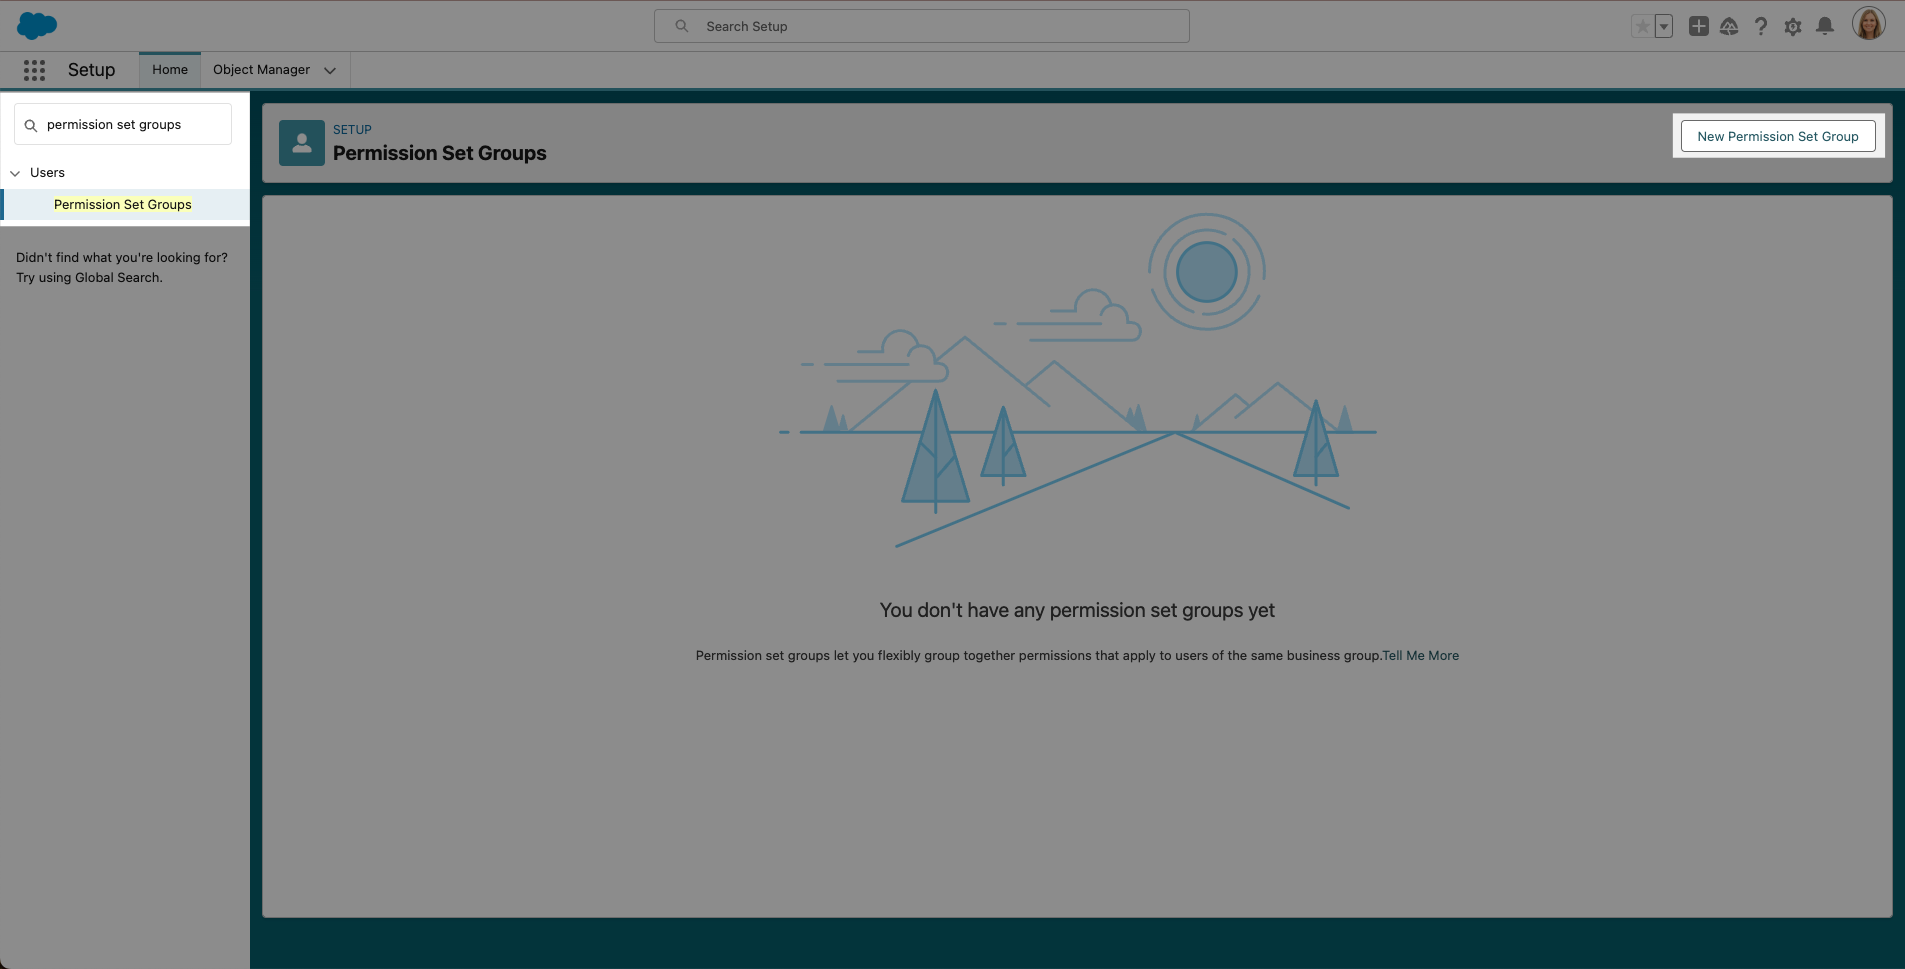
- Type permission set groups into the Quick Find search bar on the left. Then click New Permission Set Group.
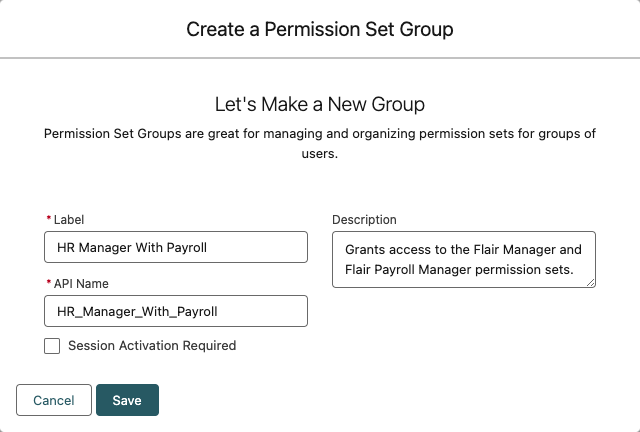
- Give your permission set group a Label and write a description. Then click Save.
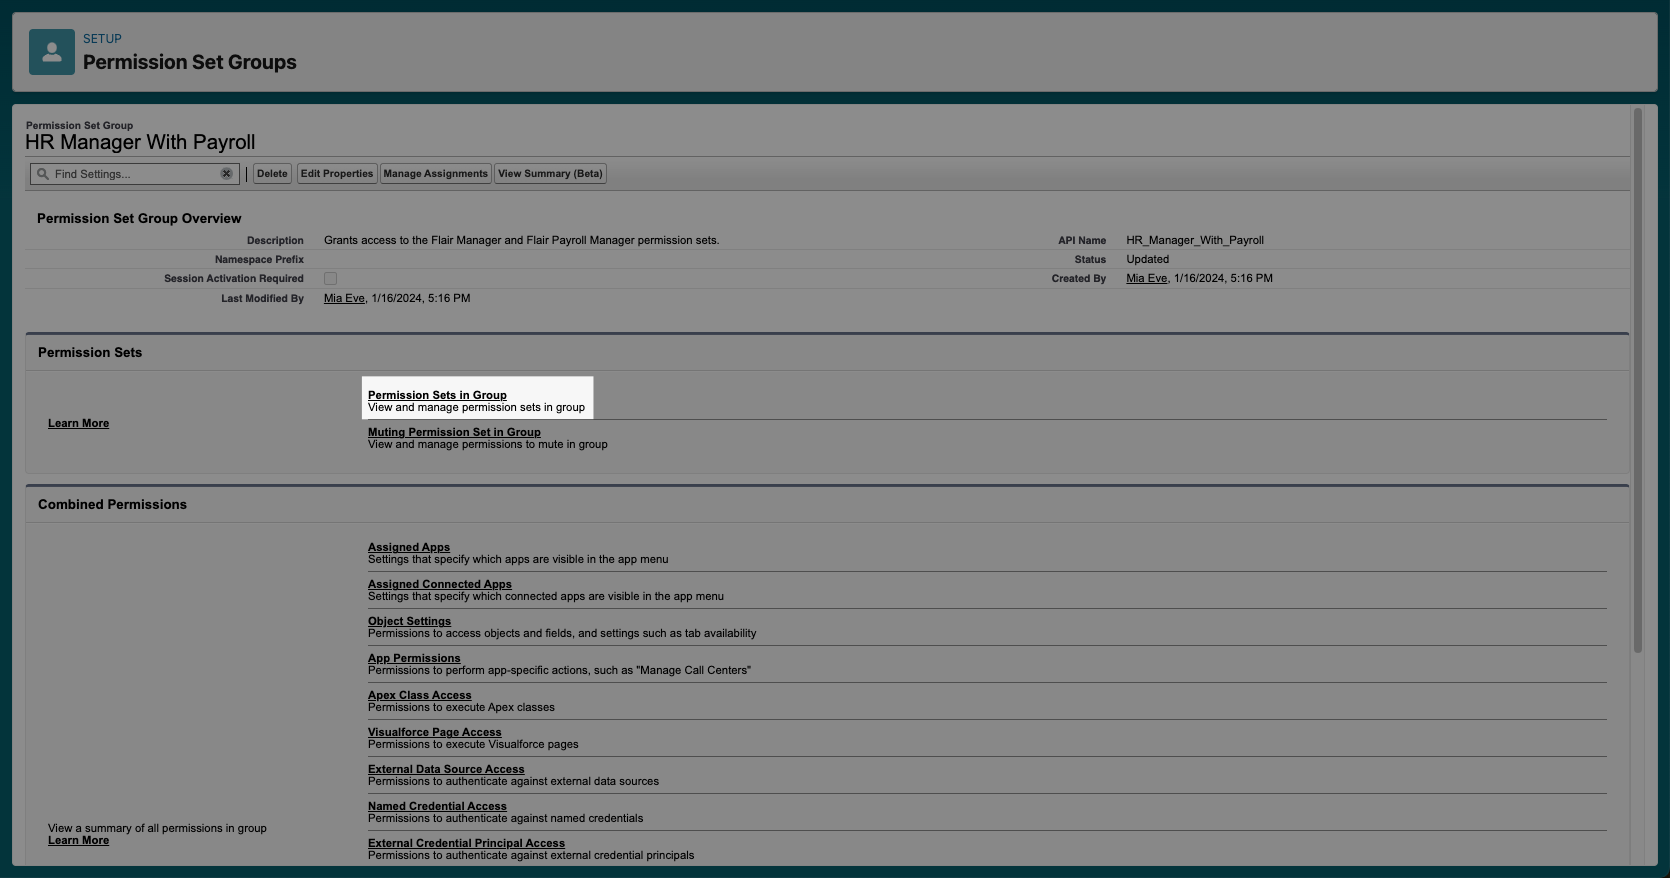
- In your new permission set group, click Permission Sets in Group. Then click Add Permission Set.
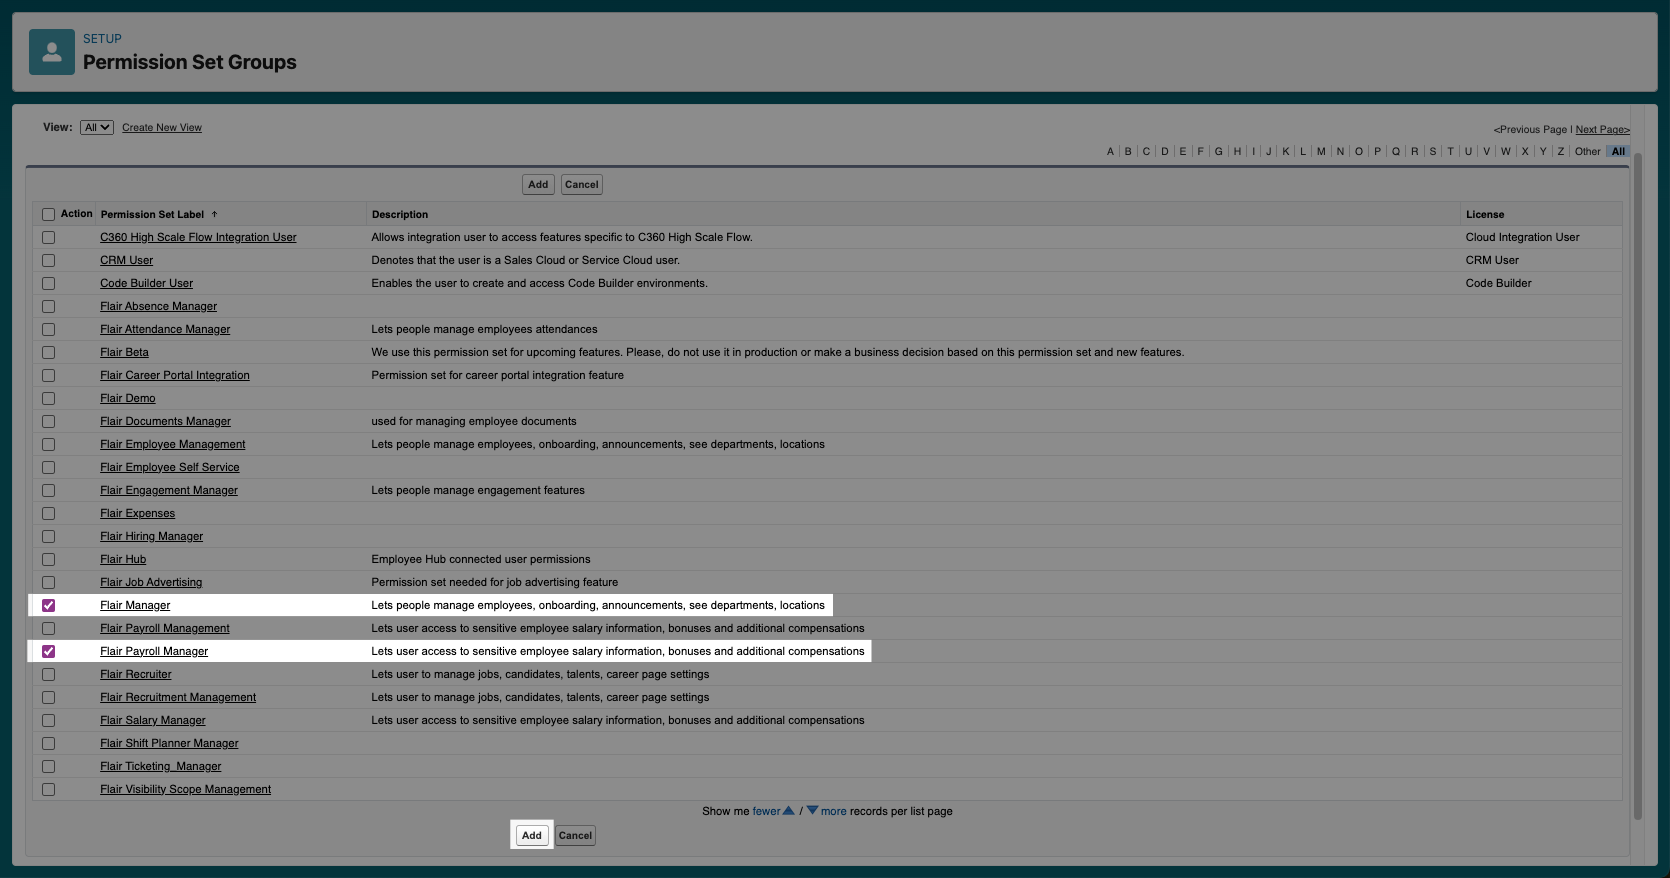
- Check the permission sets you want to include in your group, and then click Add.
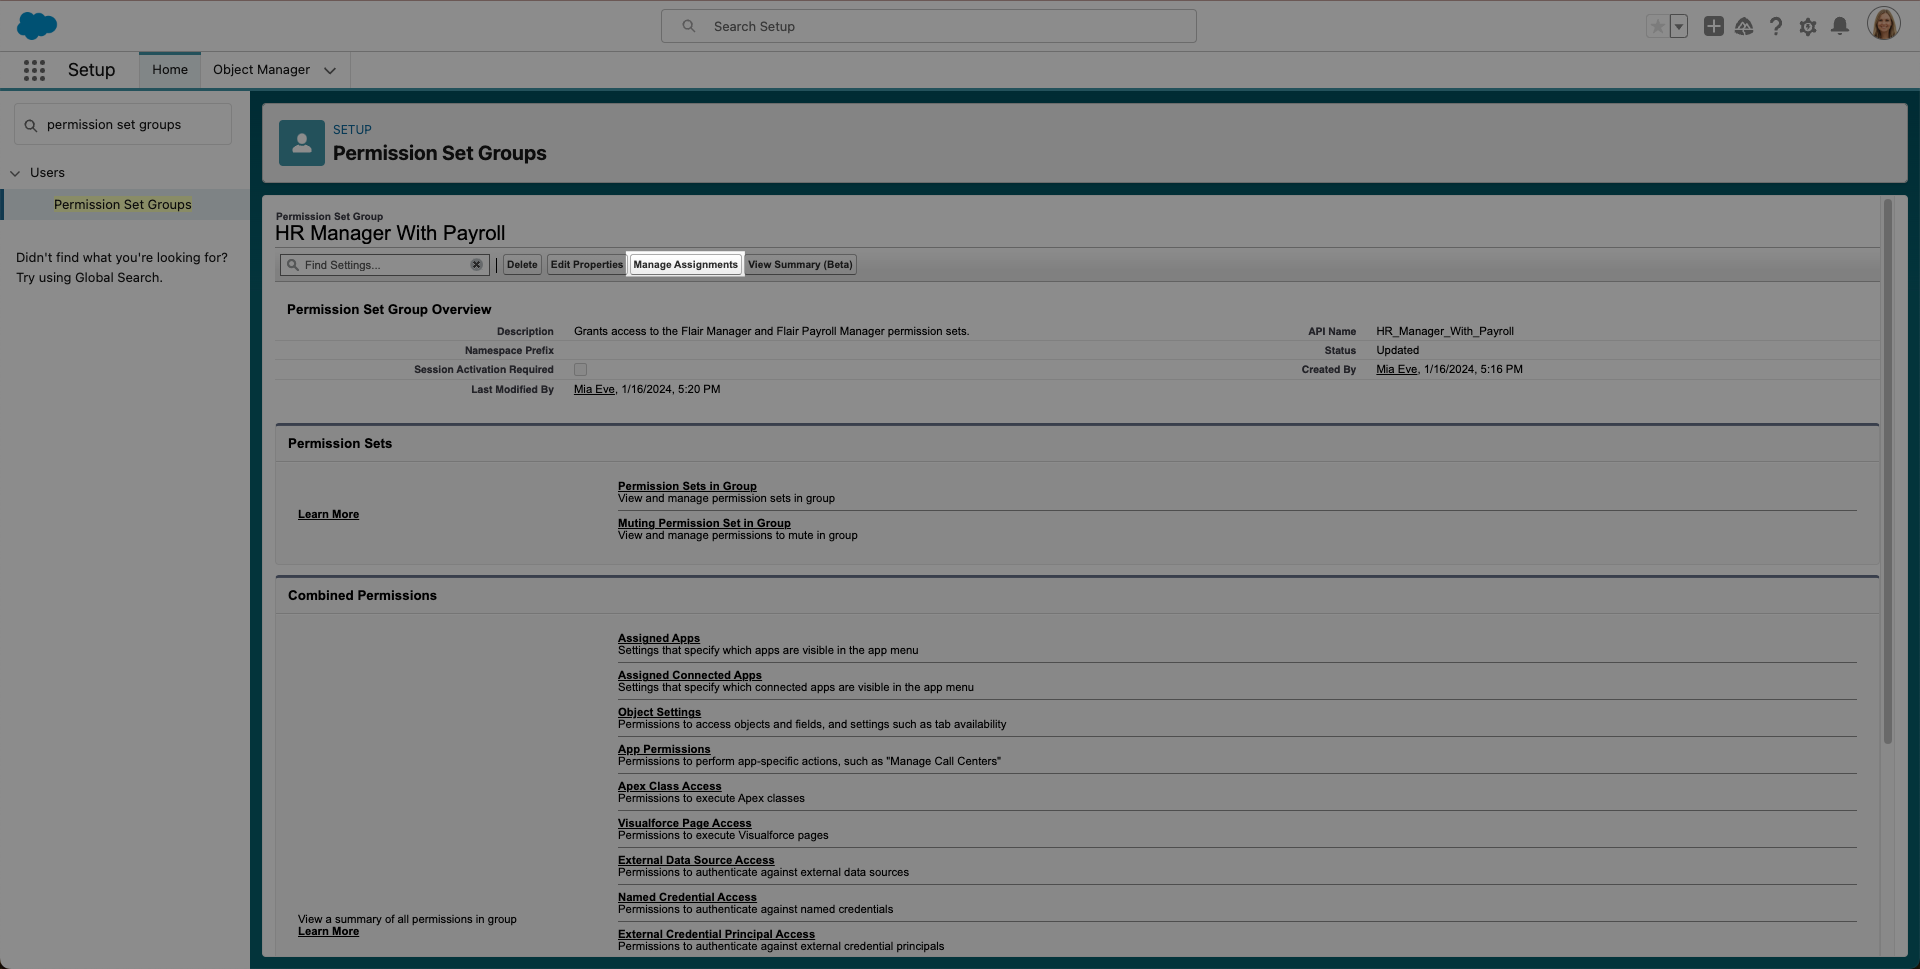
- You will now see a screen showing you an overview of the permission sets in your new group. To assign this permission set group to a user, go back to the Permission Set Groups page, select your new group, and click Manage Assignments.
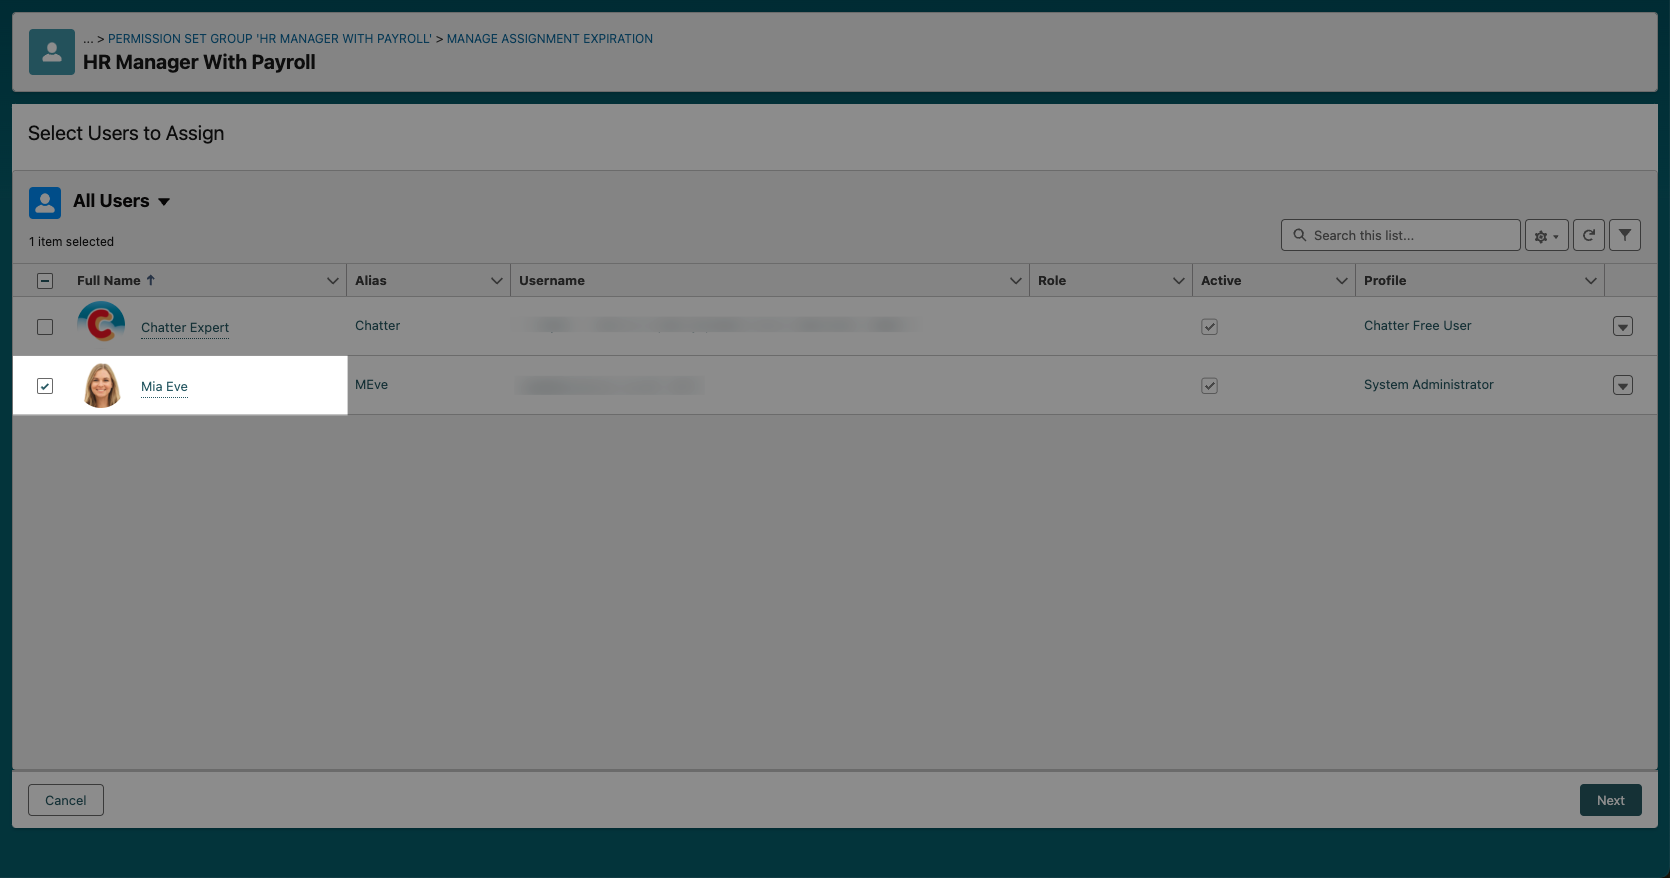
- Click Add Assignment and select the user you want to assign the permission set to. Then click Next. Choose whether the assignment should have an expiry date, and then click Assign.
Restricting Permissions in a Permission Set Group
Permission set groups not only allow you to assign additional permissions to a user, but also to disable some permissions within an existing permission set. For example, if you want your HR managers to be able to view payroll details but not delete them. To do this, you can create a muting permission set and add it to a permission set group to restrict certain permissions.
If you mute a permission in a permission set group, it will only apply to that specific group. It will not affect permissions in the individual sets.
- Open your permission set and click Muting Permission Sets in Group.
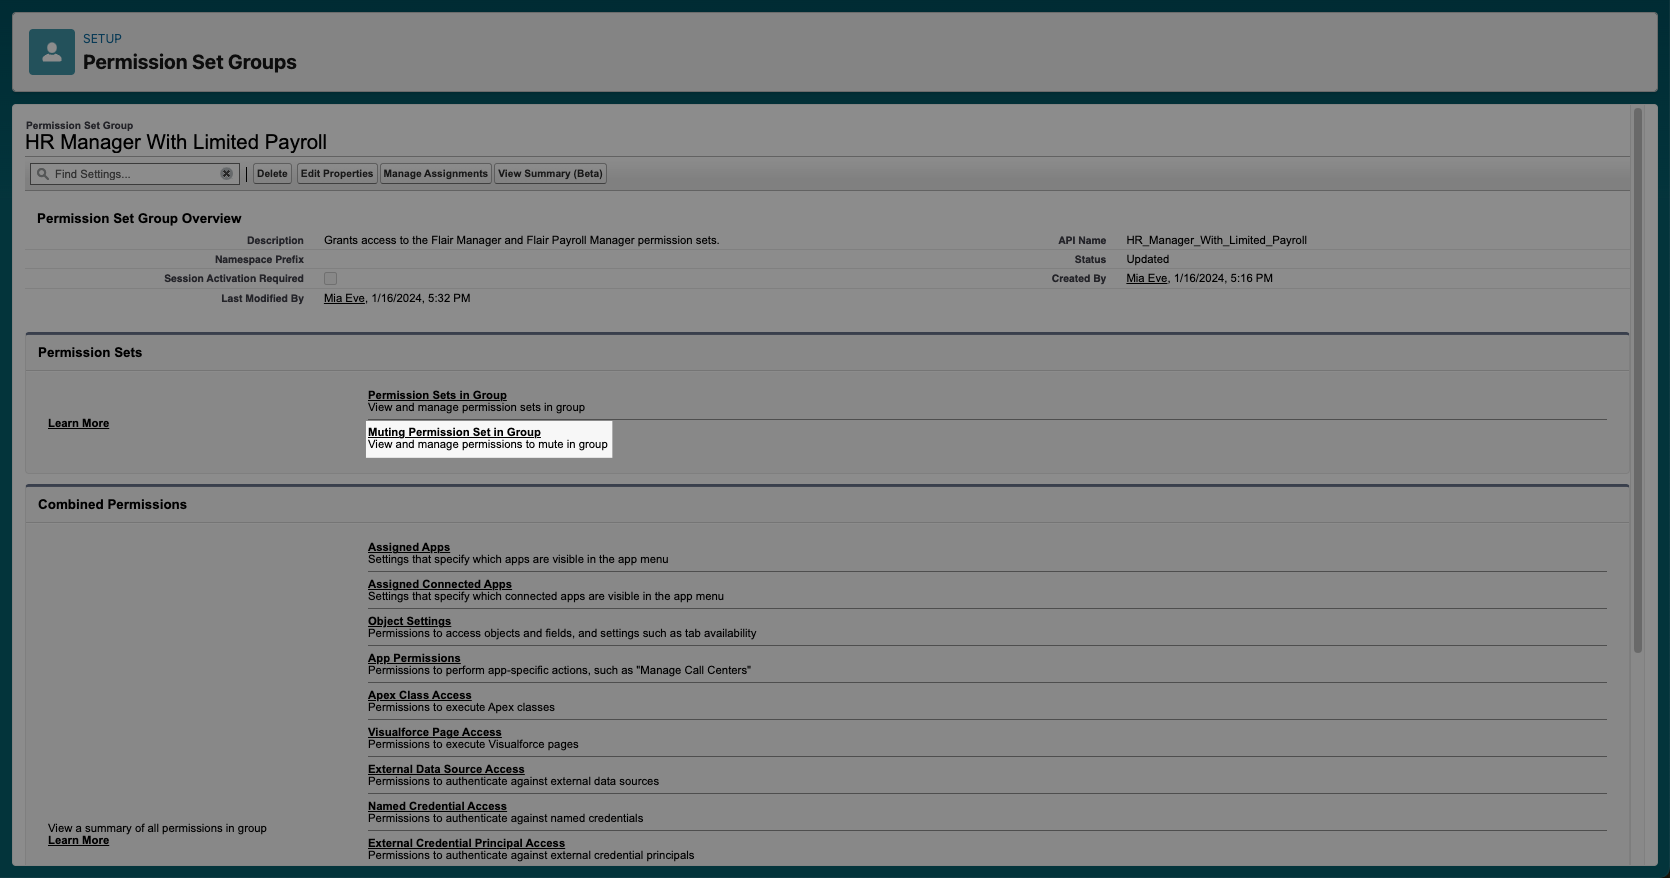
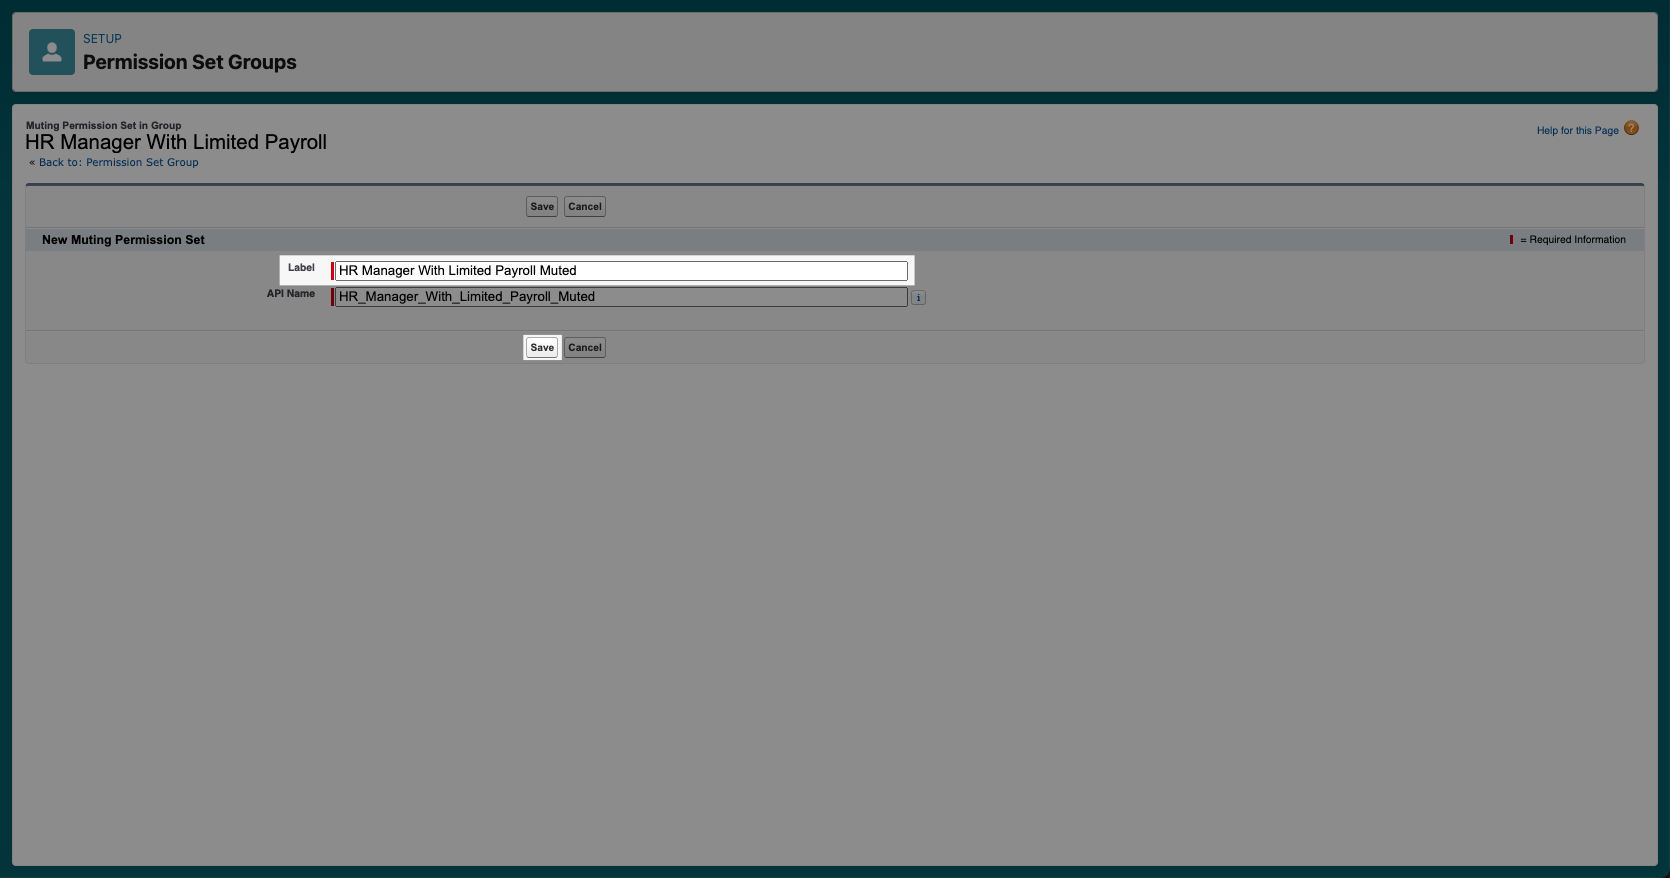
- Click New to create a new muting permission set. Give it a Label and click Save.
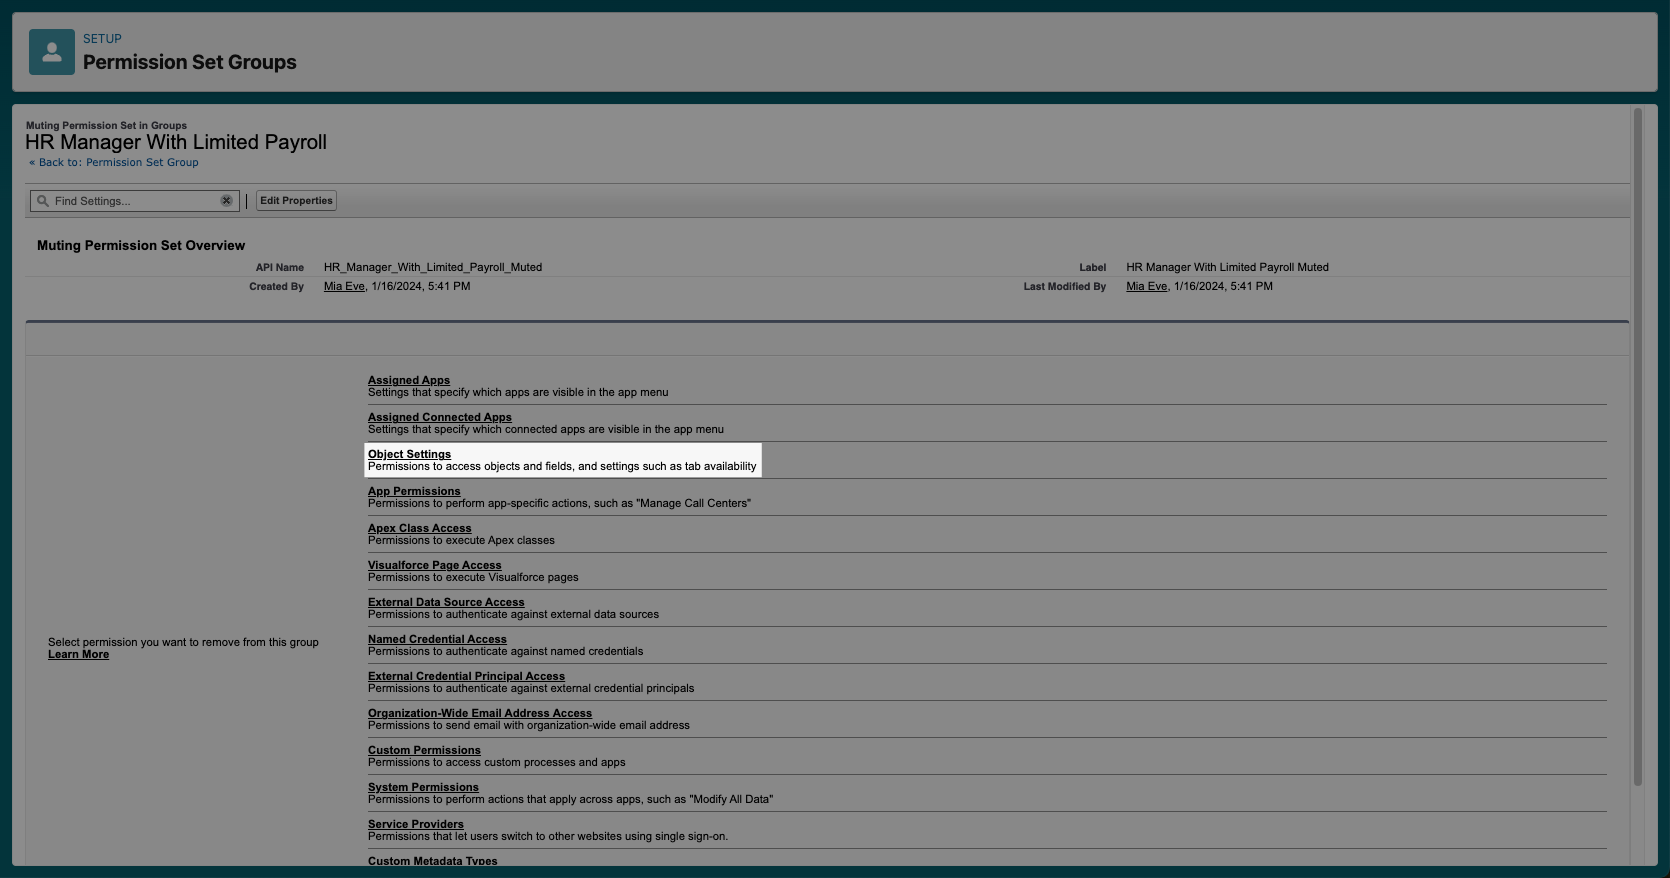
- Open your new muting permission set and click on Object Settings.
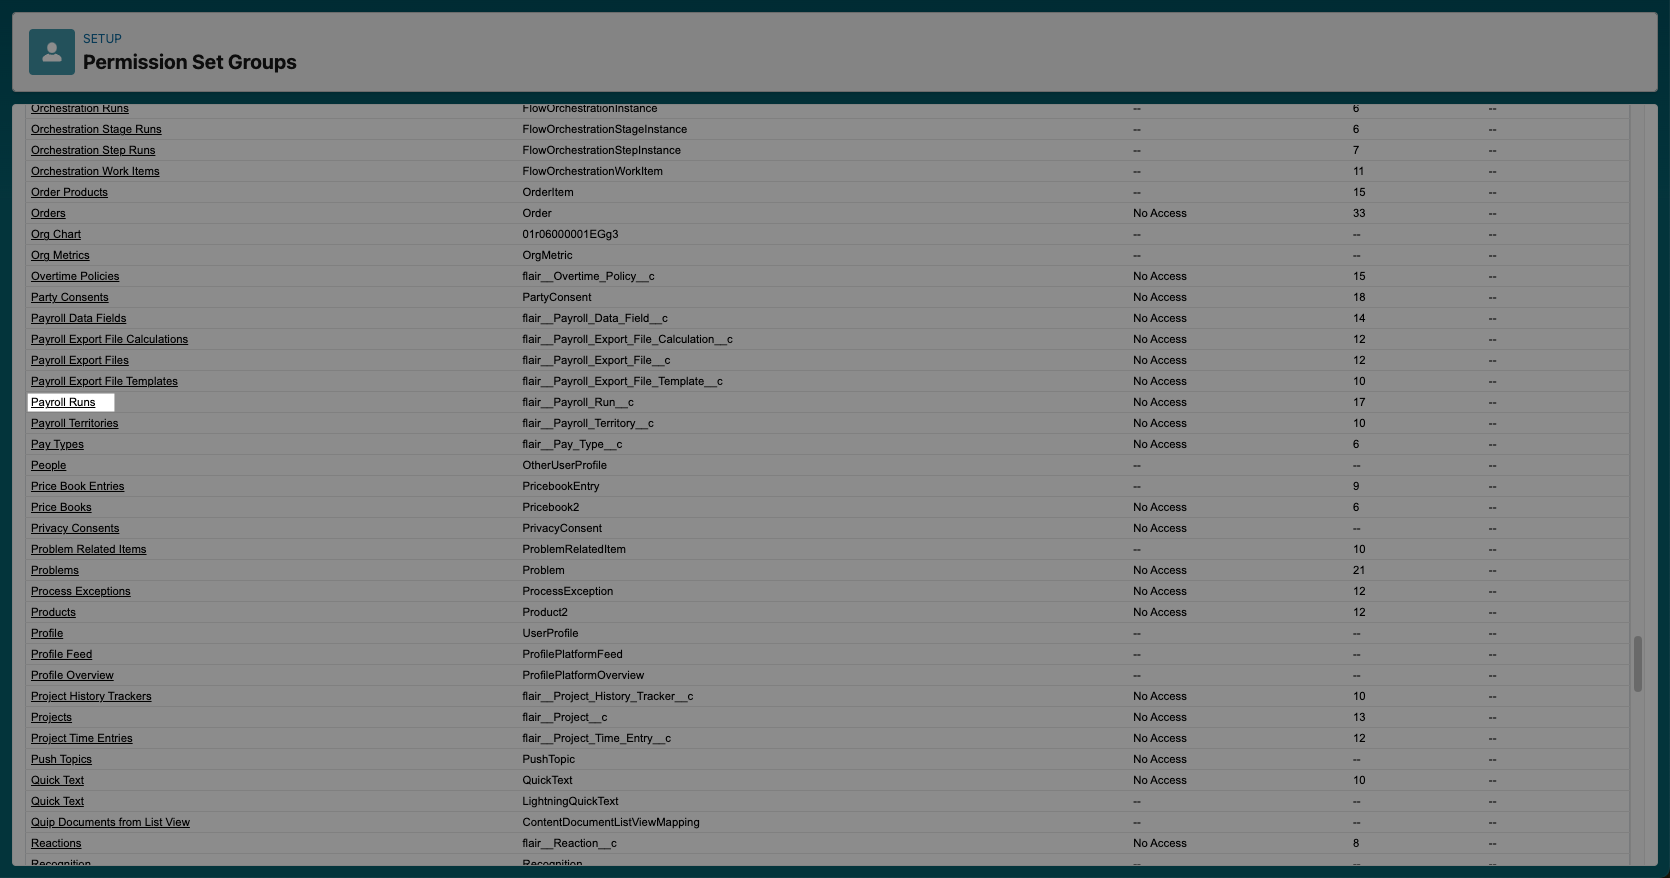
- Select the object to which you wish to limit permissions from the column on the left.
- You will now see an overview of Tab Settings, Object Permissions, and Field Permissions. In our example, you can see that the Flair Payroll Manager is granting full permissions to the Payroll Runs object, including Delete permission. To mute this permission, click Edit.
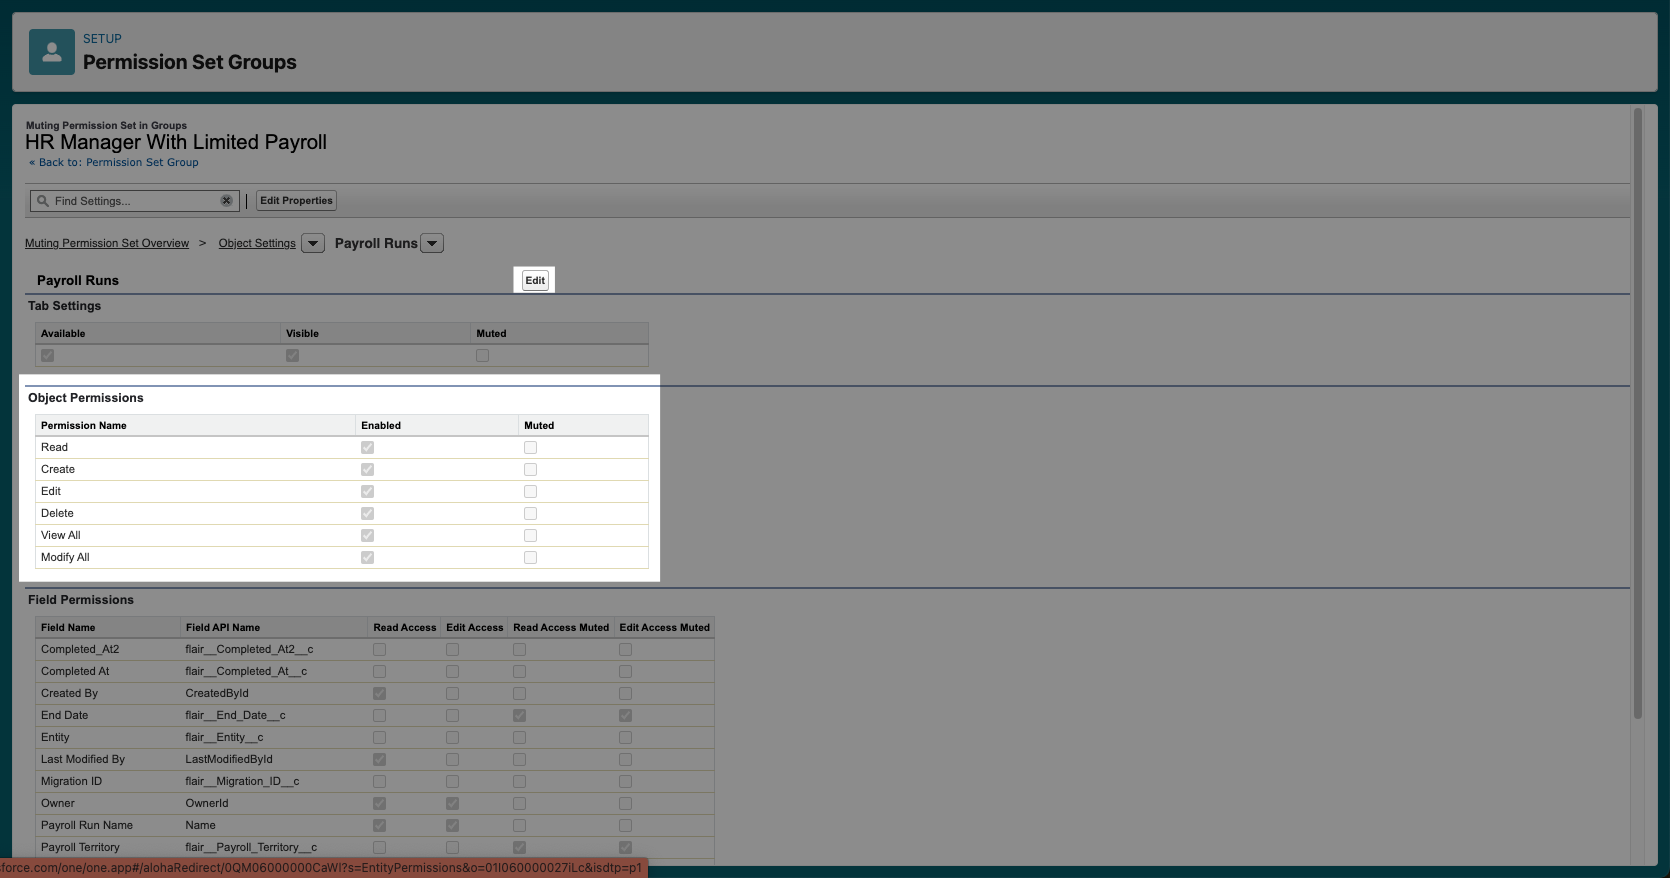
- Check the Muted box next to the object or field permissions that you wish to restrict, and then click Save.
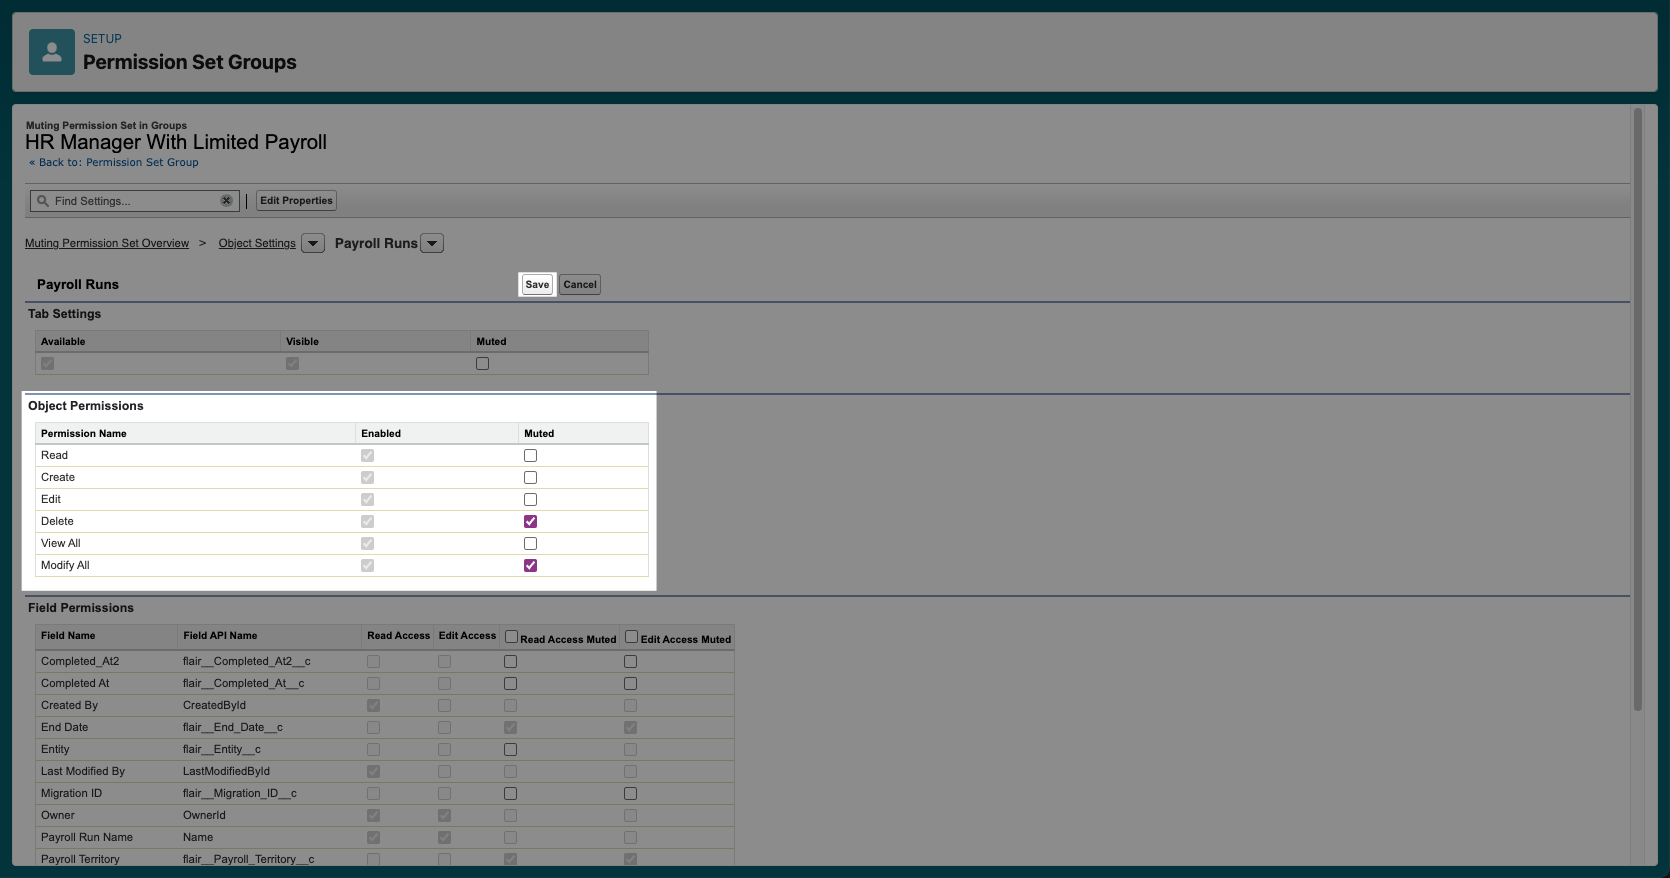
After following these steps, you can check whether the muting worked by opening the Object Settings for your permission set group. The limitations you added to the muting permission set will override the original permissions, meaning you have successfully restricted access within a permission set group without altering the permissions of an existing permission set.
