Visibility Scopes
Visibility scopes provide you with a way to restrict record visibility for Salesforce users. For example, if you want to ensure that a user should see only employees from the same department, location, or company entity, you would use a visibility scope.
Before you create a visibility scope, you should make sure that you have assigned users the appropriate permission sets for their roles.
🚧 Please note, the visibility scope logic will not work if you have assigned a user a permission set with View All/Modify All permissions. This includes the Flair Manager, Flair Payroll Manager, and Flair Recruiter permission sets. In addition, users with the System Administrator profile will be able to see all records, even if you apply a visibility scope.
Setting Up and Assigning a Visibility Scope
To set up a visibility scope, there are several steps to follow.
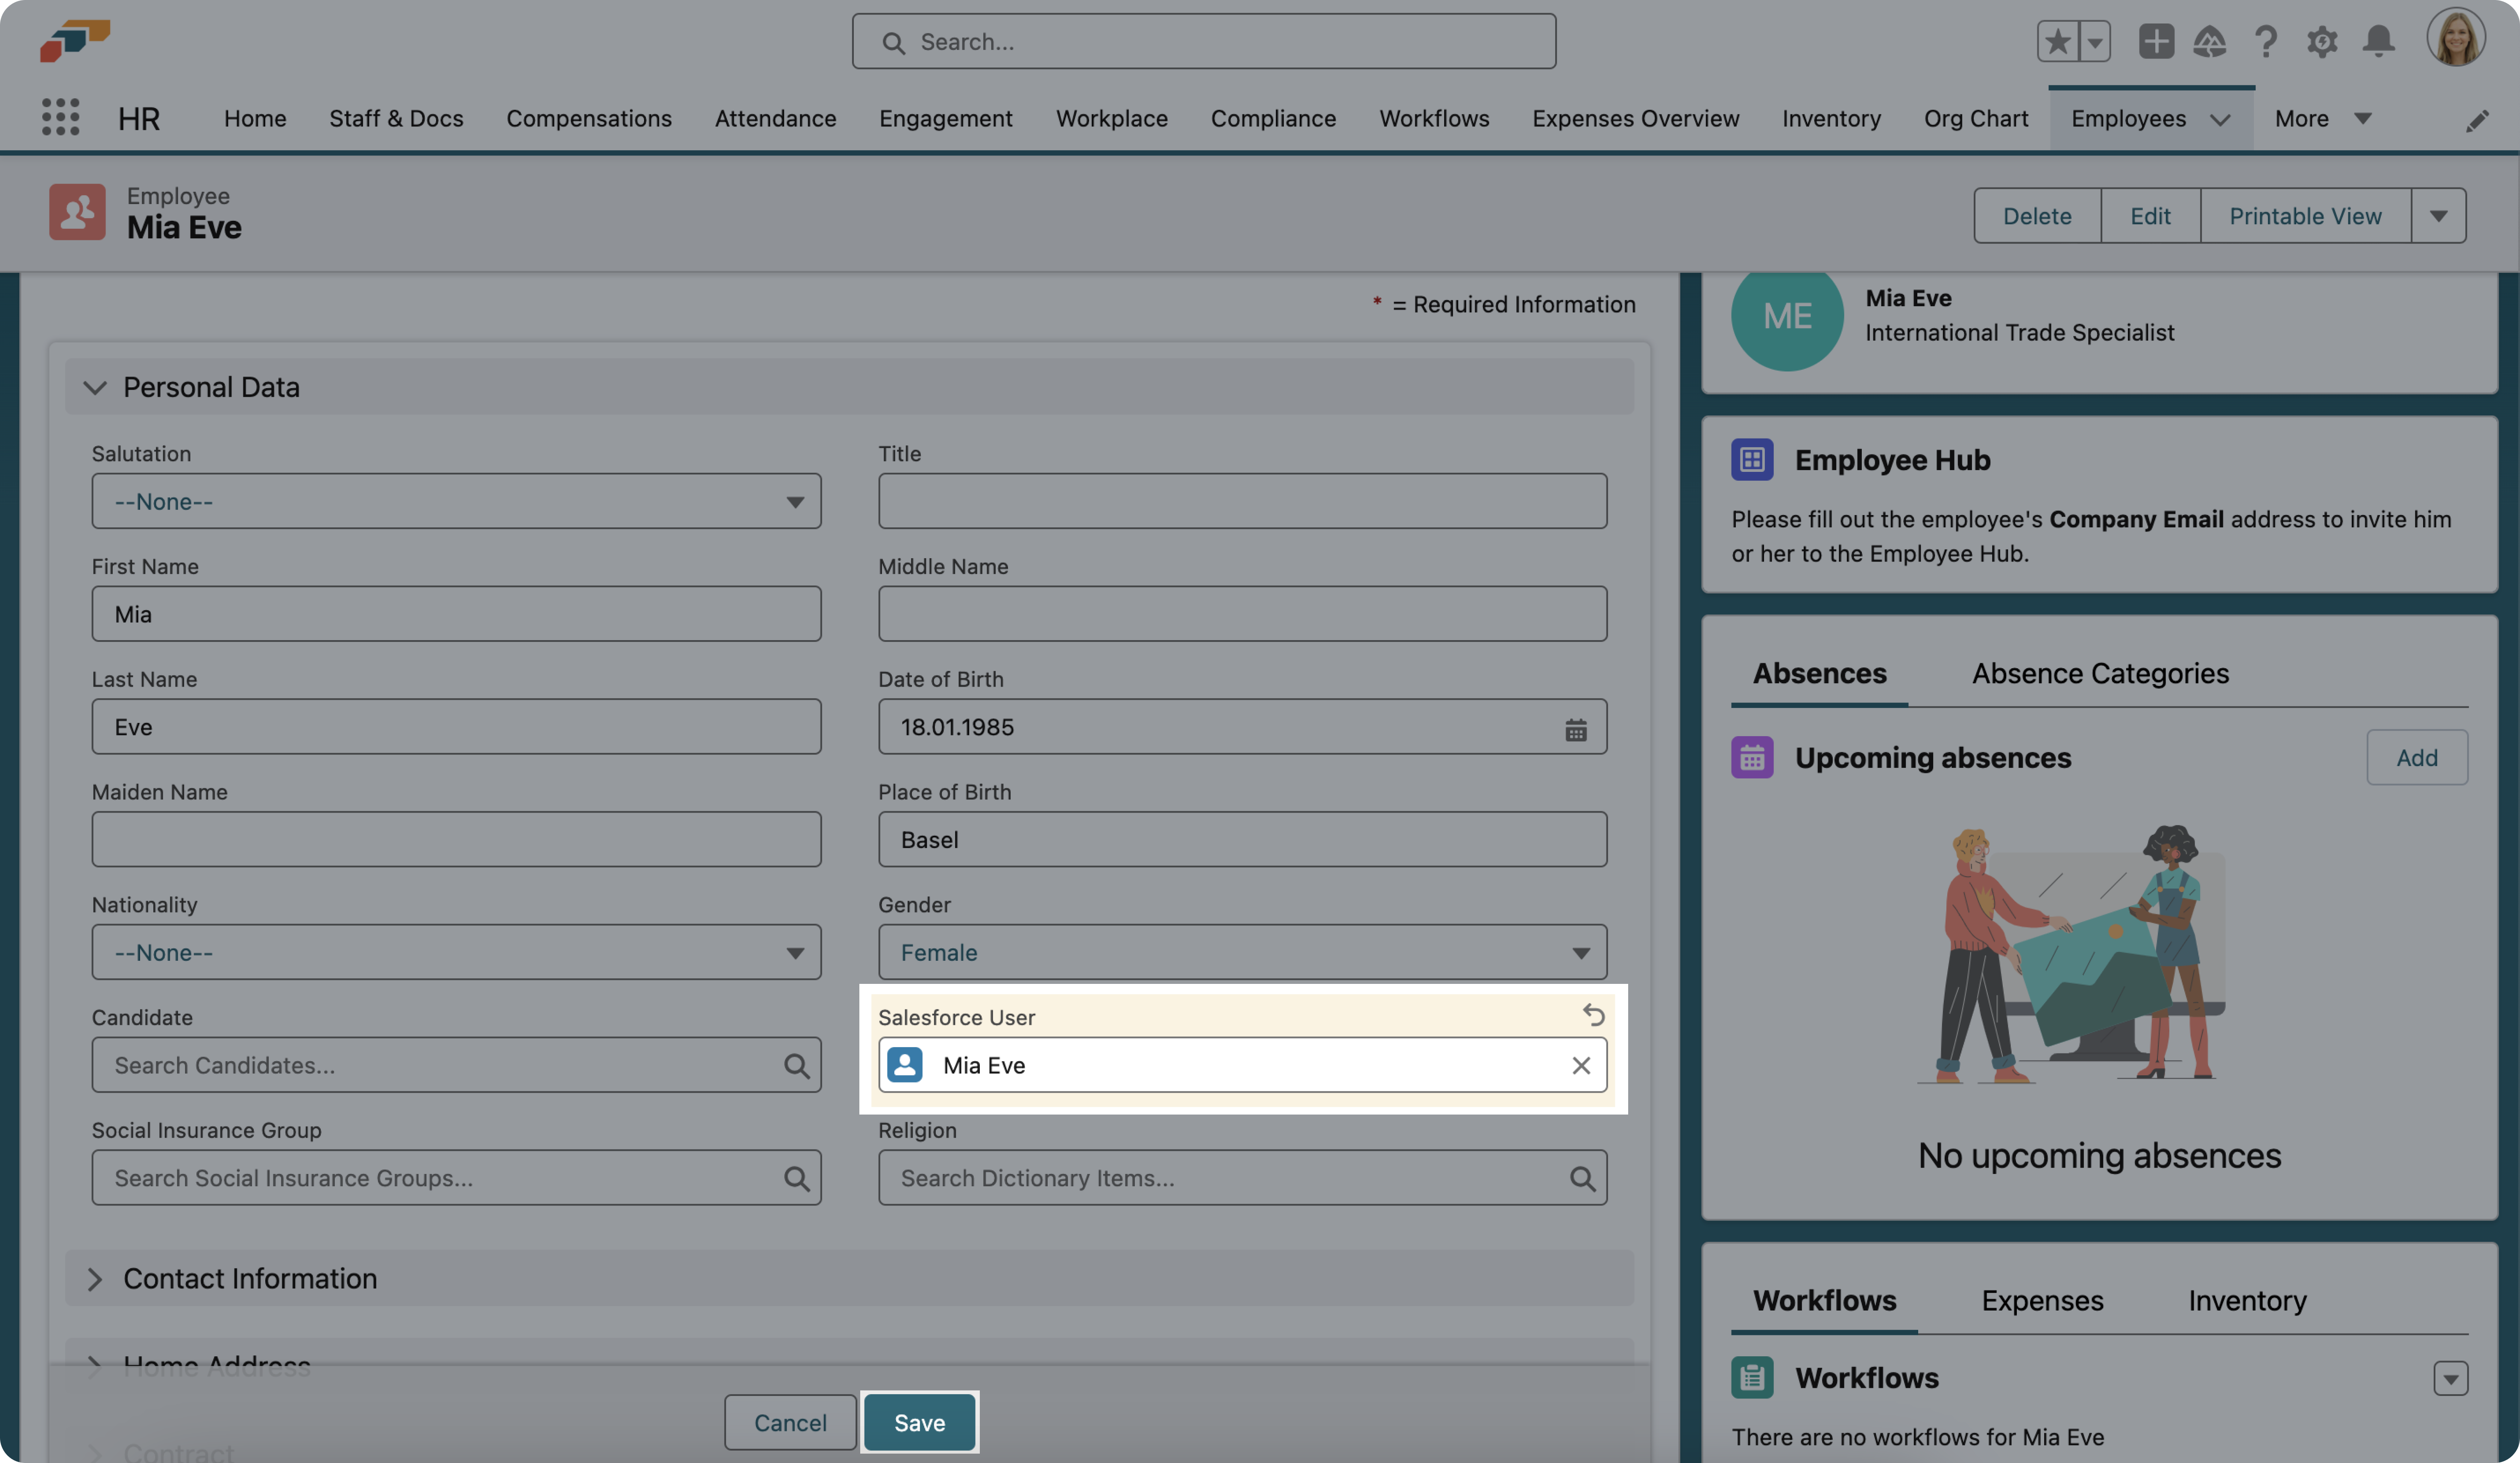
1. Connect the Salesforce user with their employee record
- To do this, find the relevant employee record in the flair app via the Staff & Docs or Employees page.
- Select the appropriate Salesforce user in the Salesforce User field and click Save.

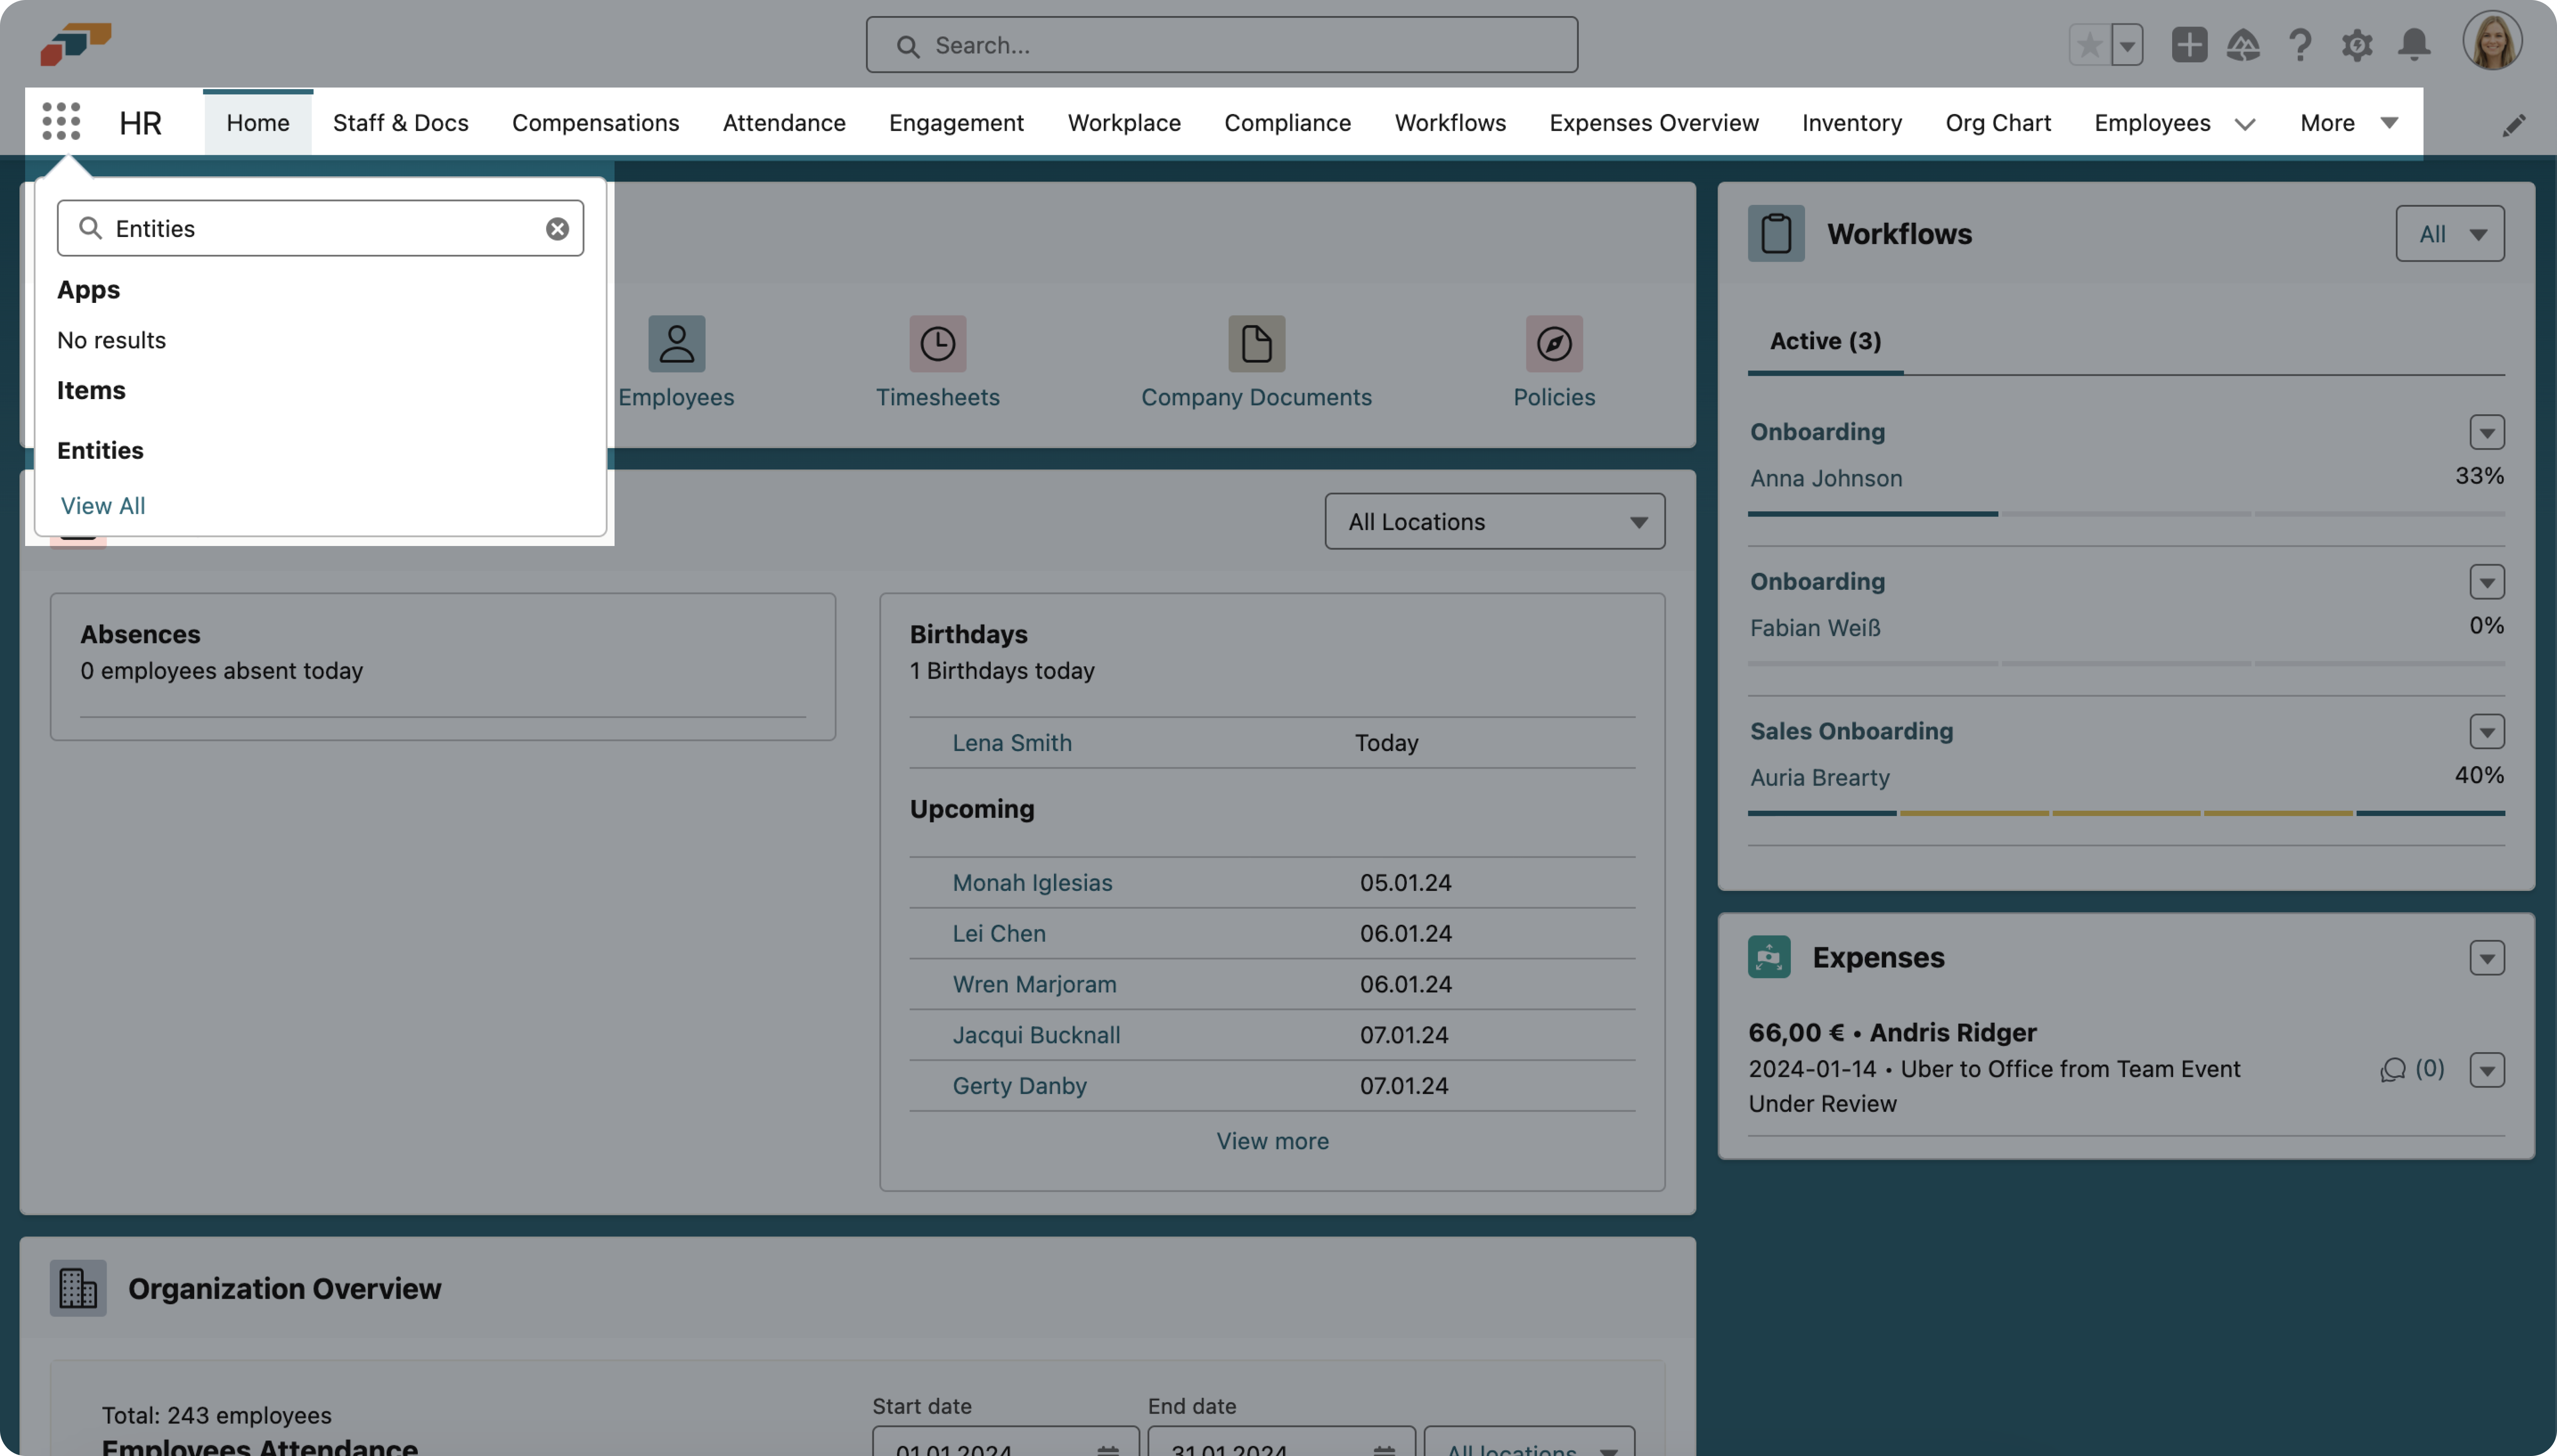
2. Create an entity for a specific group of employees
For example, an entity could be a division of your organization.
- Open the App Launcher by clicking the nine-dot icon 𓃑 in the top-left corner of the screen and search for Entities.
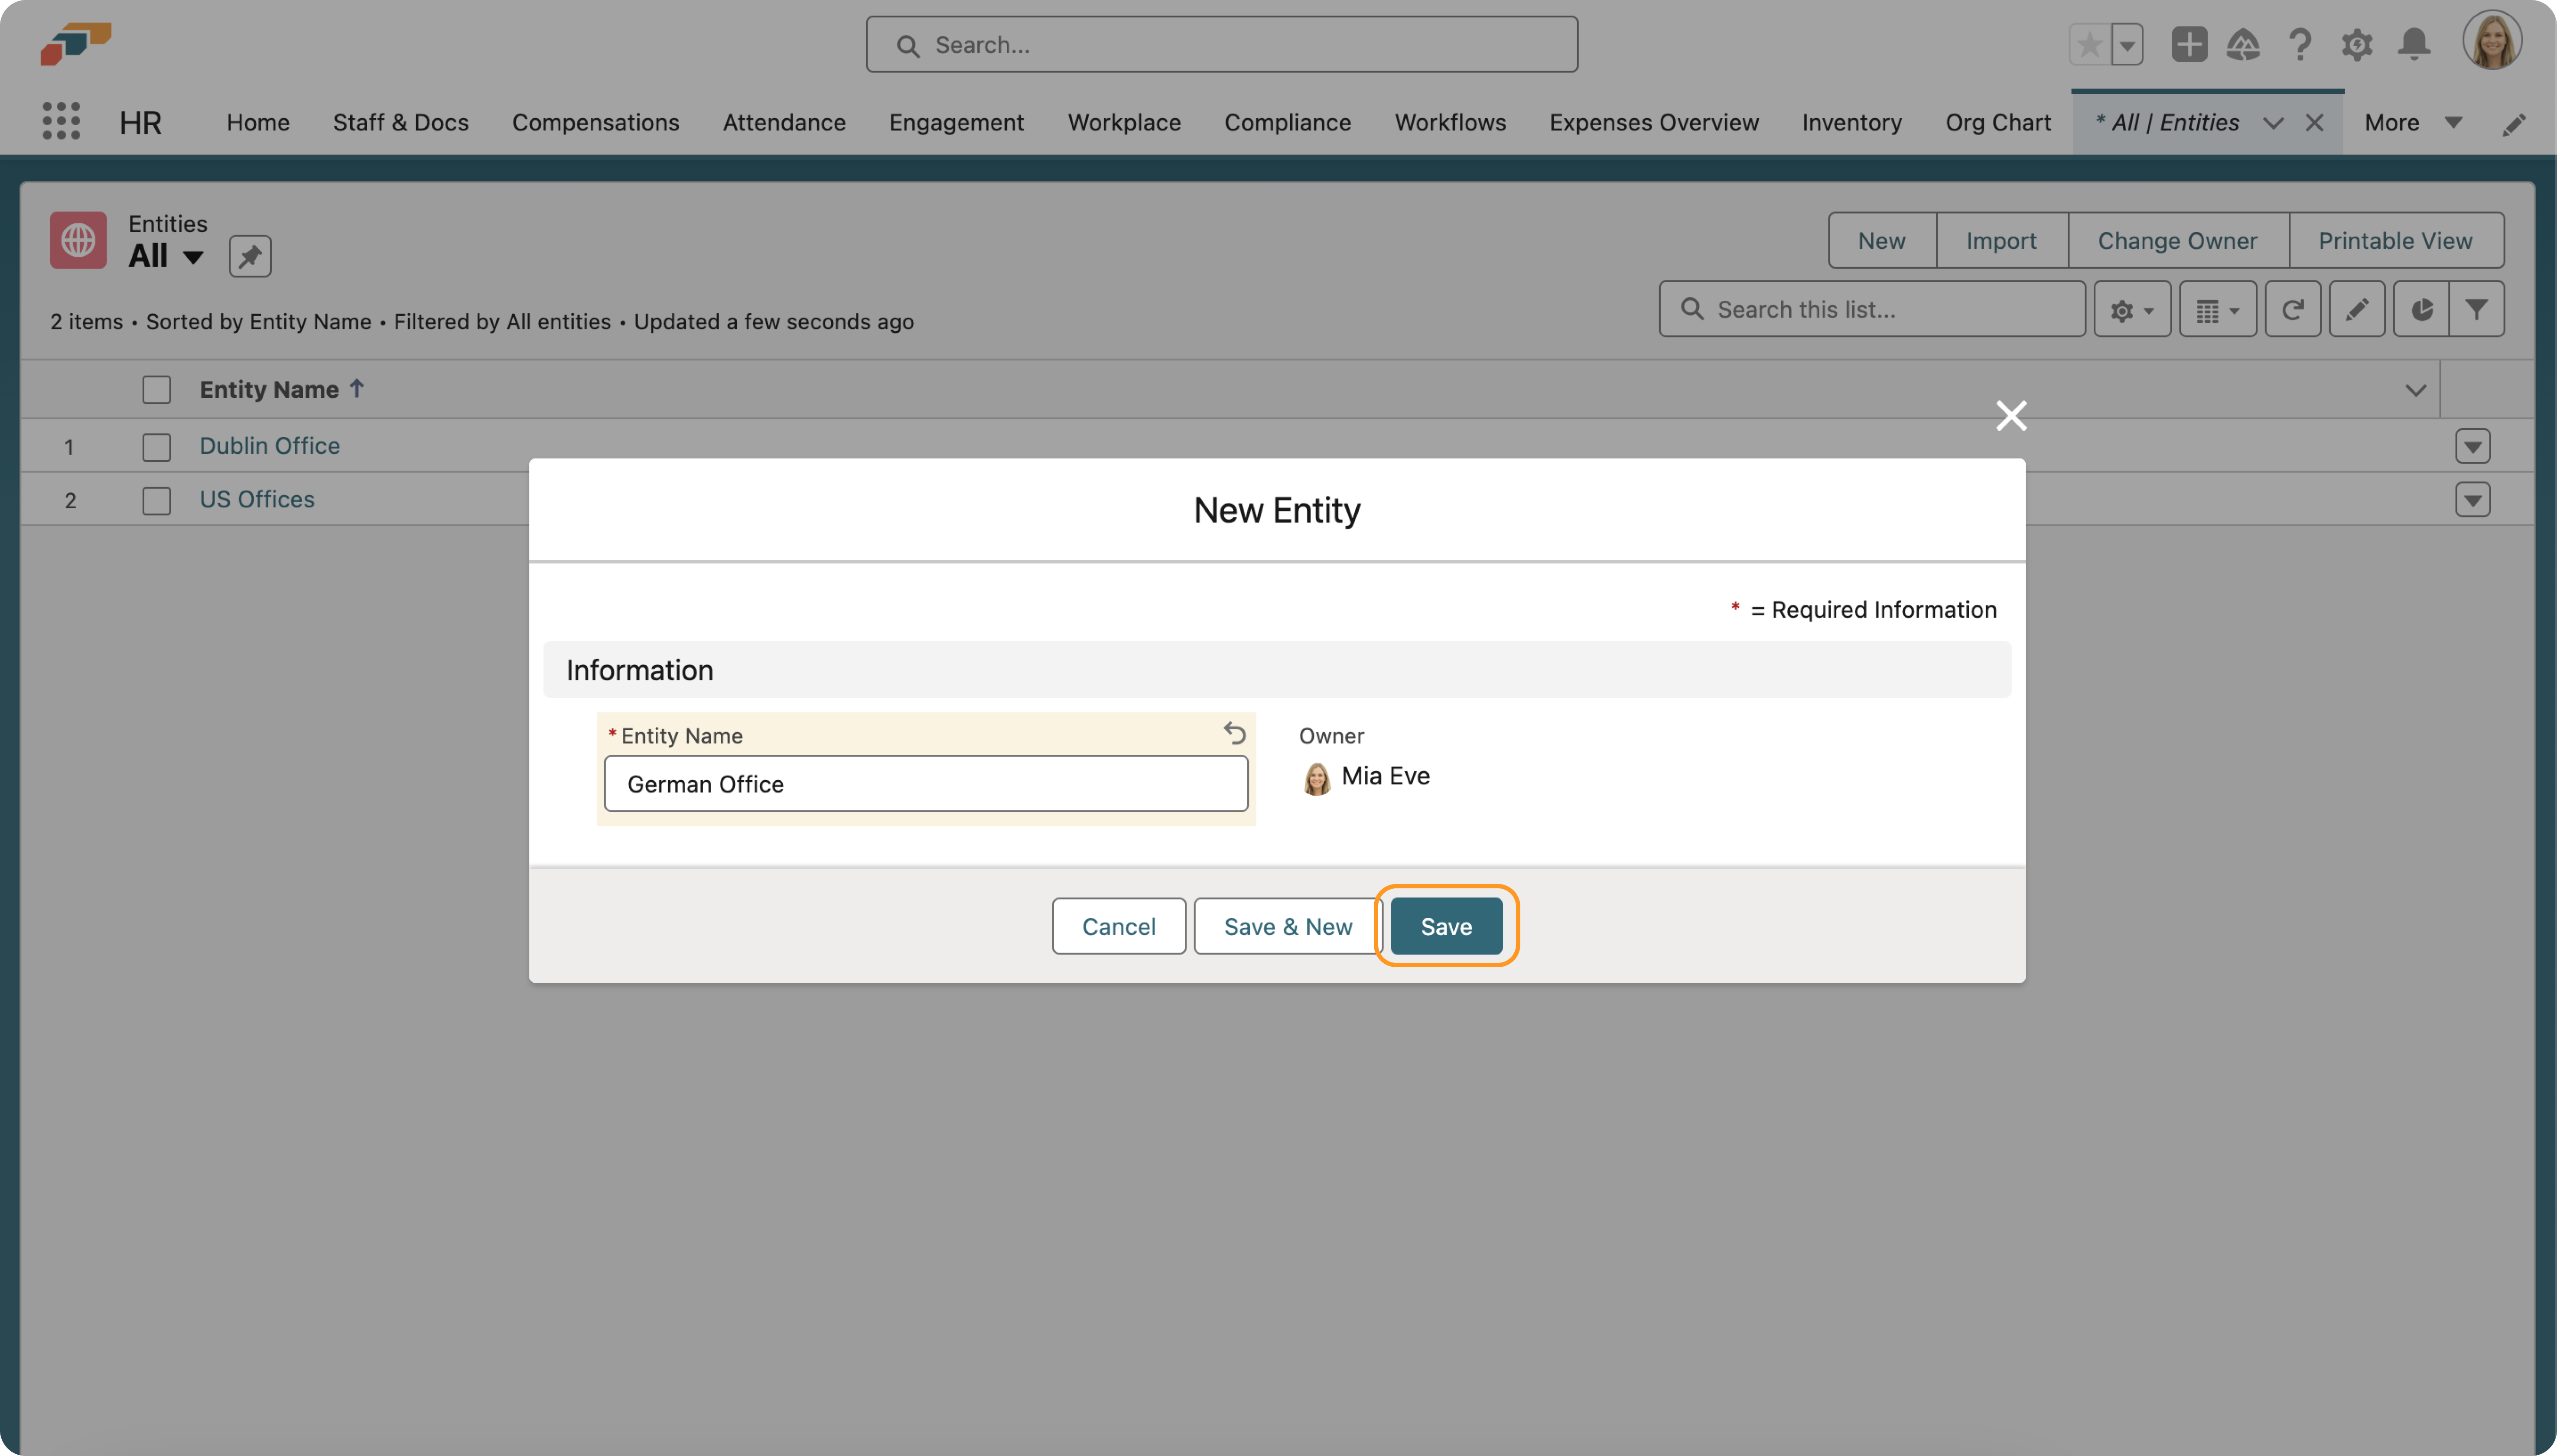
- Click the New button and give your entity a name. Then click Save.
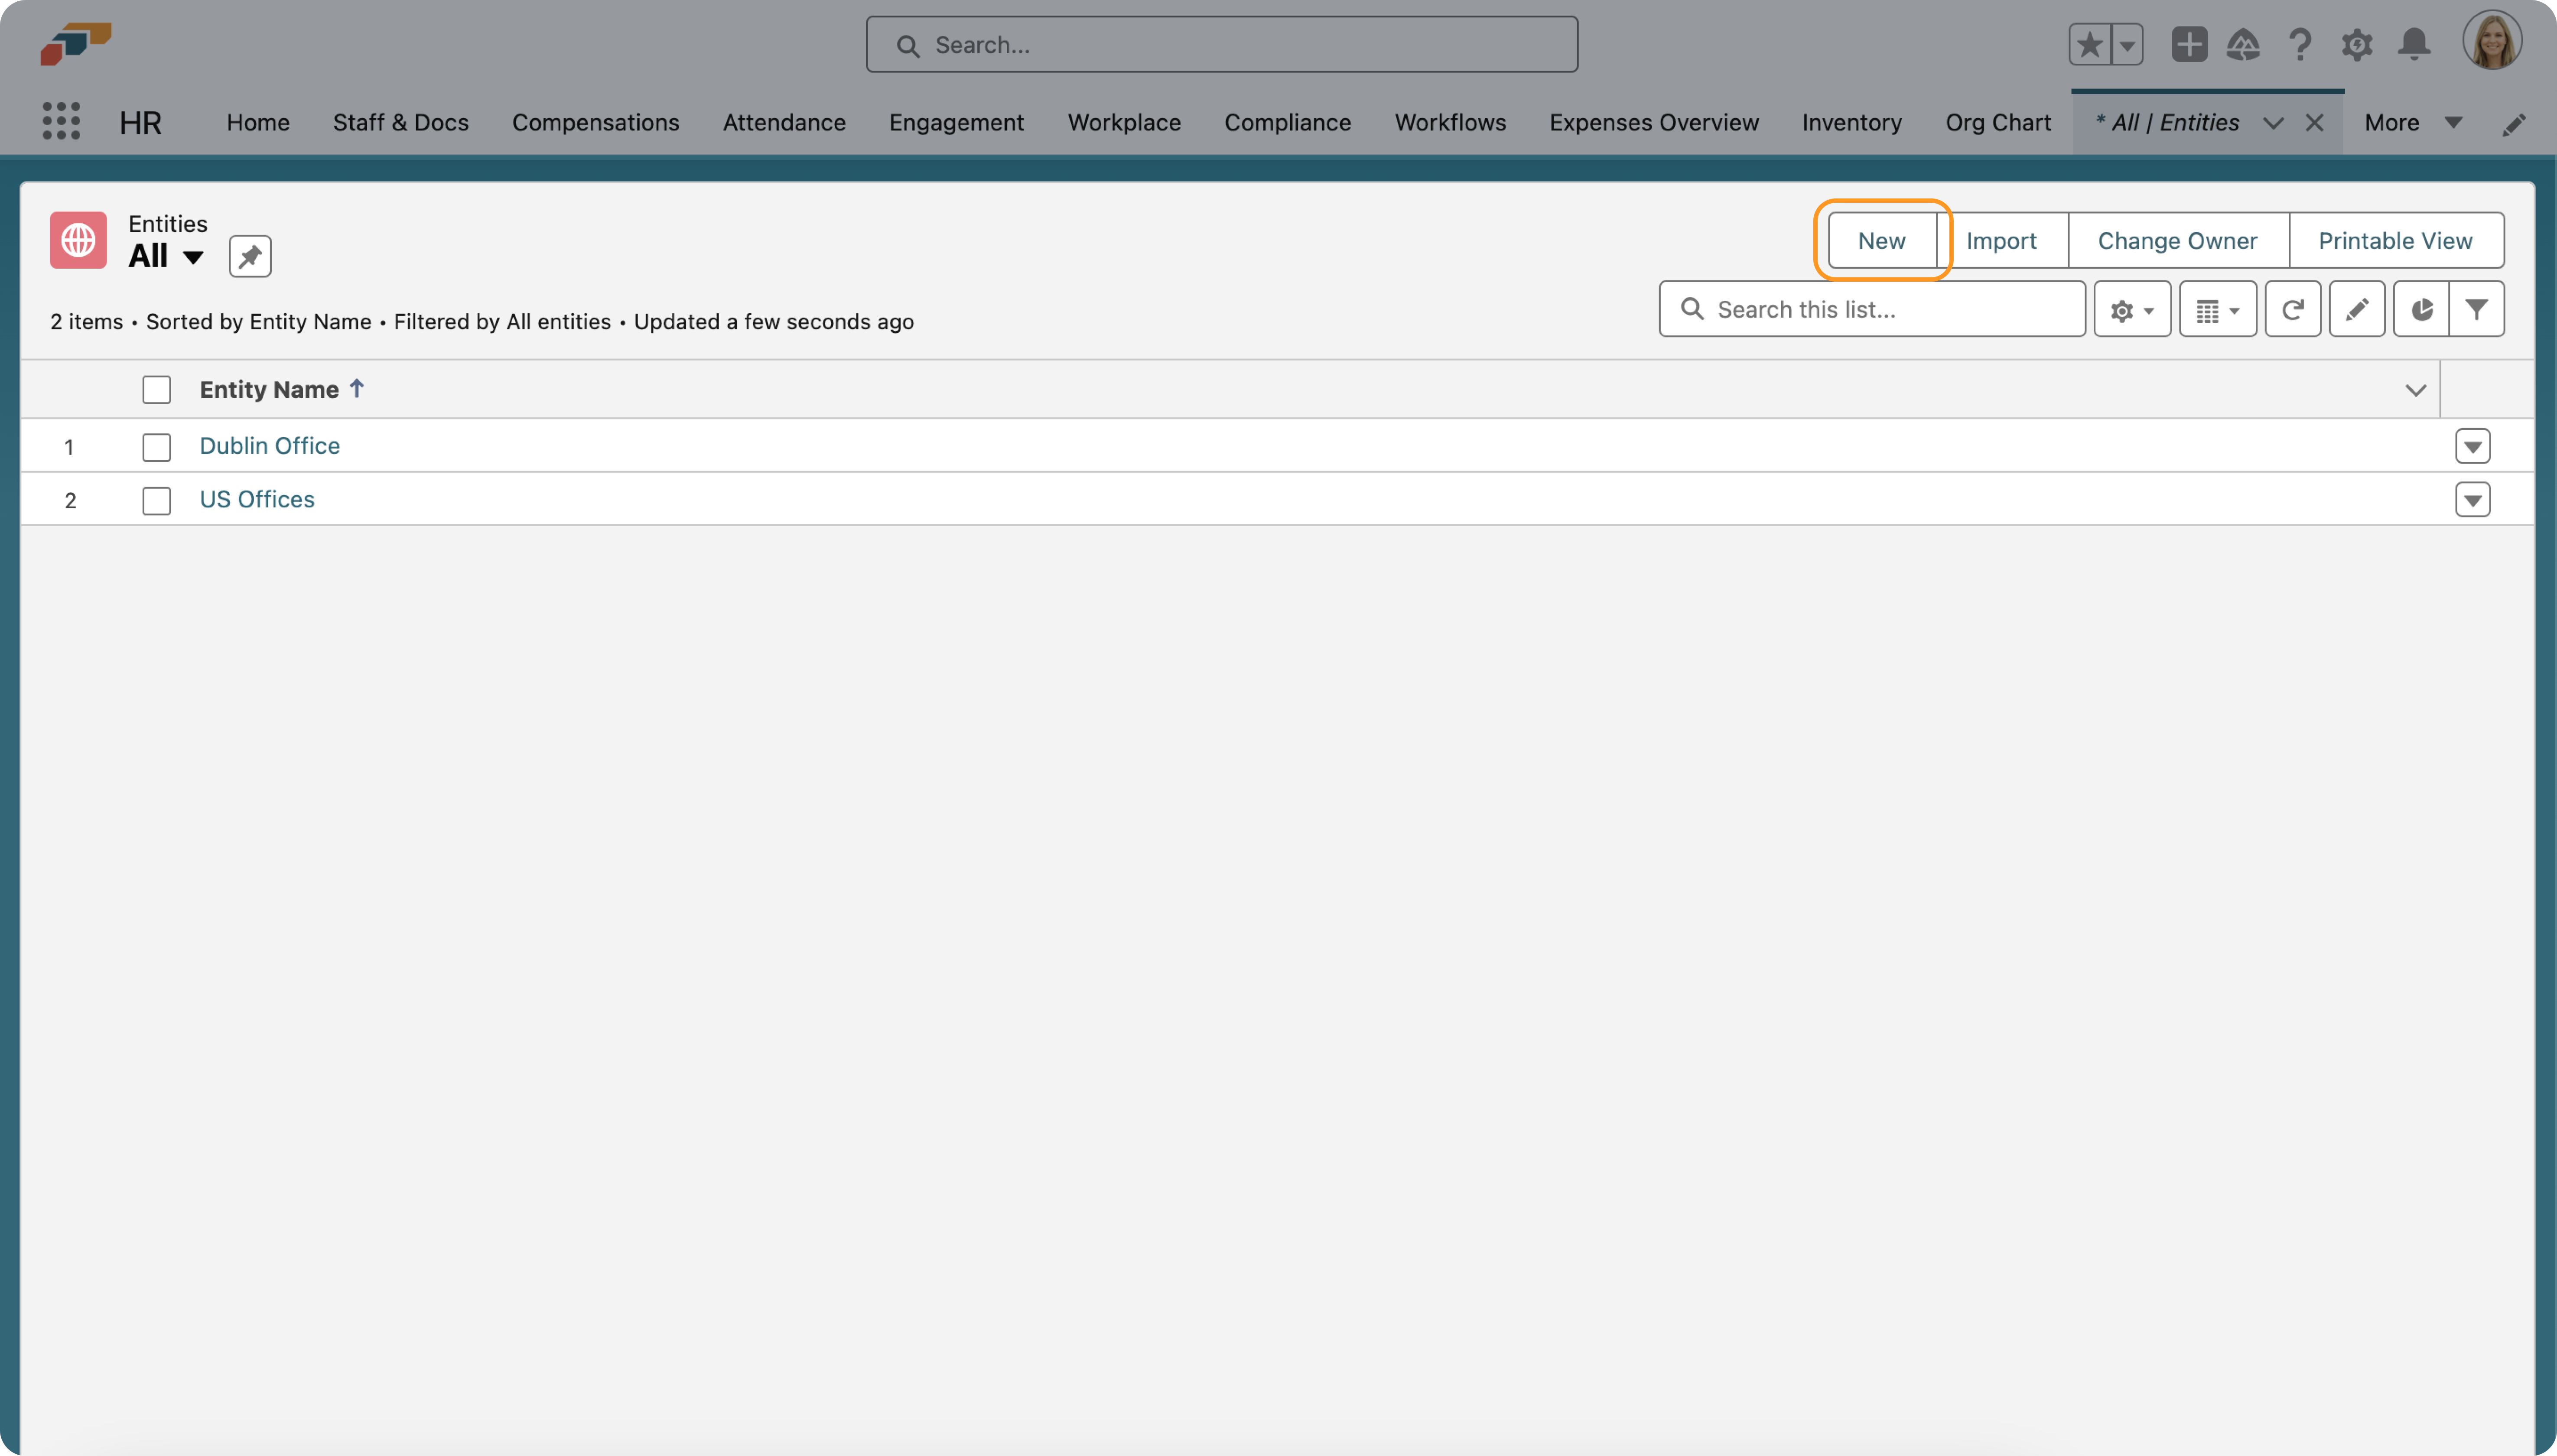
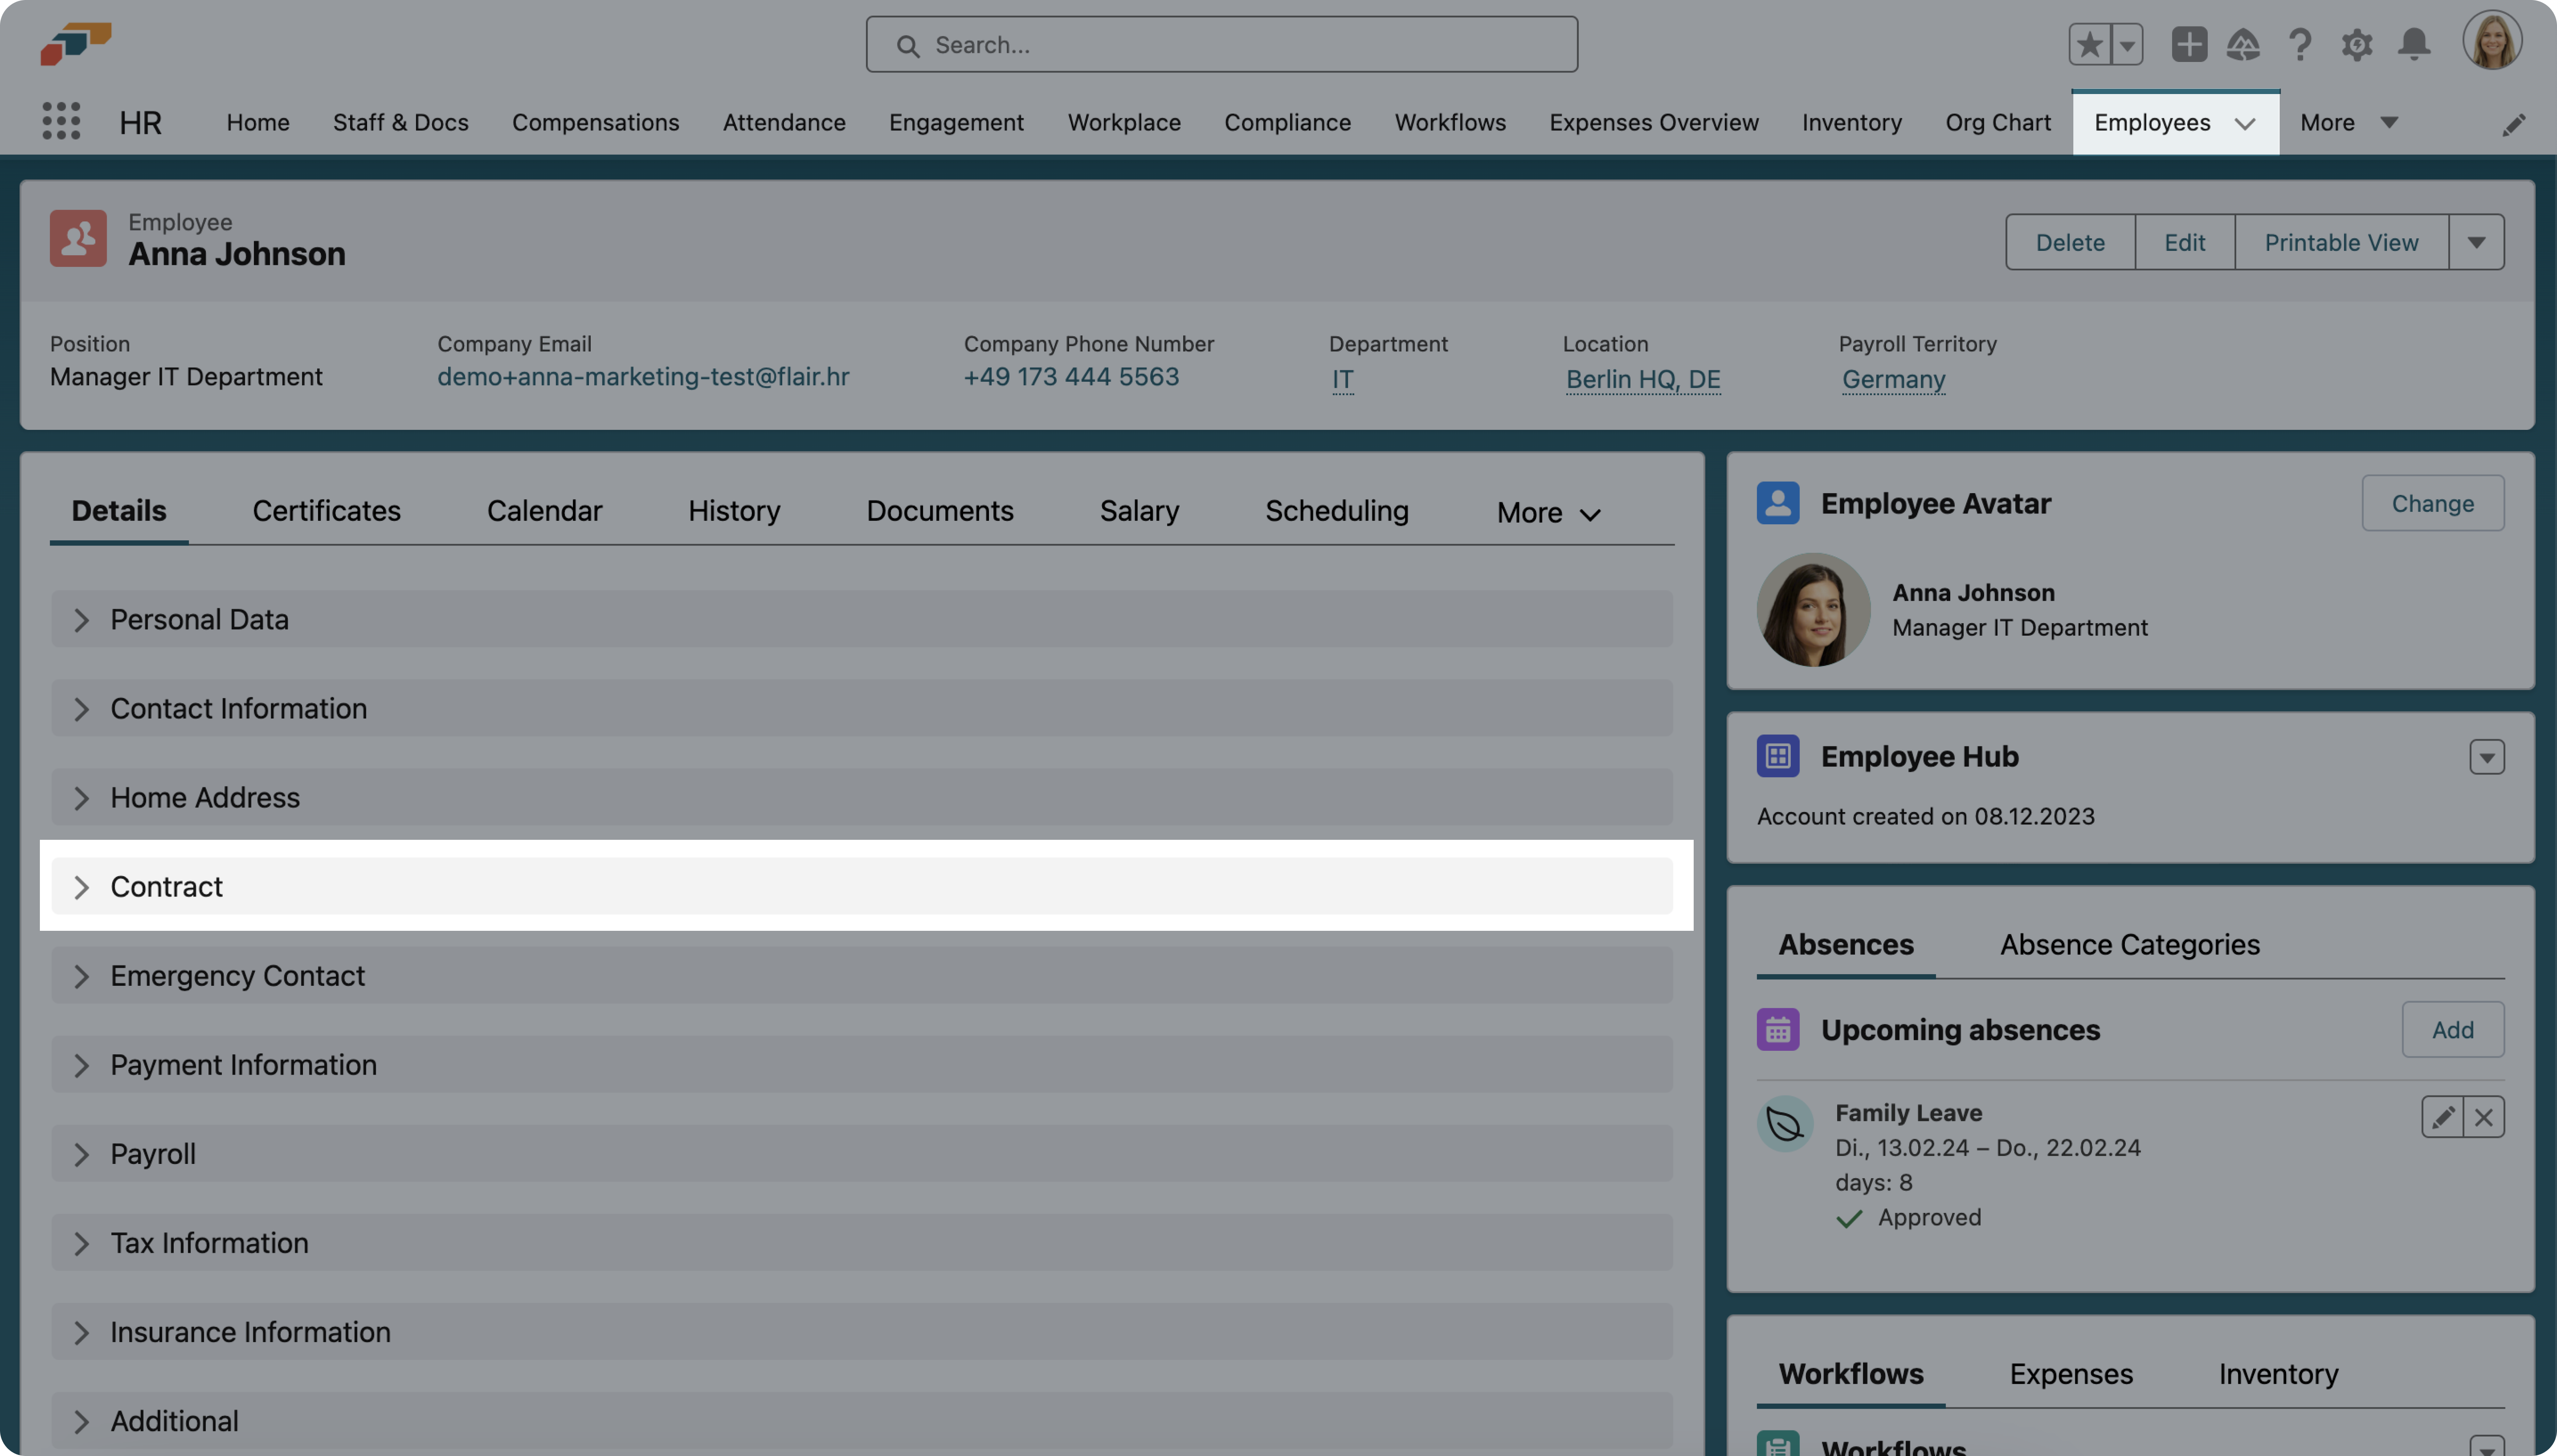
- You can then assign employees to this new entity by opening their employee record and selecting the entity in the Entity field of the Contract section.
- In the same way, you can also assign specific jobs and candidates to an entity, if needed.

3. Create a visibility scope and select which objects should be shared
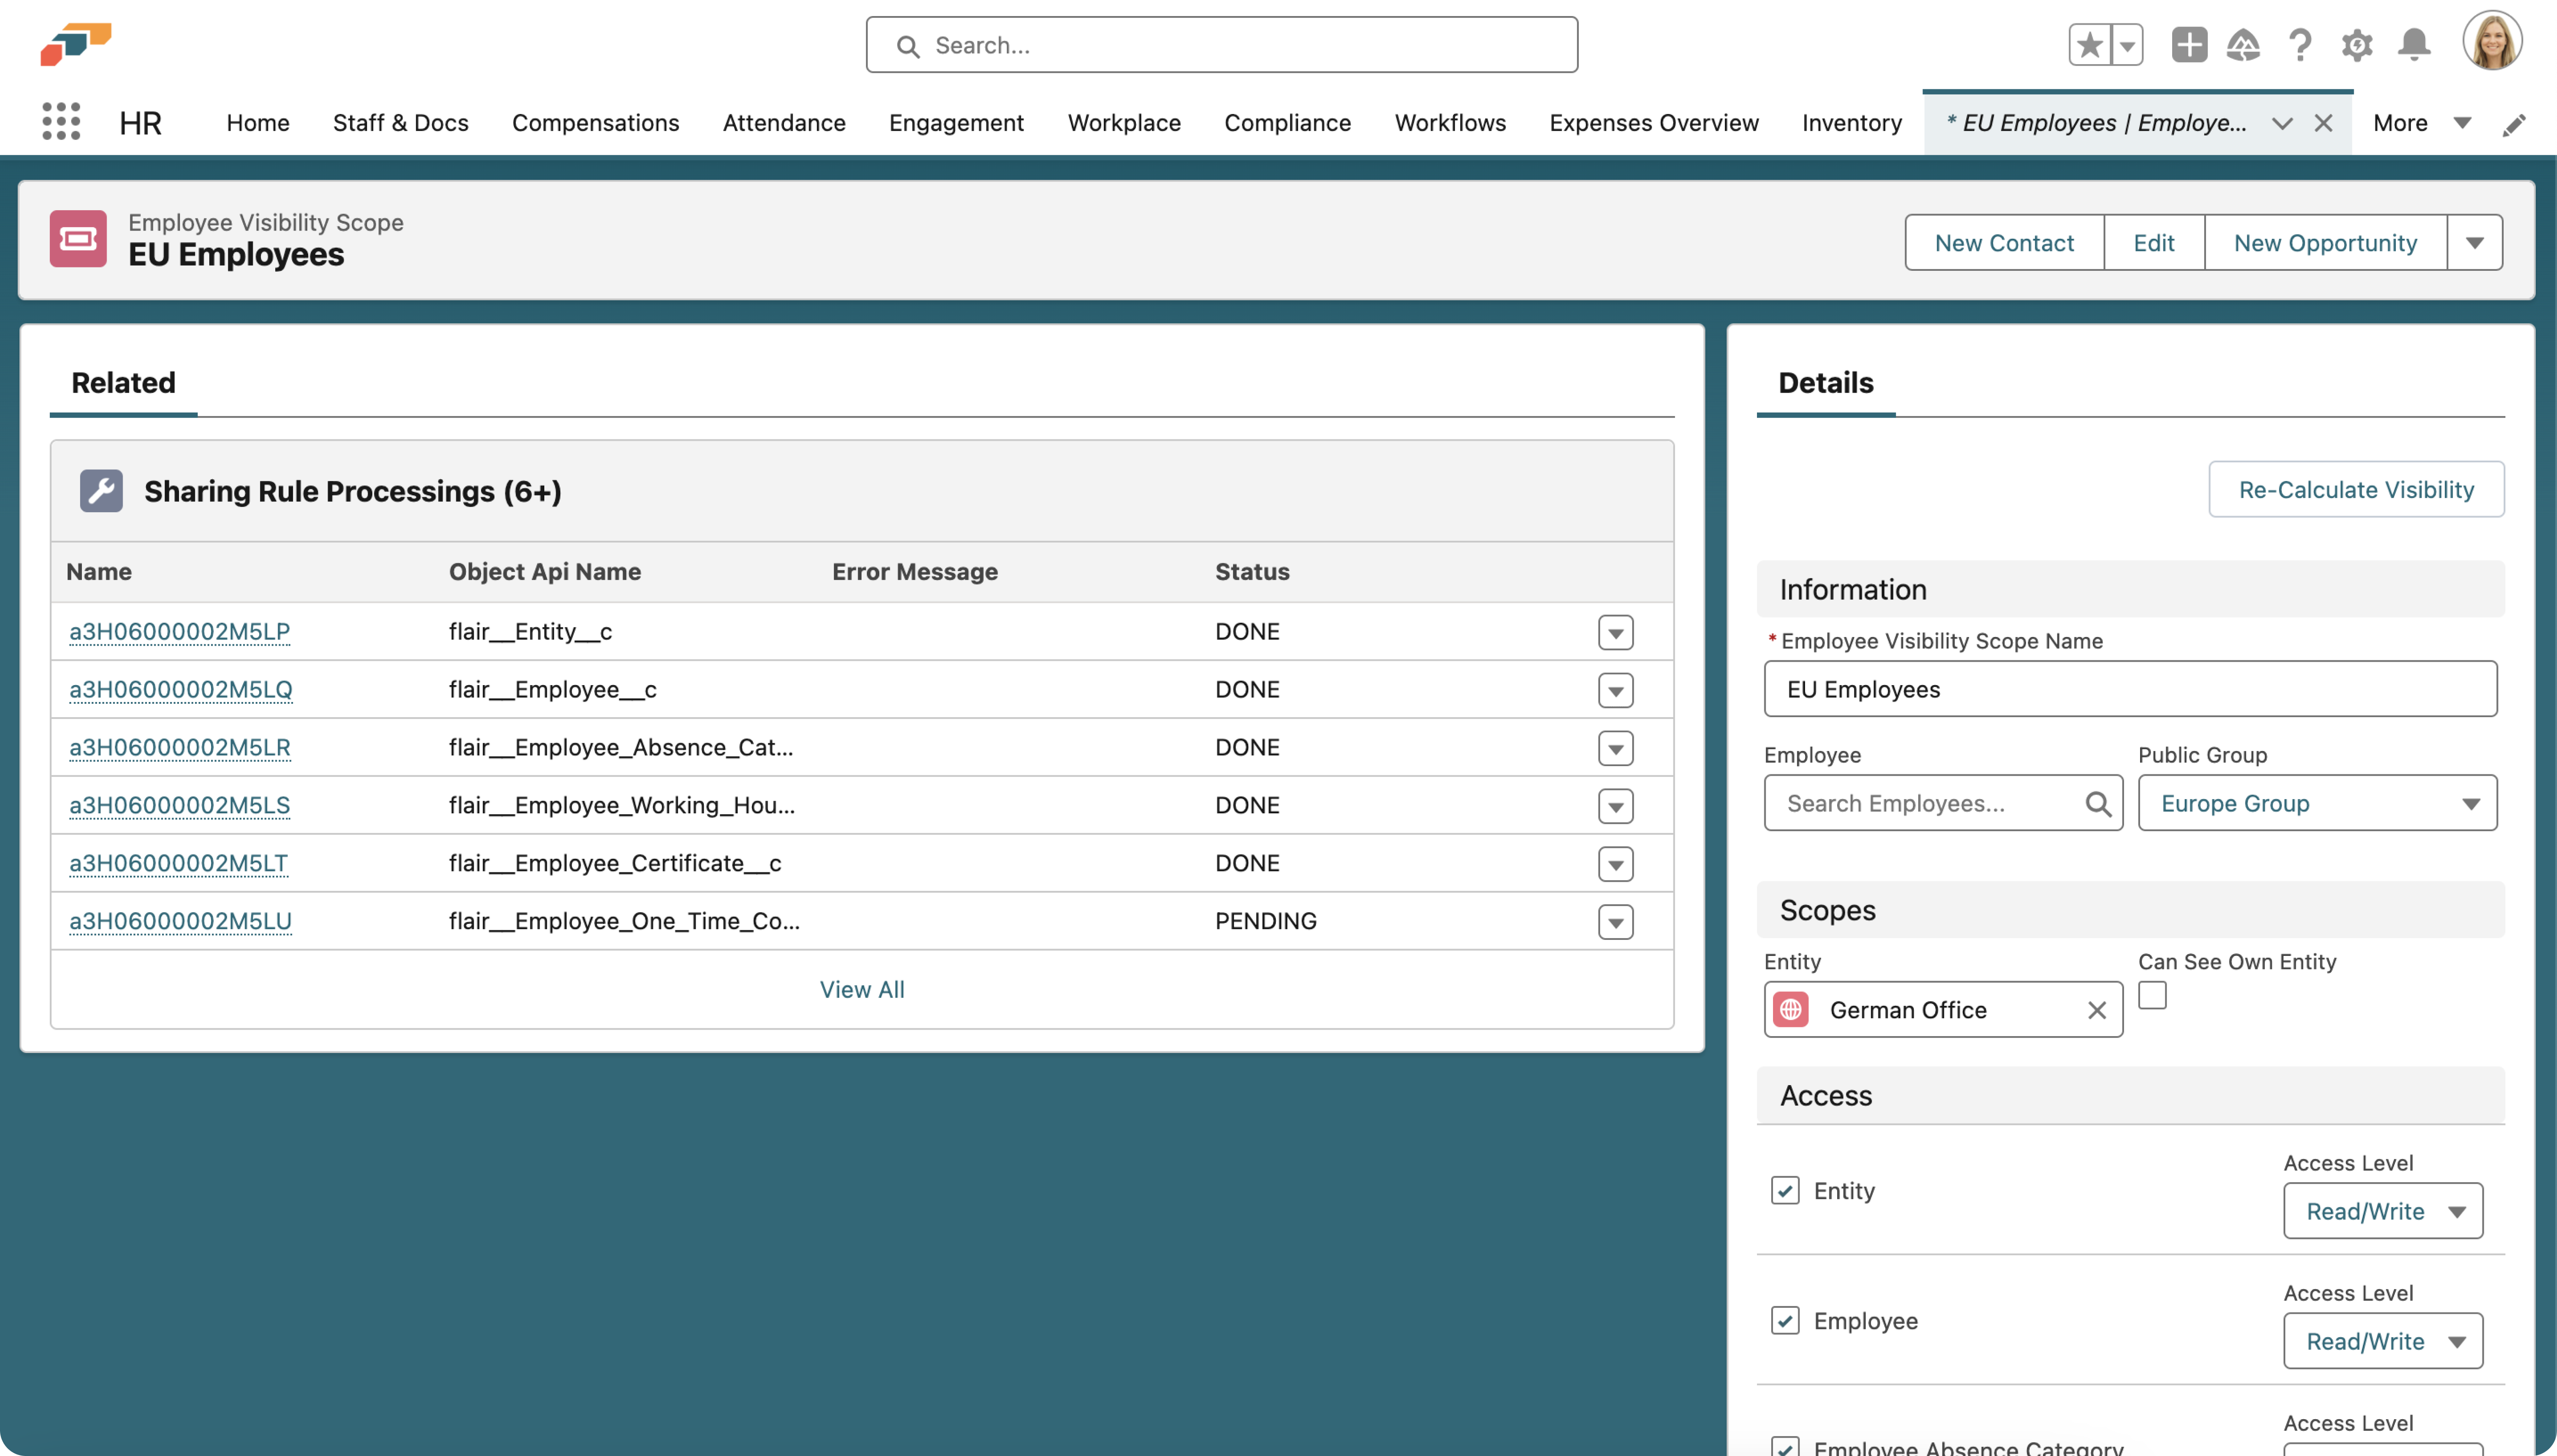
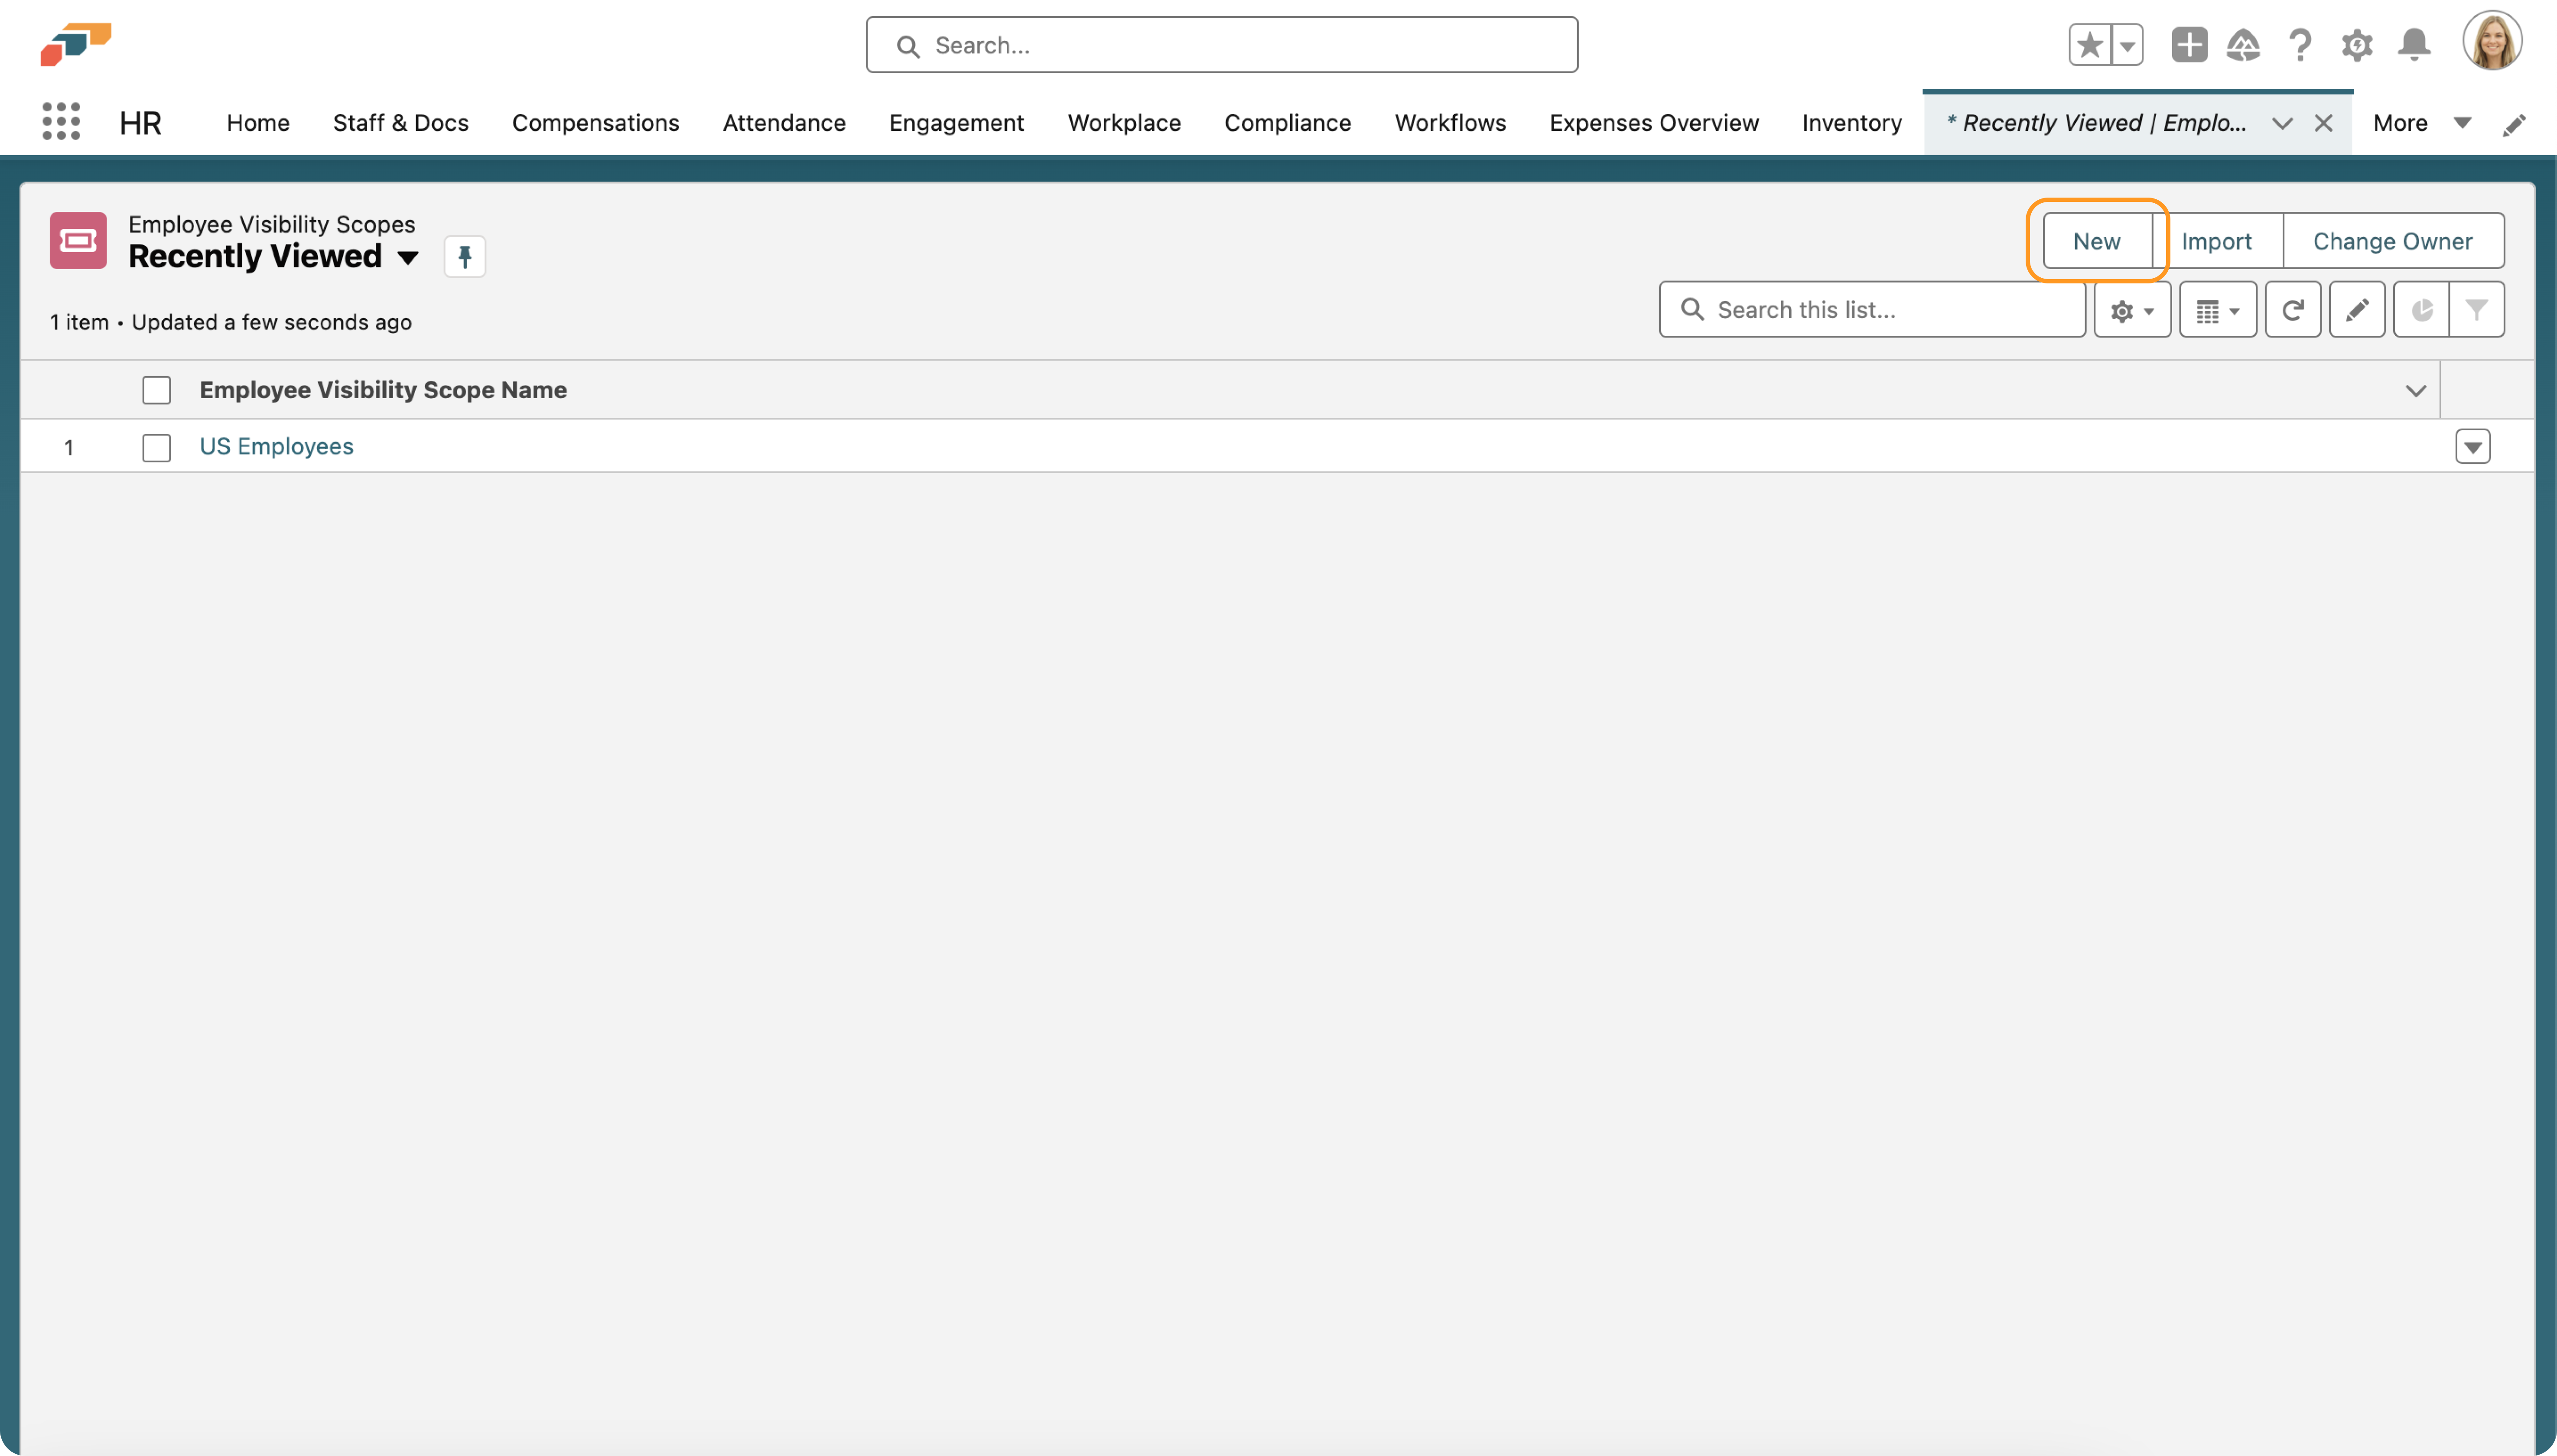
- To create a visibility scope, open the App Launcher and search for visibility scope. Select the page named Employee Visibility Scopes. Click the New button.

- Give your visibility scope a name and select an employee or group of employees you want to assign it to.
- In the Scopes section, you can select the entity that your visibility scope will apply to. Checking the “Can See Own Entity” box allows you to create a visibility scope for a user in another entity, while still allowing them to see their own entity too.
- For example, you may want to assign a manager a visibility scope for your company HQ, while also allowing that manager to view and modify records relating to the location in which they work.
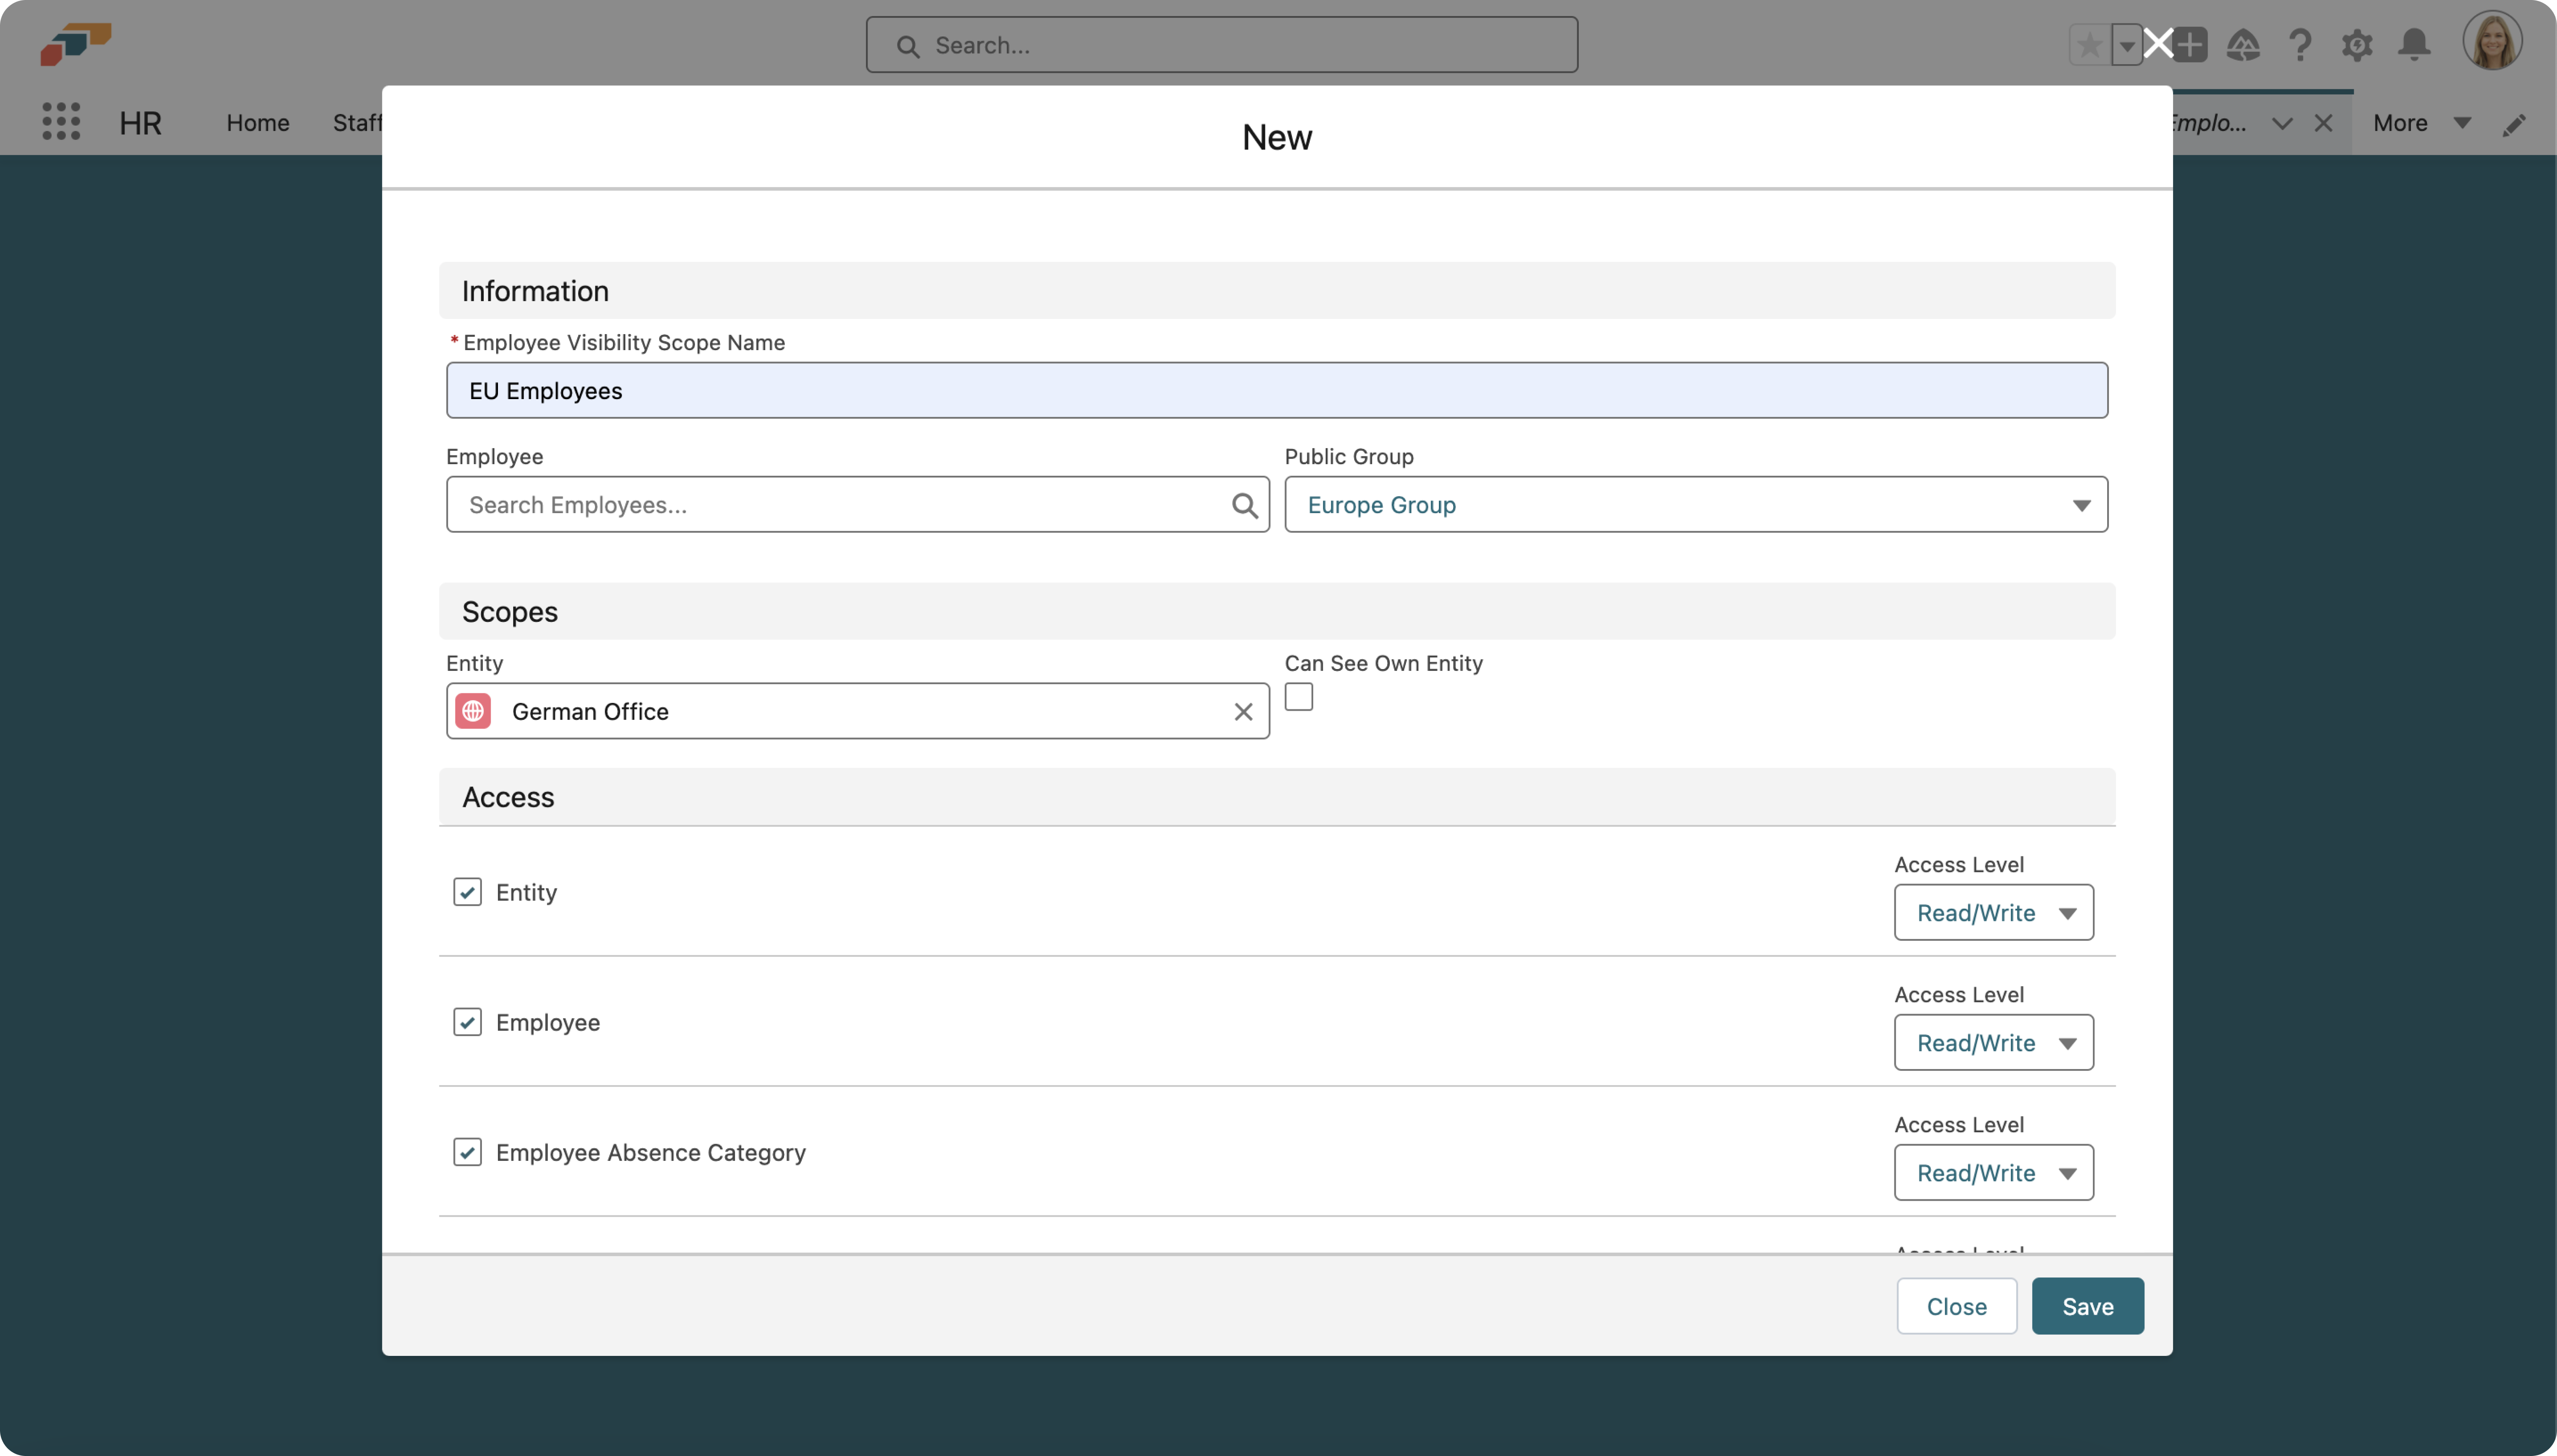
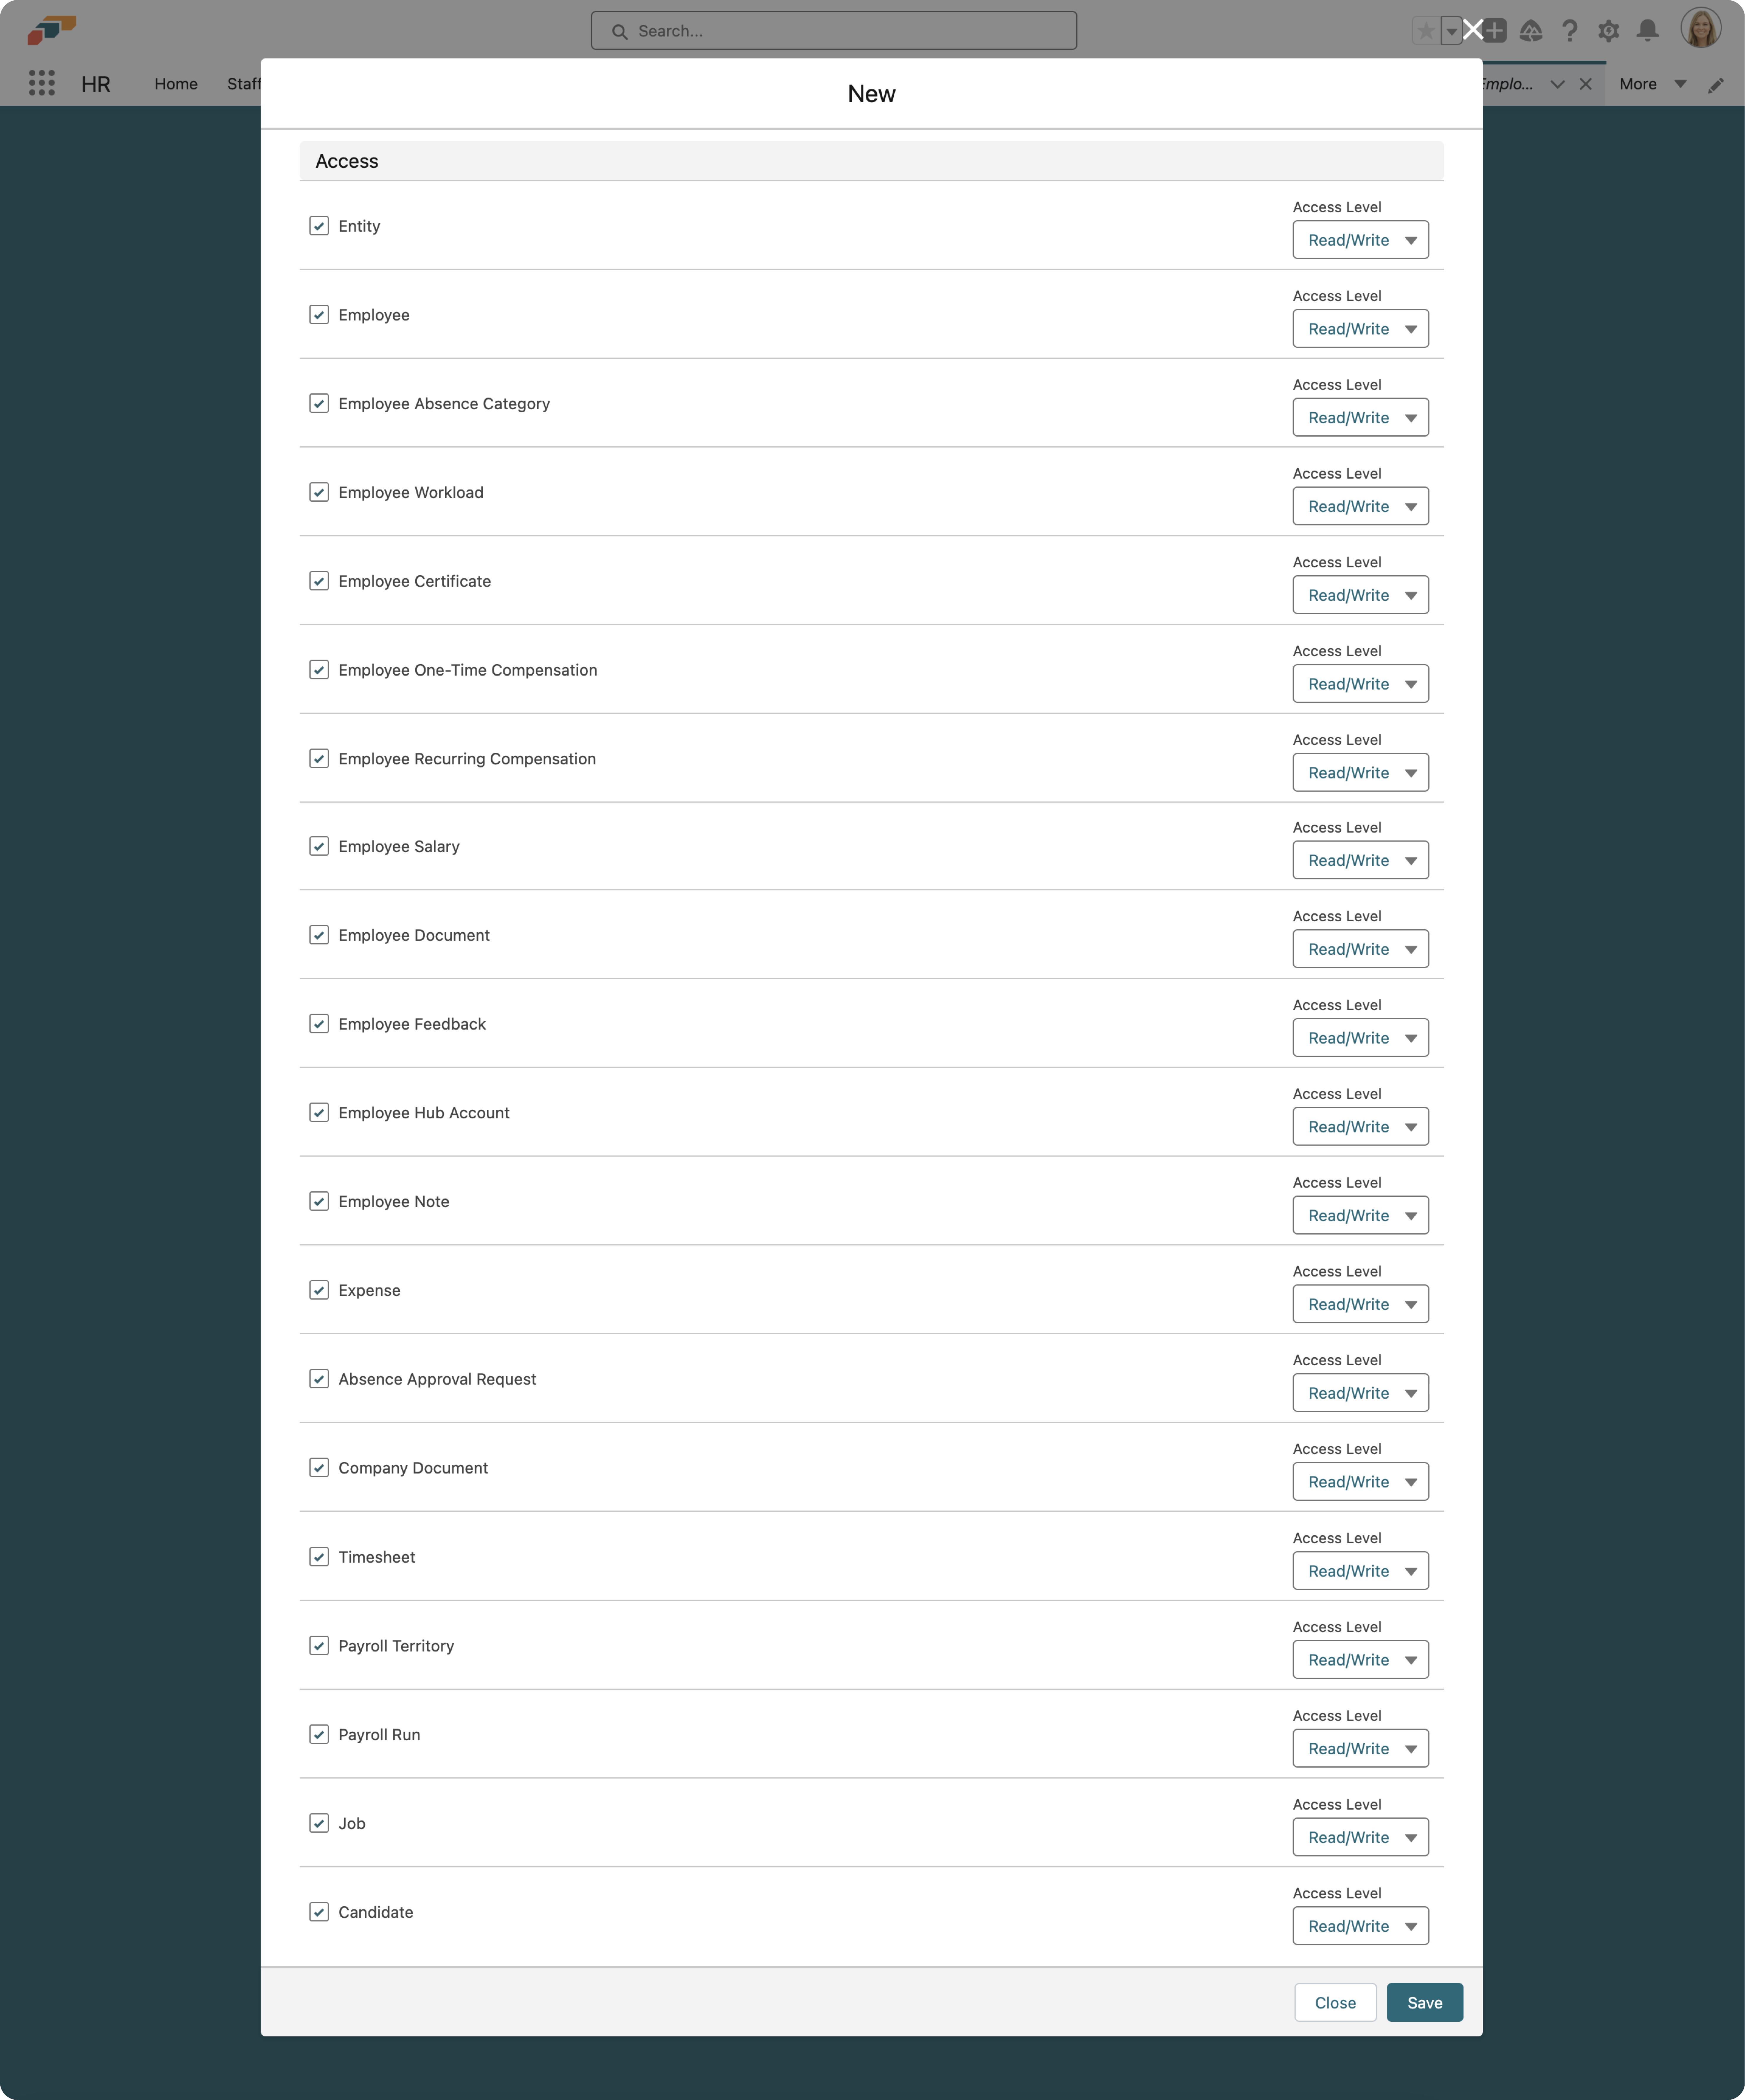
- In the Access section, you can choose which objects are included in your visibility scope. For each object, you can toggle between Read/Write access (ability to view and modify the object) or Read Only access. To restrict visibility entirely, uncheck the checkbox to the left of the object.
- When you are finished, click Save. Now, Apex will run a batch job to create the sharing records.
- To edit your visibility scope, click on its name. You will see all the details of the visibility scope, as well as the processing status of the sharing rules.