Enabling Developer Console Using Permission Sets
Enabling and giving permission to the Developer Console in Salesforce provides users with a powerful tool for debugging, testing, and developing custom code or applications. Here’s a quick guide on how to enable login or permission for a user.
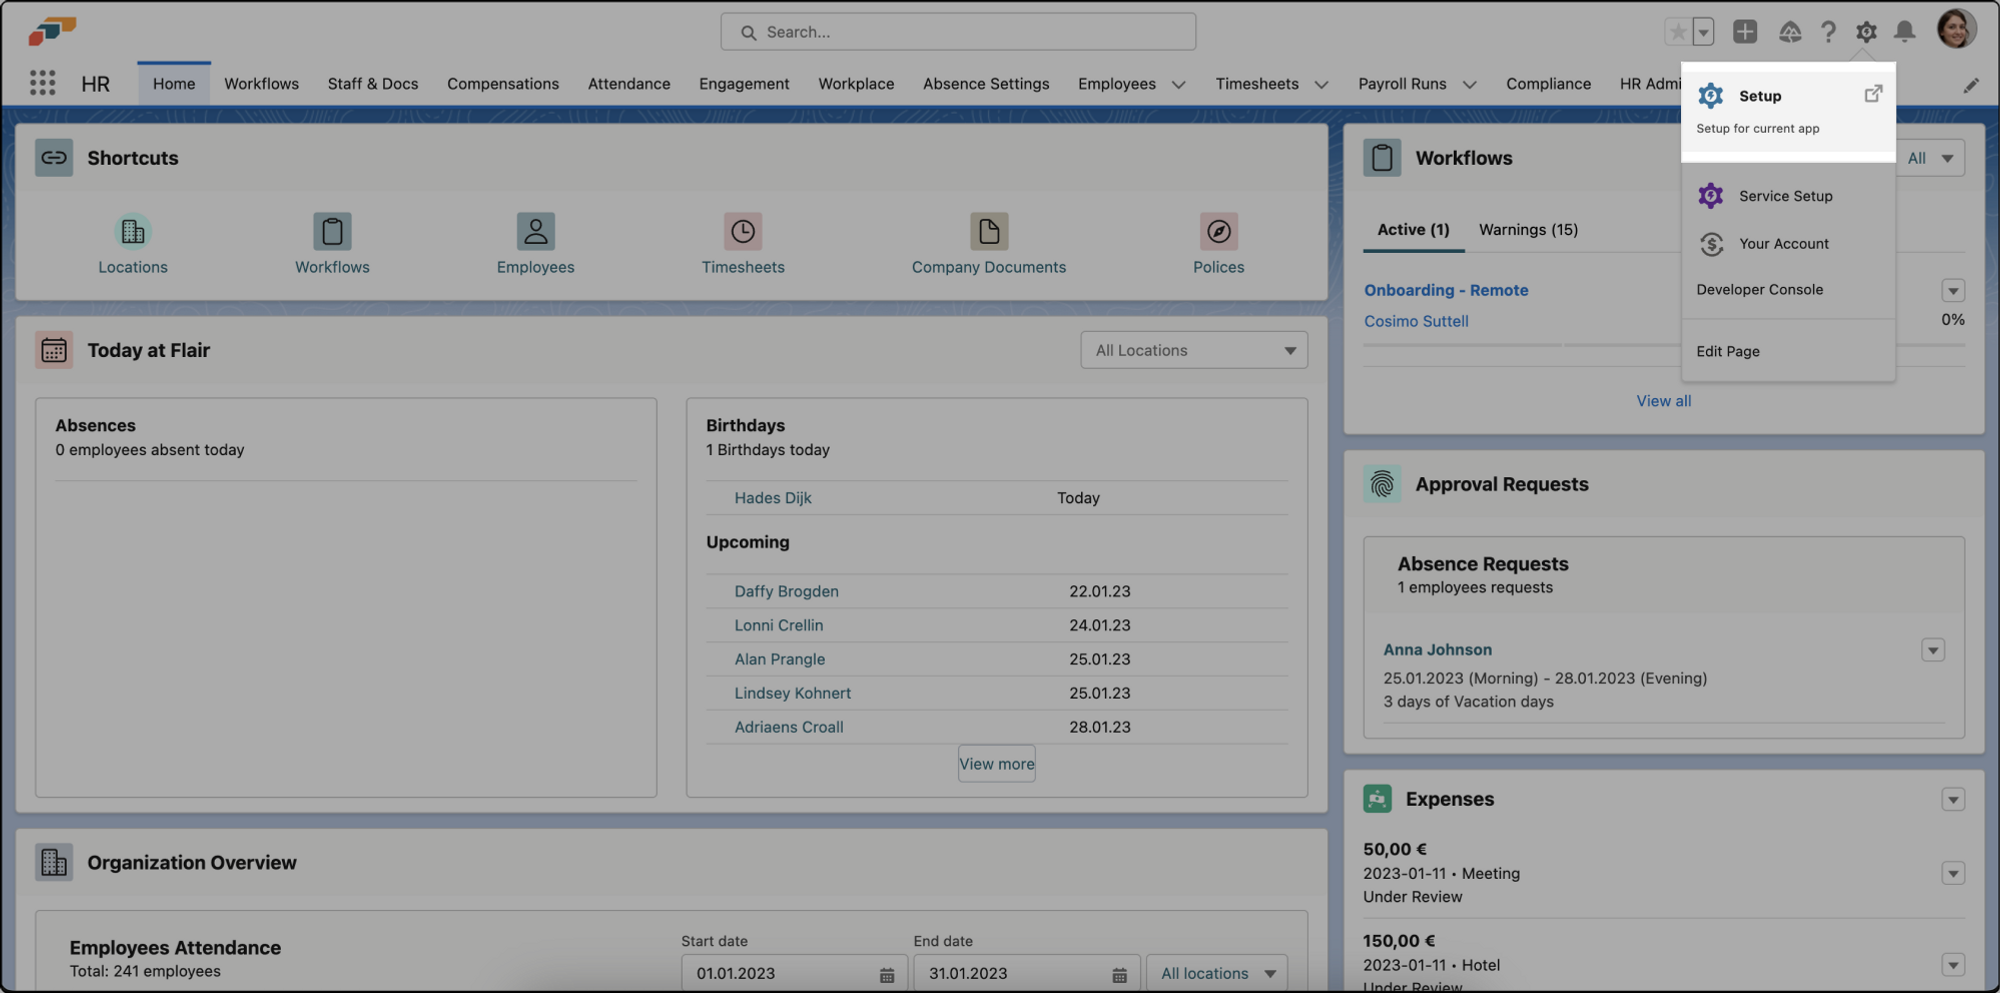
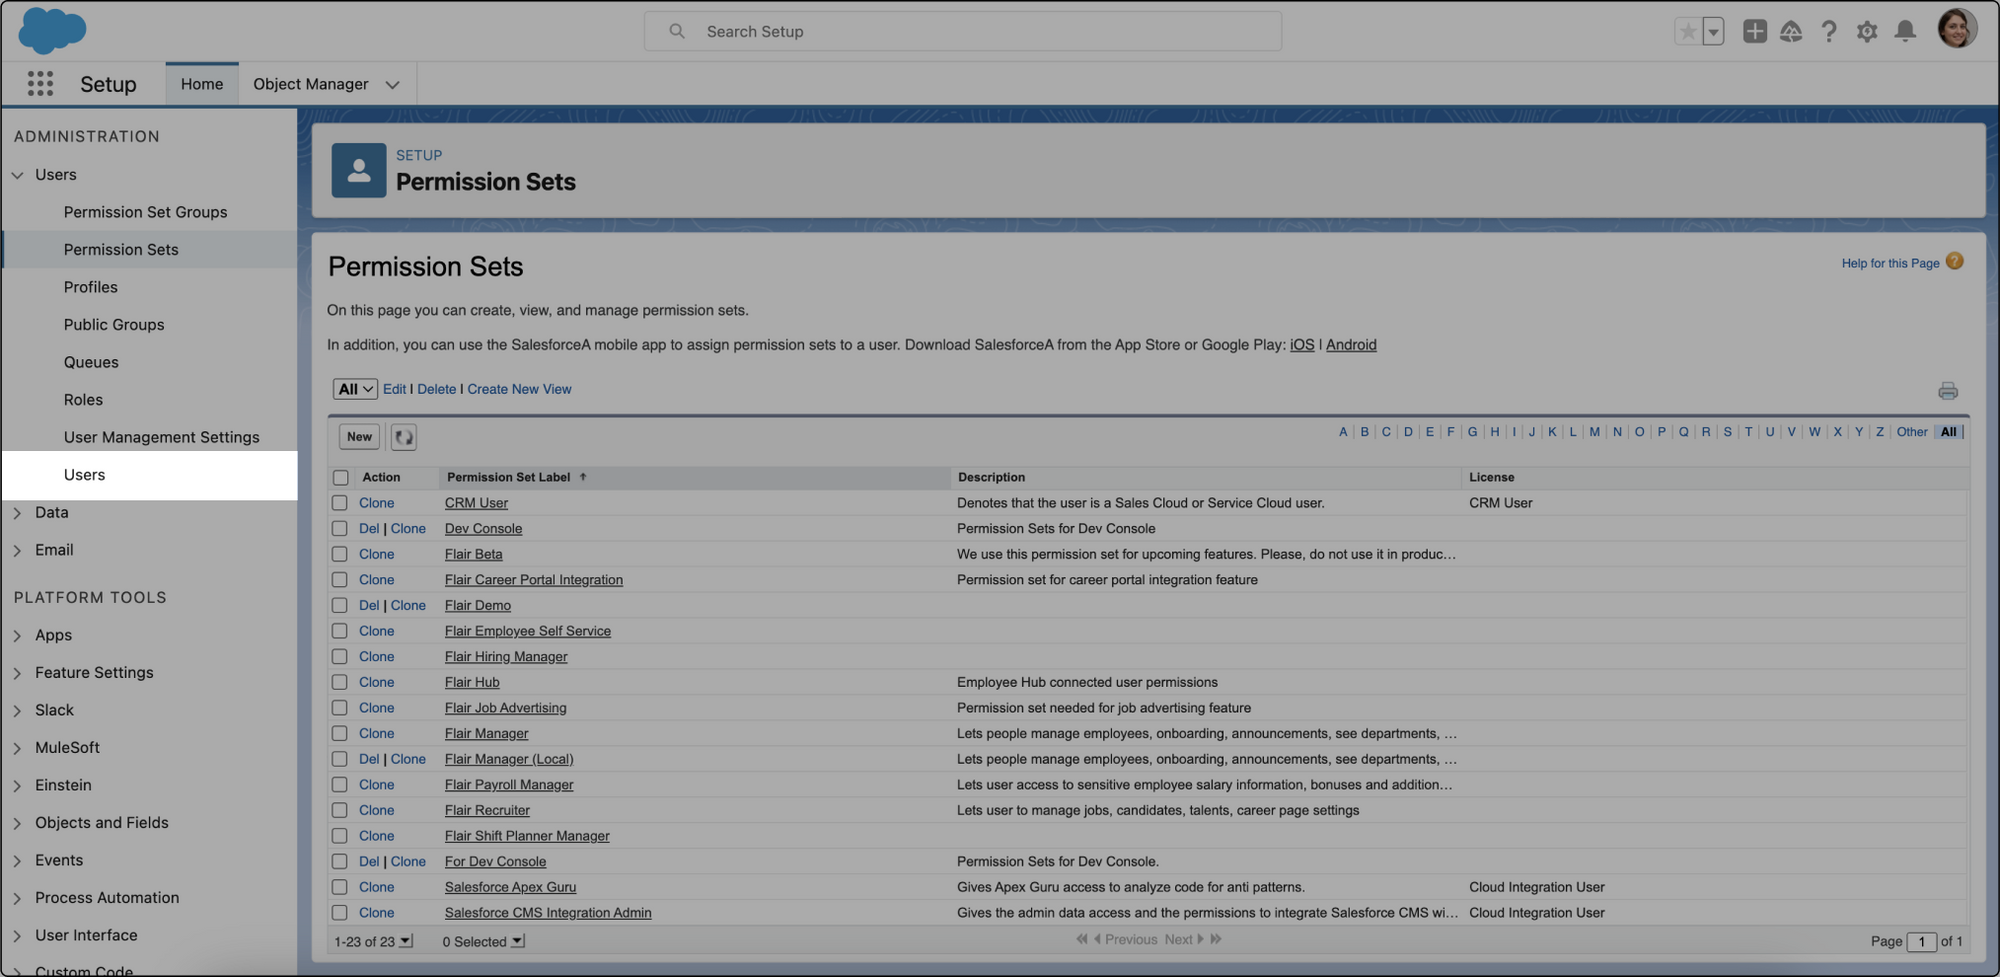
- First, visit the Salesforce Setup portal
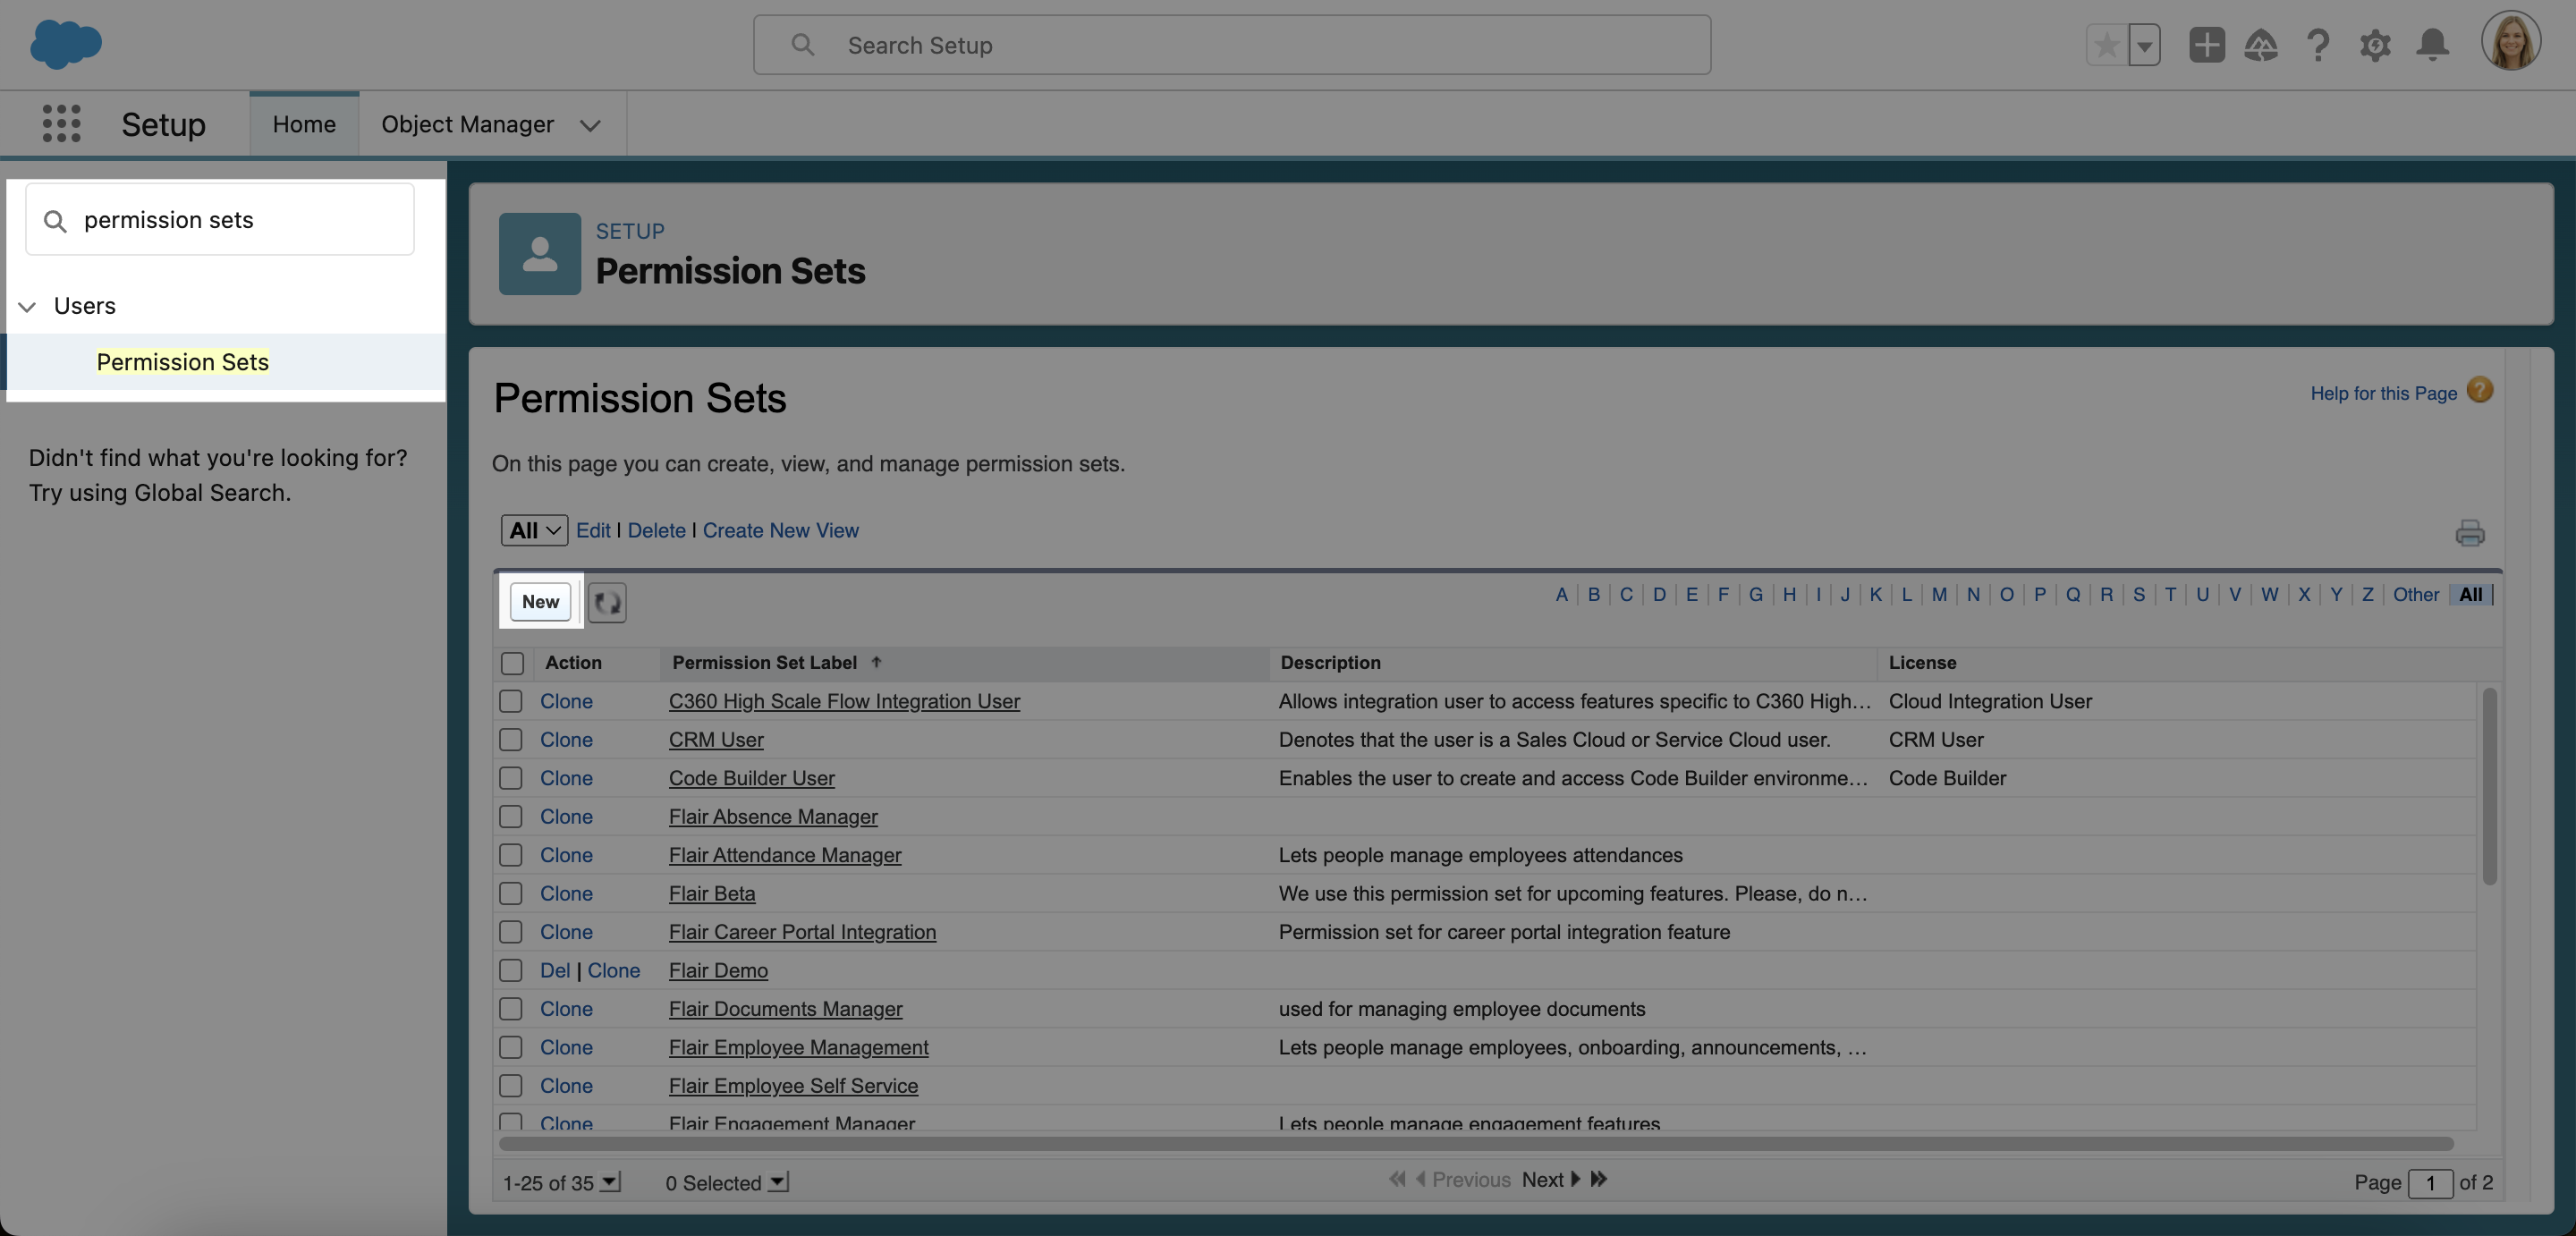
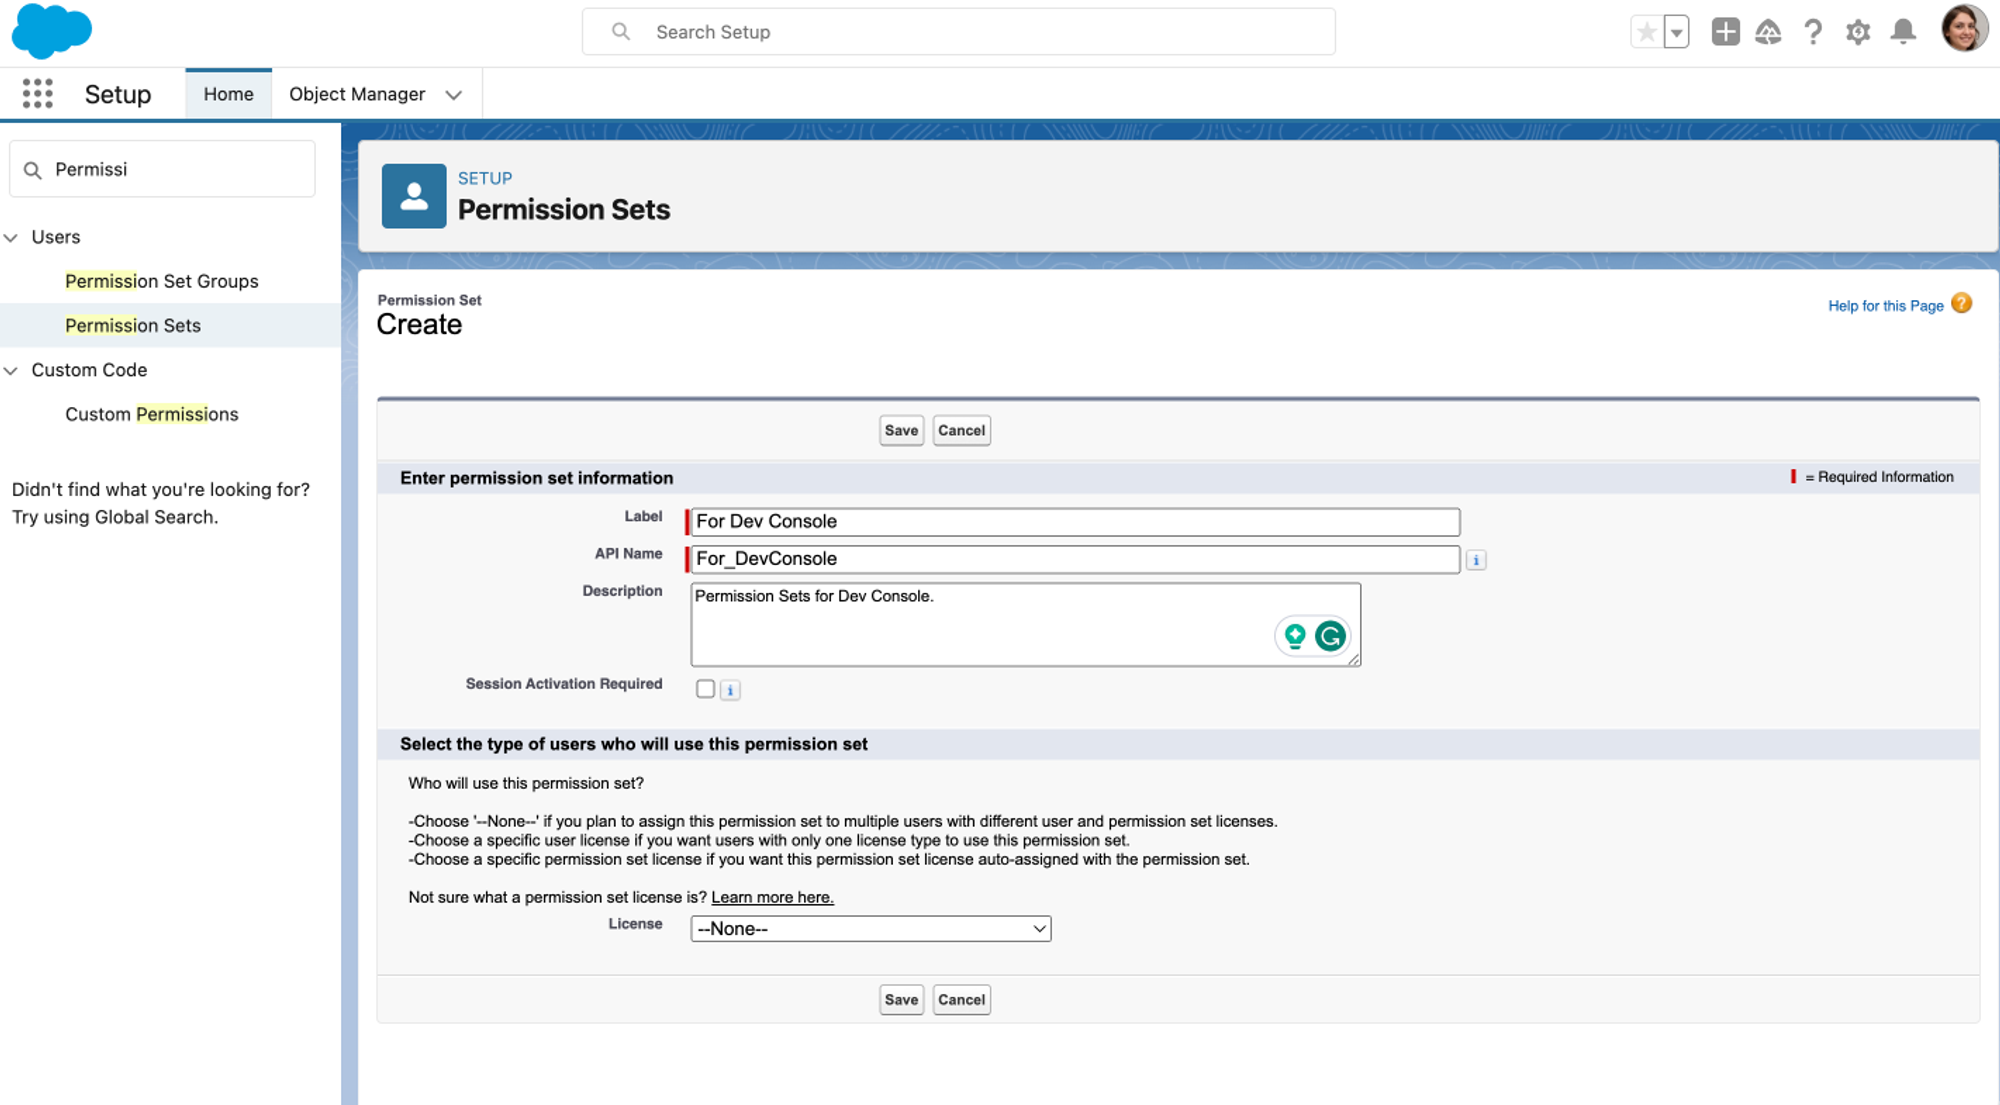
- Next, visit the Permission Sets page within the Users section and Create a new permission set. Click New on the Permission Sets dashboard. Give it a Label, API Name, and Description. Then click Save.
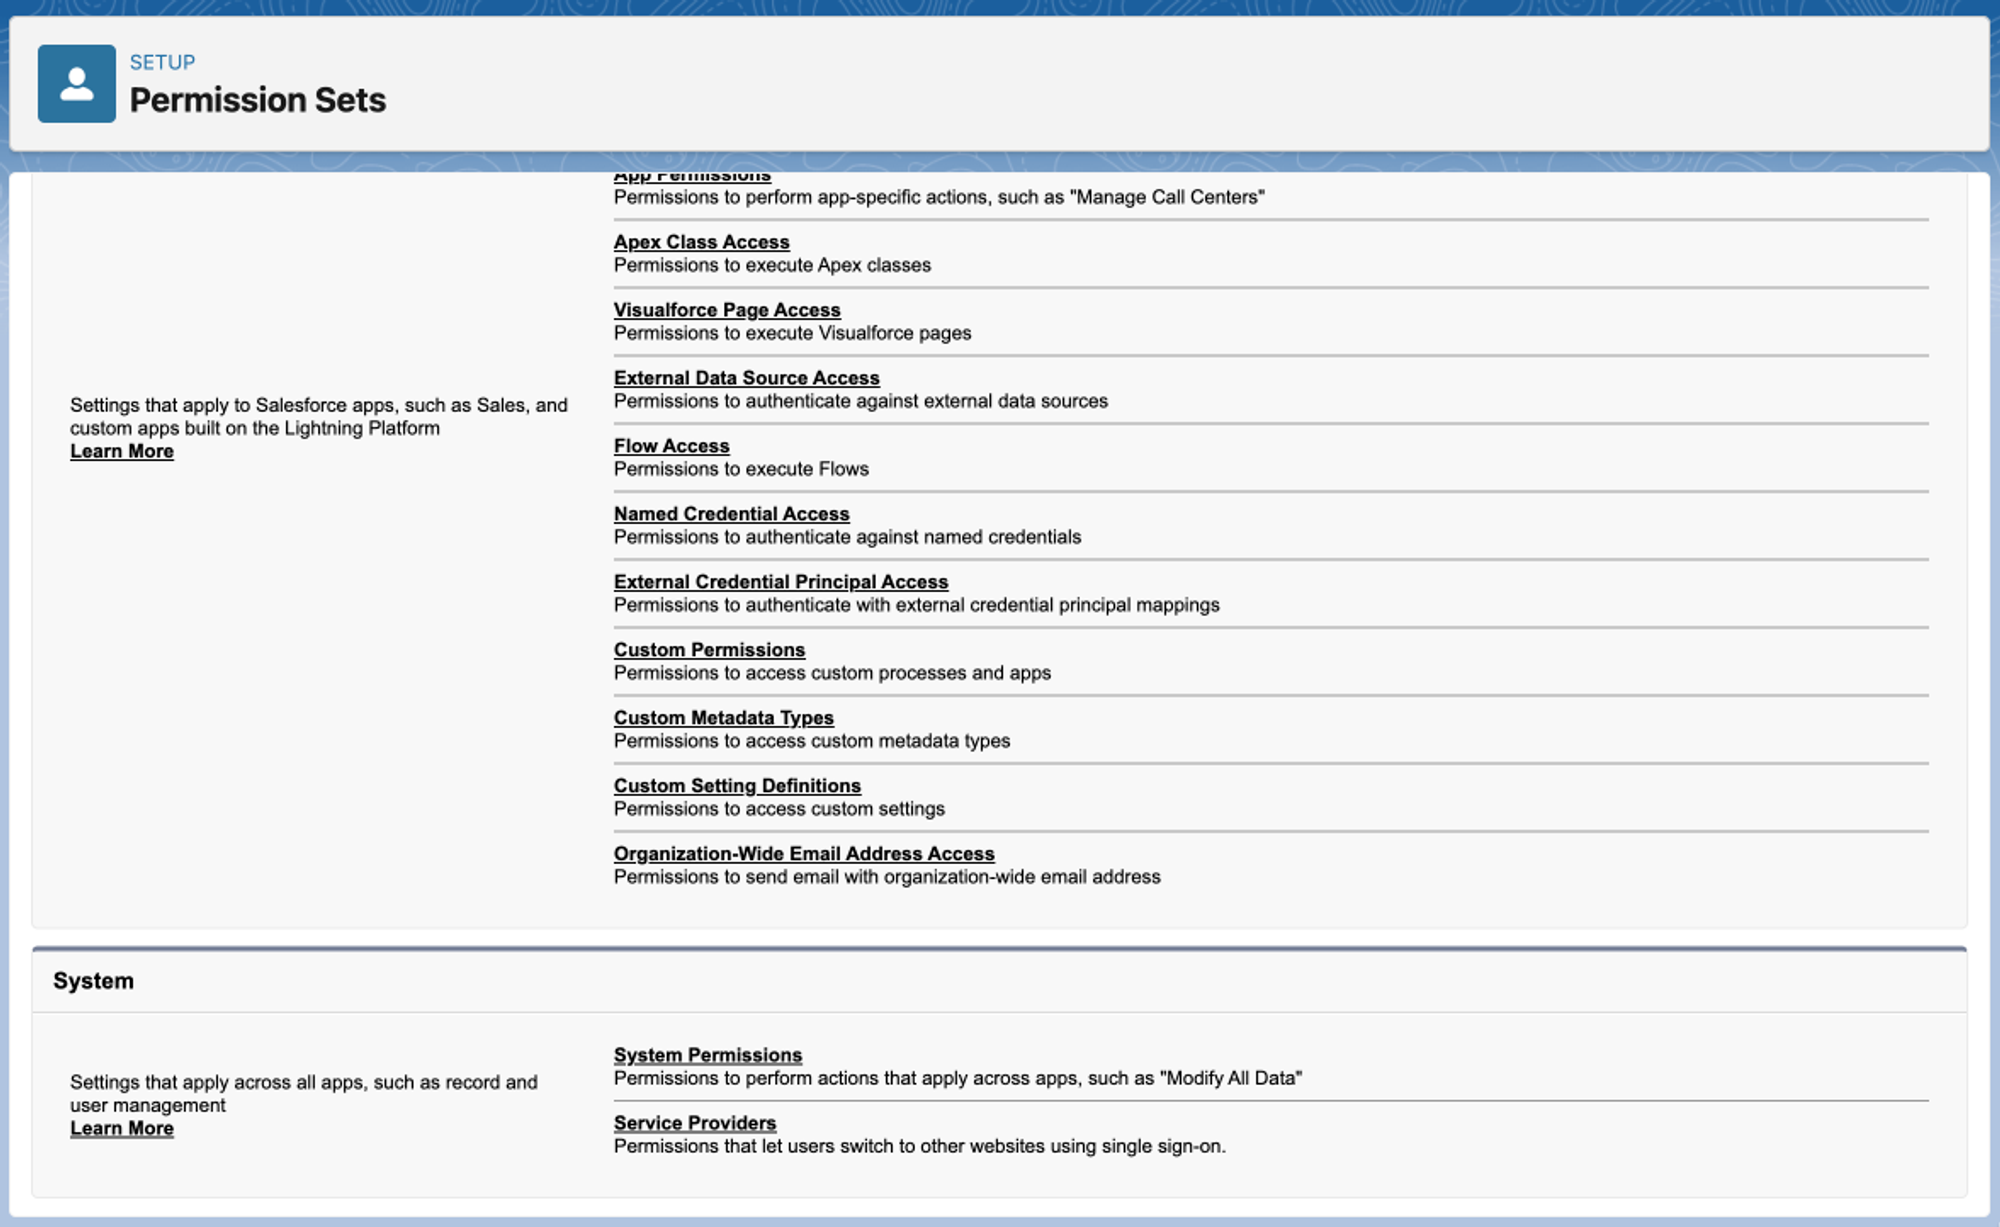
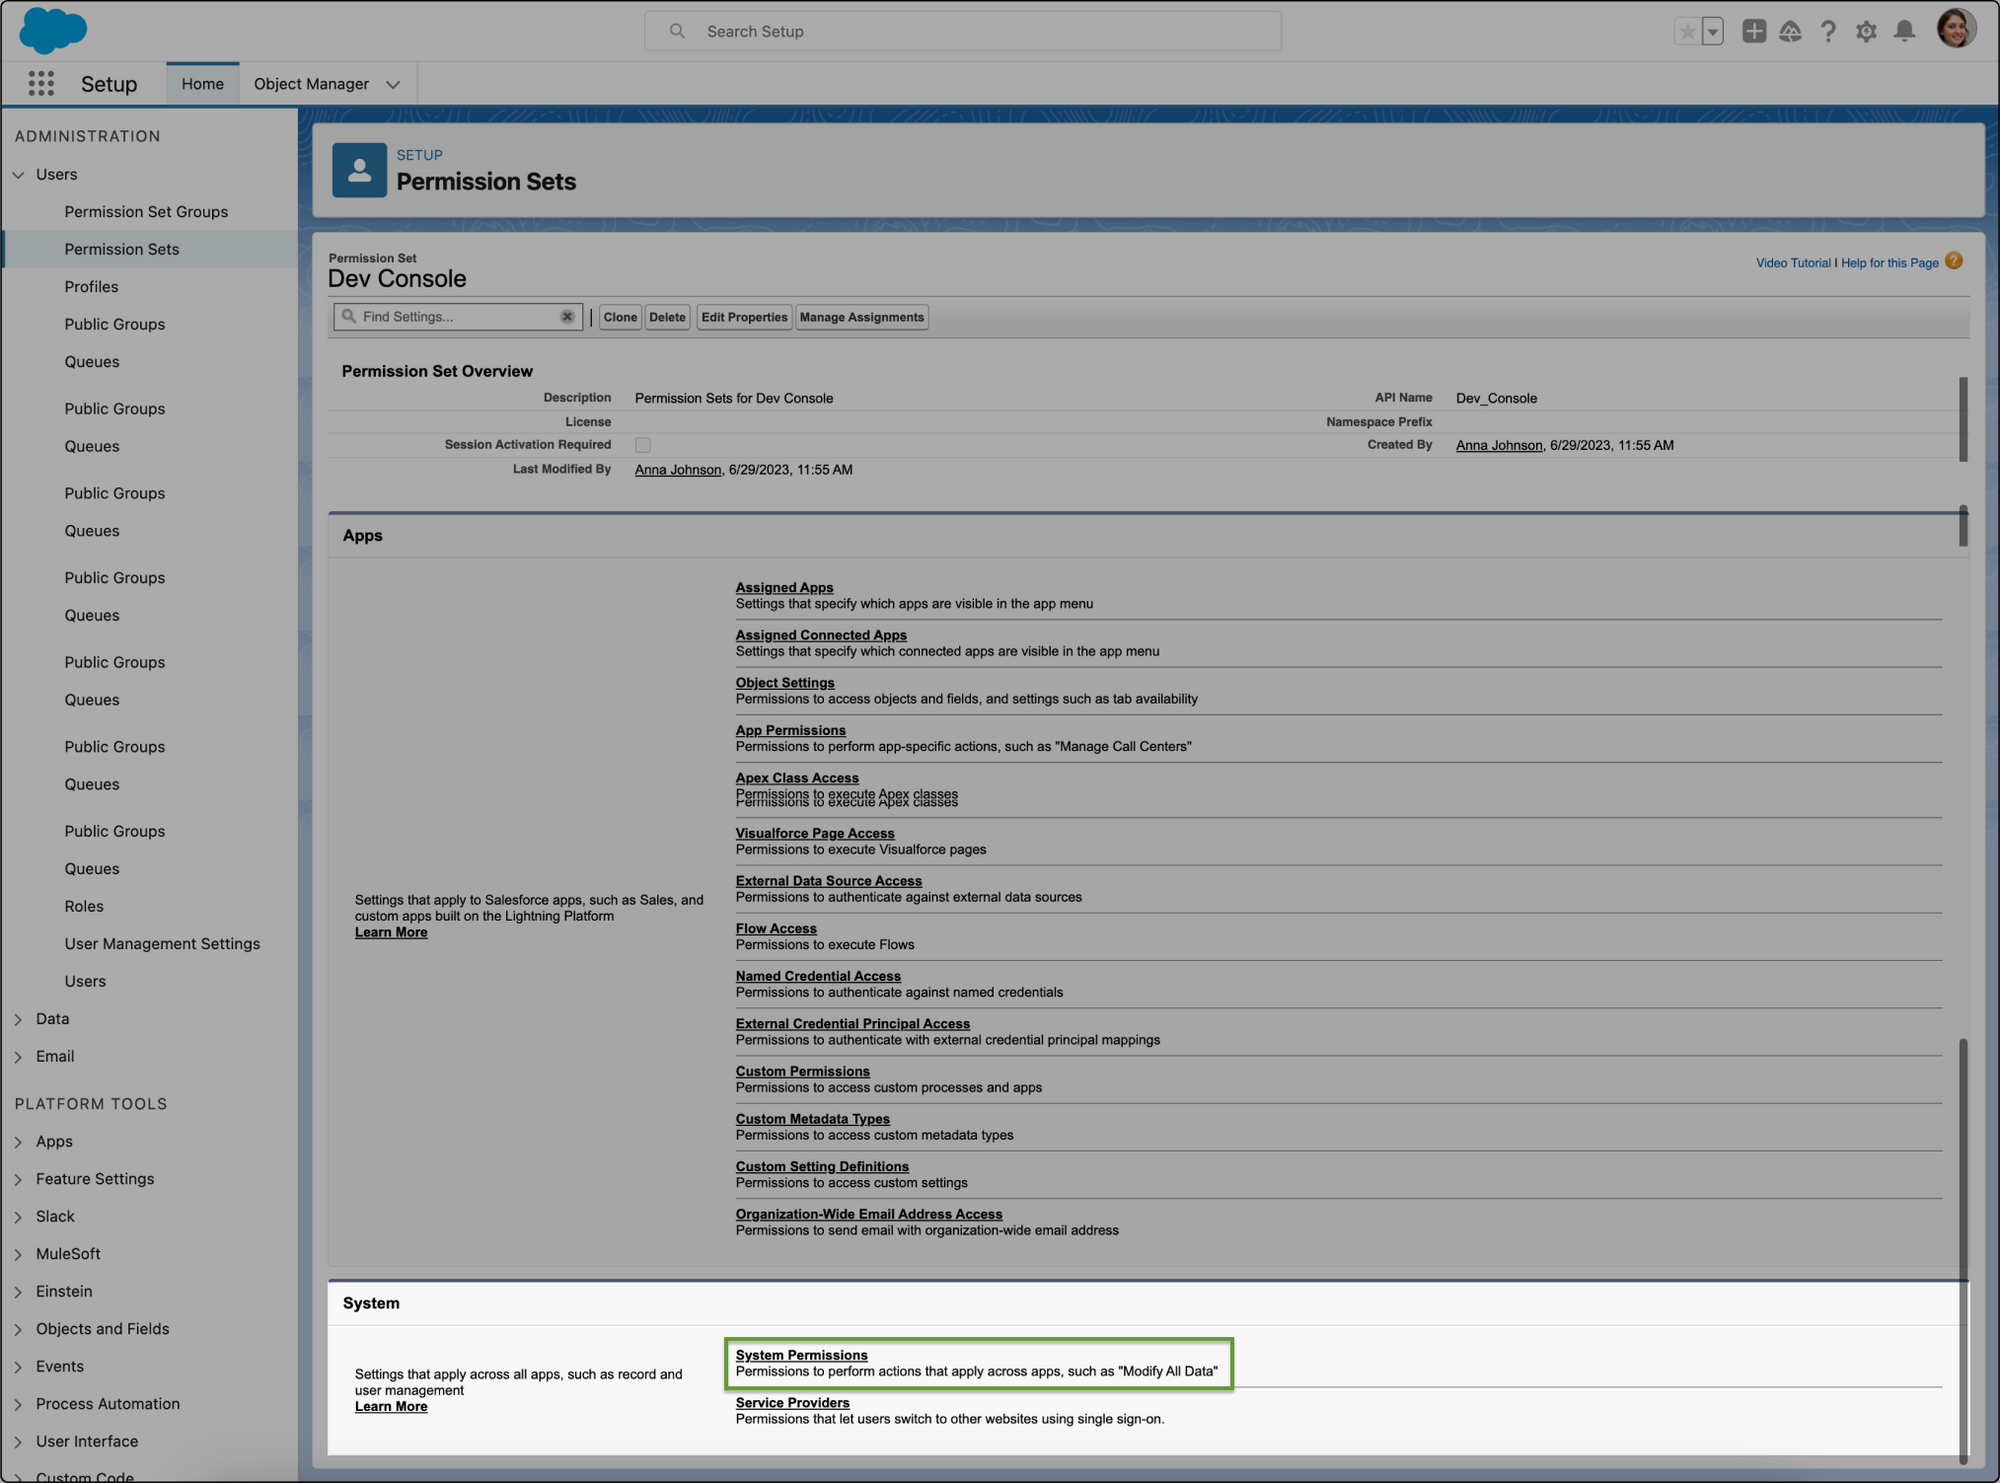
- Within the newly created permission set, click on the System Permission tab underneath the System heading. Here you will be able to edit types of permissions that are applicable across multiple applications.
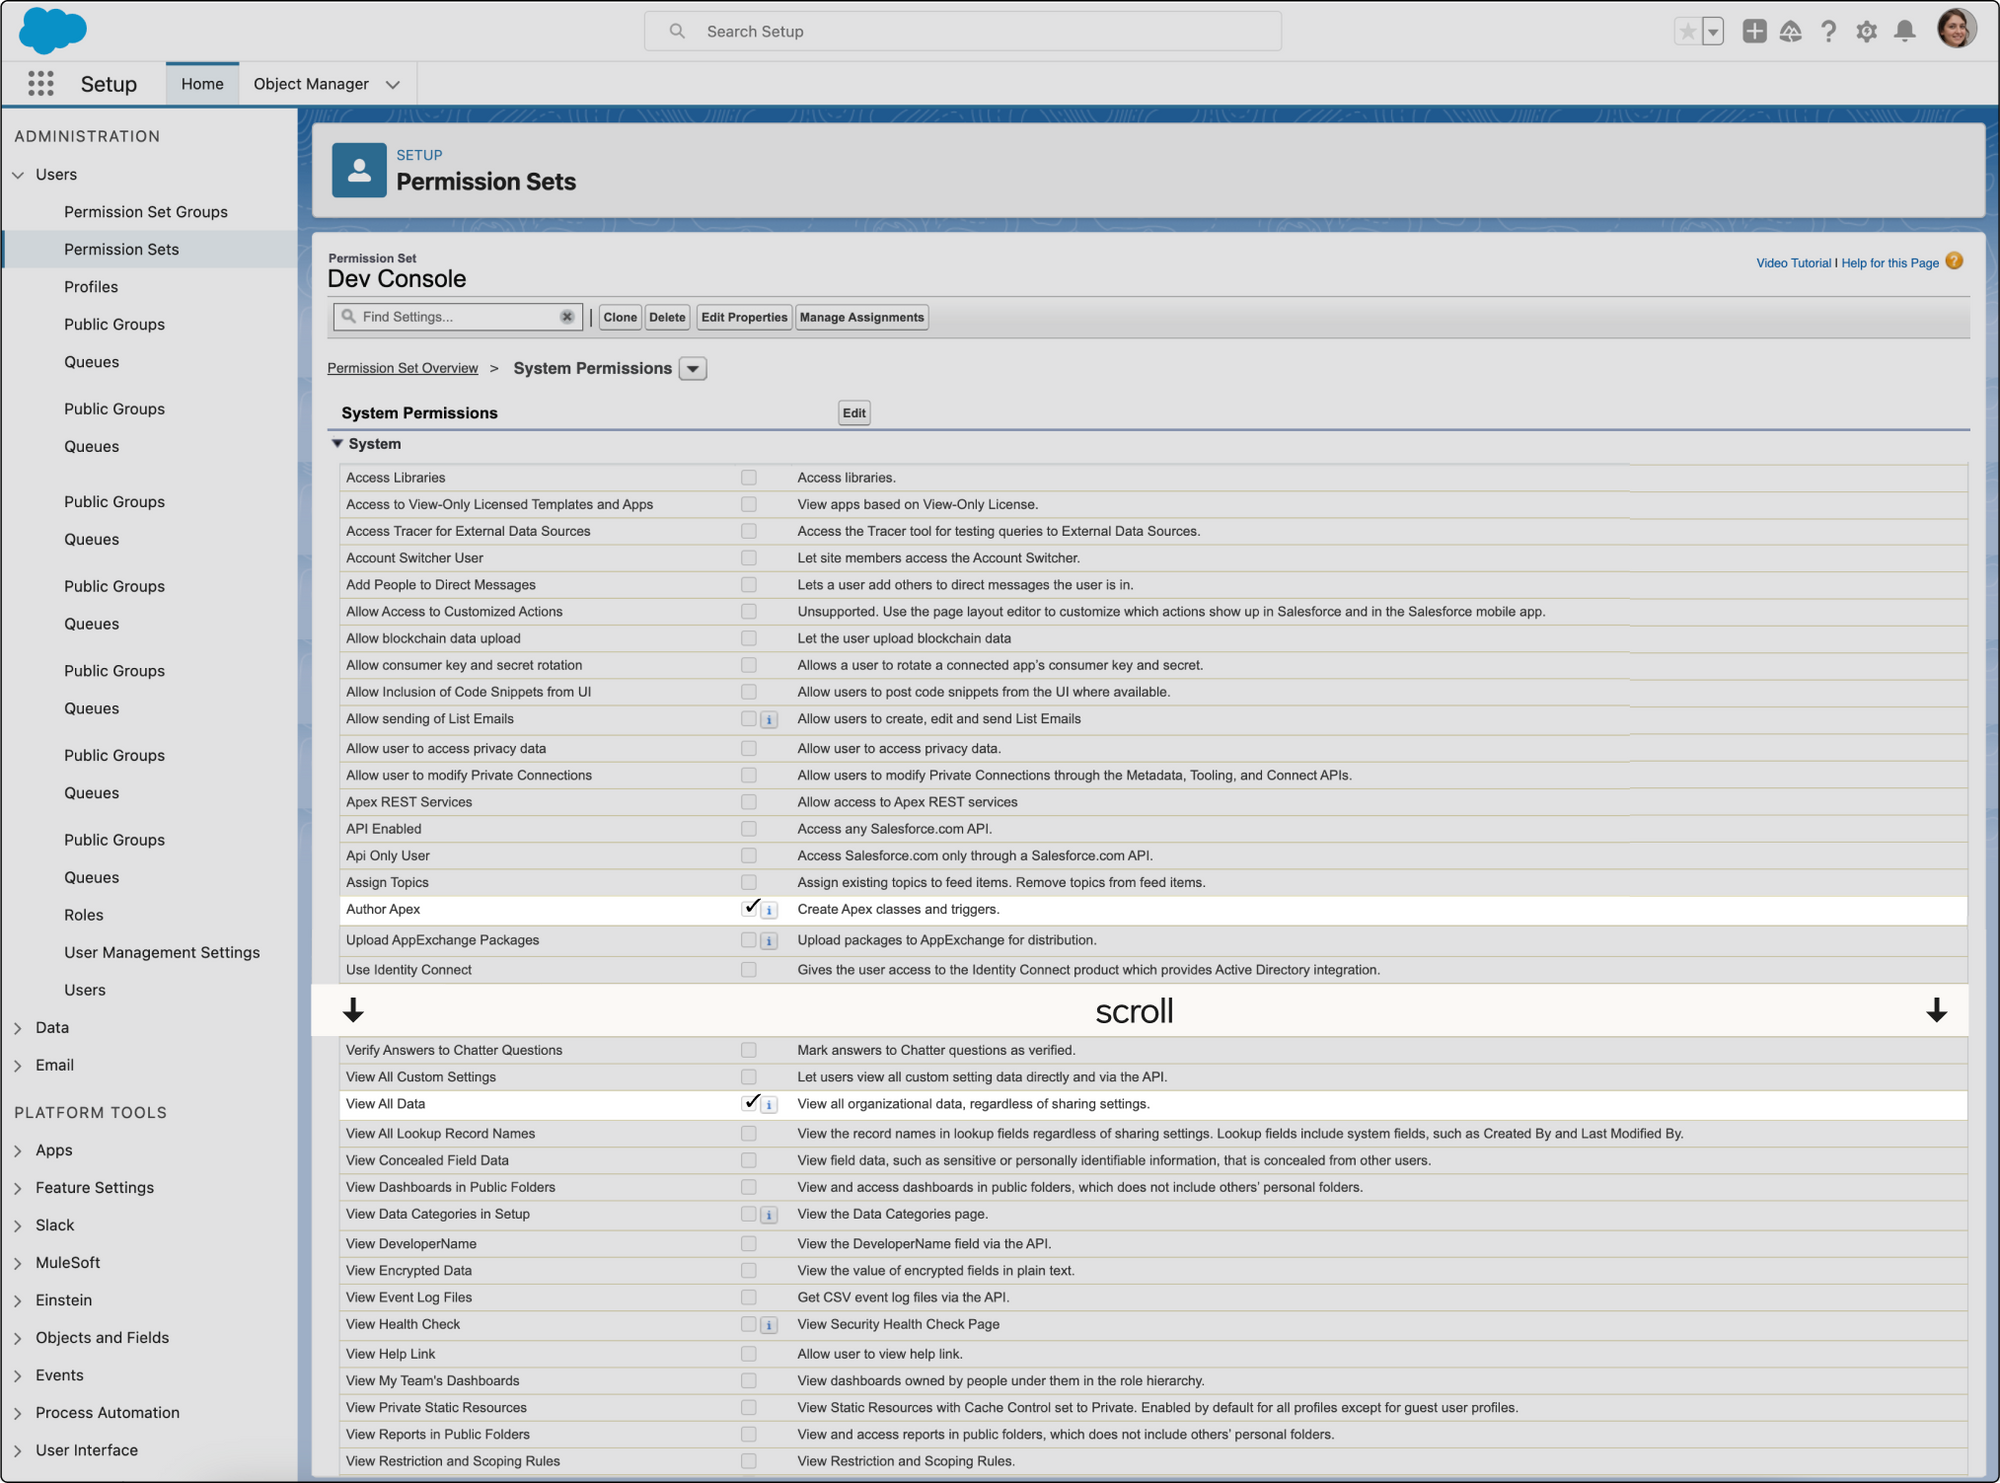
- Checkmark and enable the permission for Author Apex and View All Data. Then click Save.
- The next step is to assign your new permissions to a specific user on the Users page within the Salesforce Setup portal
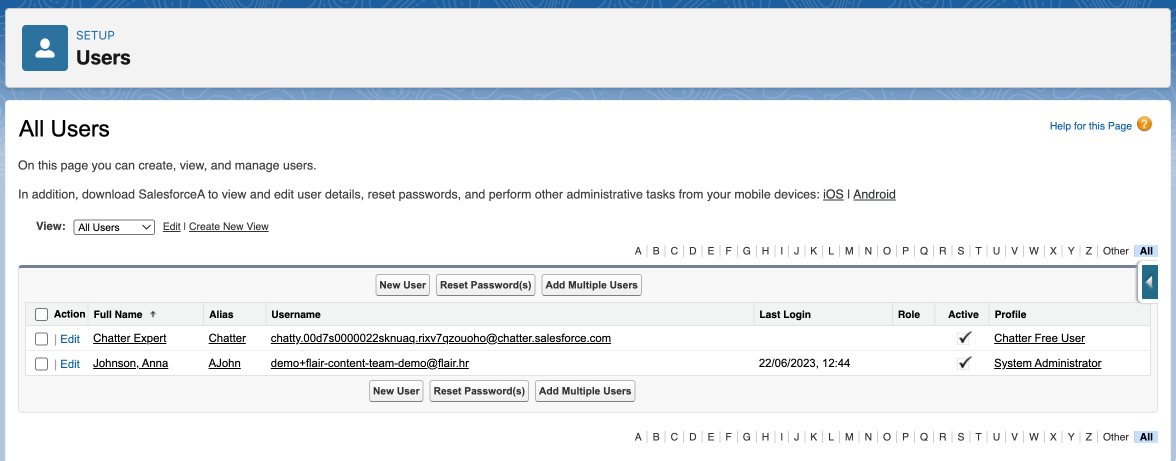
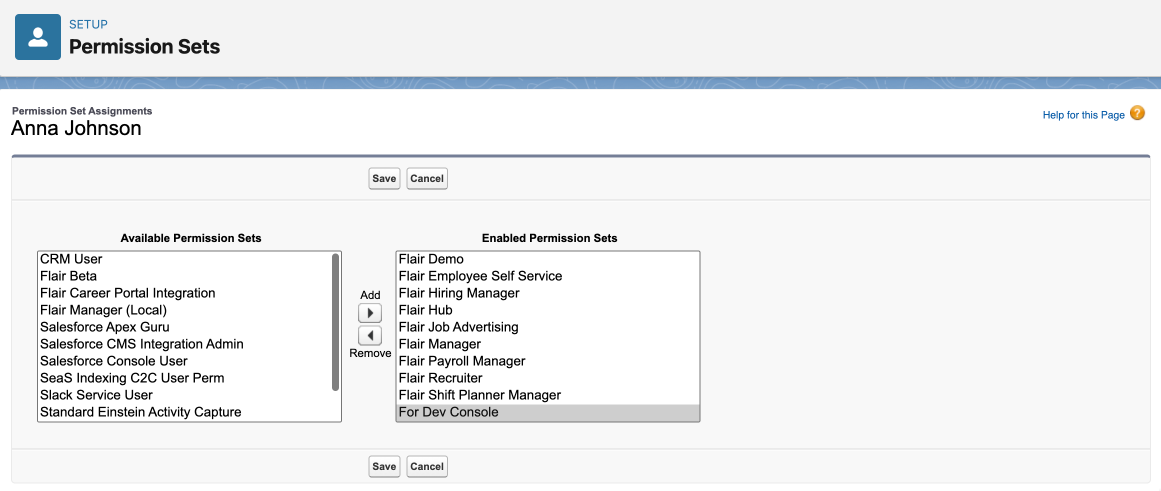
- Click on the profile name of a user you need to give permission to and then select Edit Assignments
- Add your newly created permission set using the Available Permission Sets section. In this example, we will add the permission set we created, For Dev Console.
- The user will now have access to the Developer Console